How to Size a Bin Enclosure: Dimensions and Clearances
The right bin enclosure size lets you store your bins, open their lids and wheel them out without fighting the frame. Measure those movements first. The outside width of an enclosure cannot tell you whether it works.
Start with the maximum width, depth and height of each actual bin, including wheels and handles. Add the working space needed to move the bins and operate the lids, then allow for partitions and the outer structure. Check the finished door opening separately. There is no single clearance that works for every bin and enclosure design.
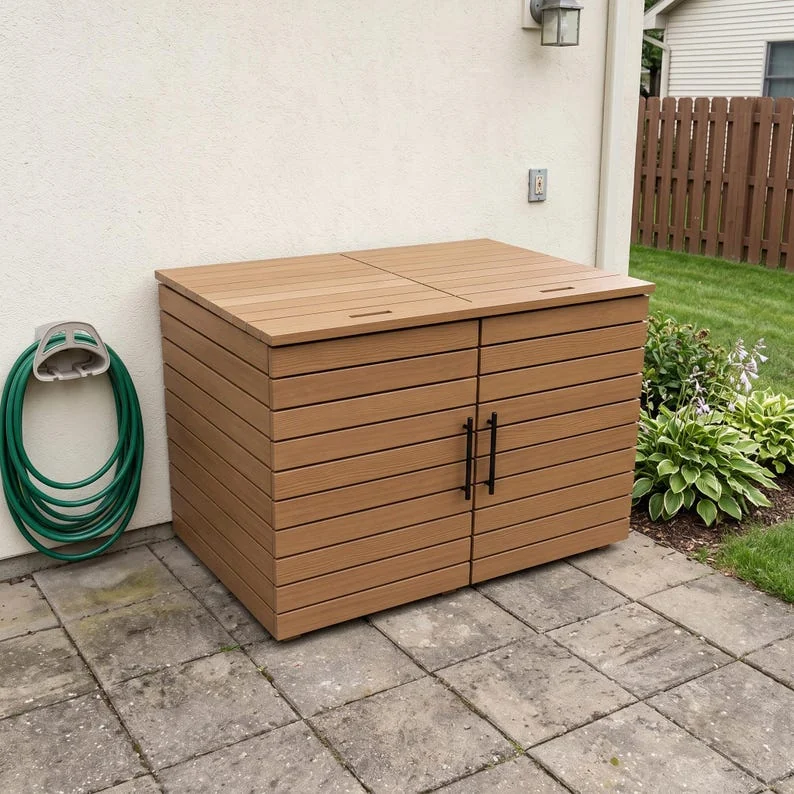
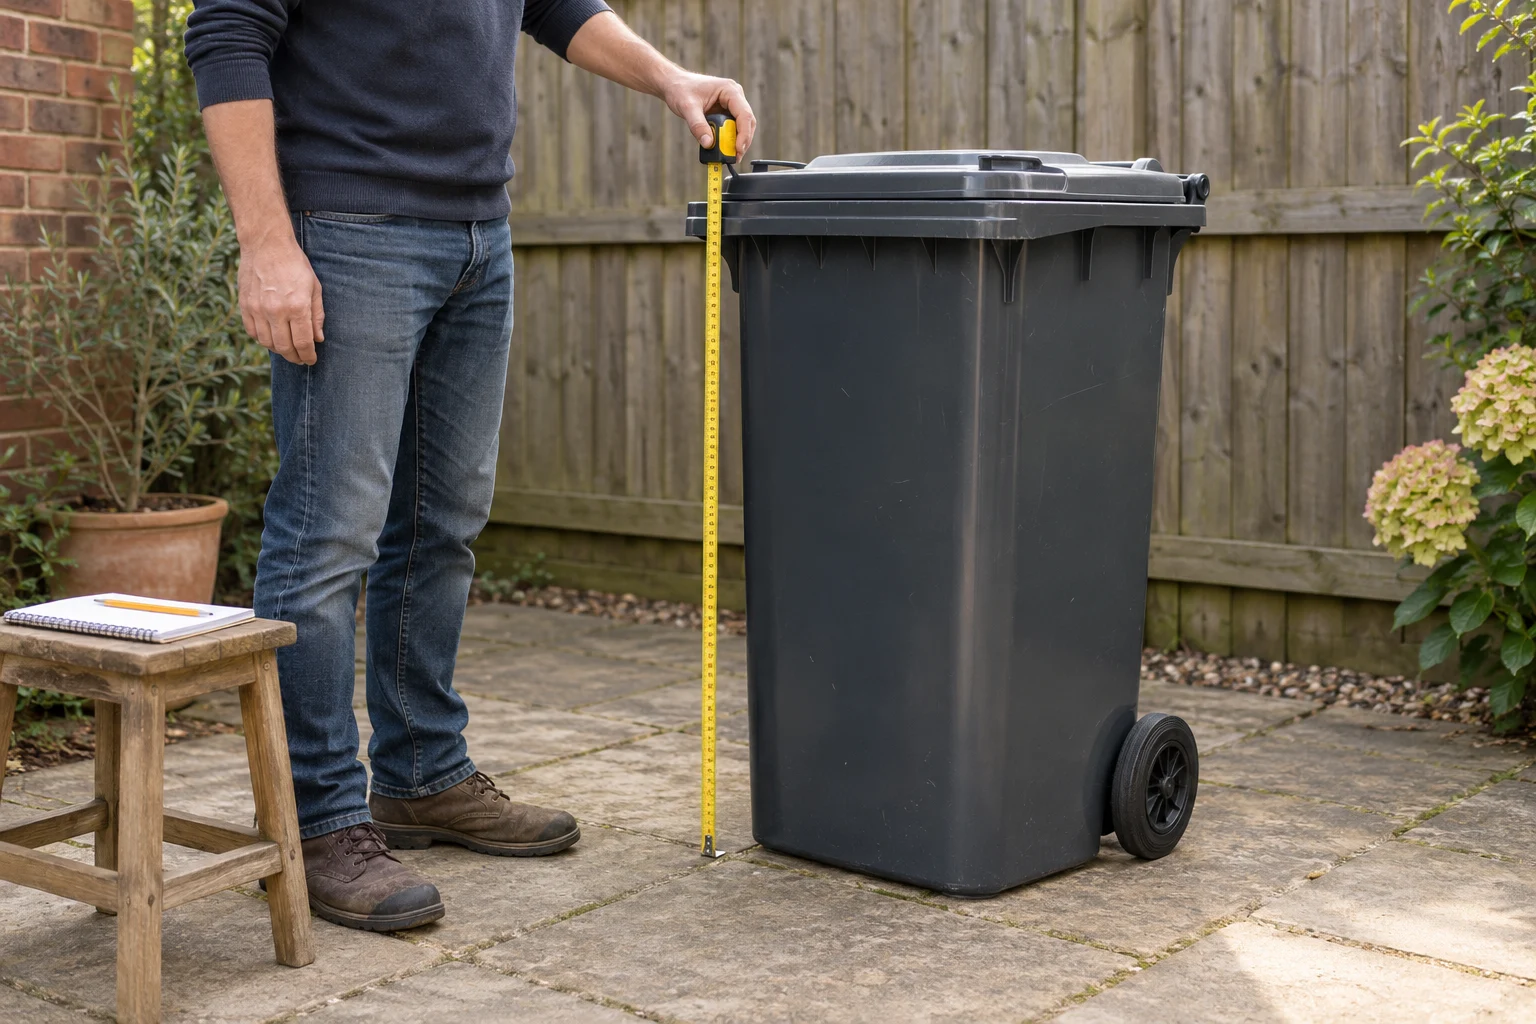
1. Measure the bins you actually use
Put each bin on a firm, level surface and use its normal closed position. Measure the widest and deepest points, which may be wheels, hinge fittings or handles rather than the main body. If you have different bins for waste and recycling, record each one separately.
Do not choose an enclosure solely from a gallon or litre label. Capacity describes storage volume, not a universal outside shape. Manufacturer information such as Toter’s two-wheel cart range is useful for checking the exact model, but measure your own bins and their operating movement before committing.
| Measurement | How to take it | What it affects |
|---|---|---|
| Maximum width | Measure across the widest points, including wheels | Clear bay width and door opening |
| Maximum closed depth | Include rear handles, hinges and projecting front edges | Internal depth with the enclosure doors closed |
| Closed height | Measure from the supporting surface to the highest point | Minimum storage height |
| Lid movement | Open the lid as you normally use it and observe its full path | Space above and behind the bin |
| Removal movement | Tilt and wheel the bin through the intended route | Headroom, door clearance and turning space |
Write measurements in inches first and centimetres beside them. To convert inches to centimetres, multiply by 2.54. Keep the original measurements for your calculations; rounded conversions are useful for comparison, but repeatedly rounding a chain of dimensions can introduce errors.
If your collection provider is changing the bins, confirm the replacement model before building a close-fitting enclosure. Guessing a larger capacity can still miss a wider wheelbase or a different handle shape.
2. Separate bay width, door opening and outside width
These are three different dimensions. Clear bay width is the space between the nearest obstructions inside. Clear door opening is the usable passage with the door in its actual open position. Outside width includes the frame and may also be affected by cladding, trim or roof overhangs.
One open compartment containing several bins
For a compartment without internal posts, a starting calculation is:
Internal width = total bin widths + left gap + right gap + gaps between bins.
For two bins: W = B1 + B2 + L + R + G.
The gaps are working allowances you choose and test. They are not simply decorative spacing. Allow for reaching handles, imperfect alignment and the movement needed to pull one bin past the other without scraping. More space may be needed if the bins turn as they leave.
Separate bays with a post or partition between them
Calculate each clear bay first, then add the actual widths of the intervening posts or partitions. A central post occupies space and separates the side clearances of the two bins. Do not count one shared gap as though it also accommodates a post.
Finally add the outer structure to obtain a framing width, then check any wider cladding, trim and roof dimensions. The footprint that must fit your site is the largest relevant outside envelope, not just the distance between the corner posts.
3. Worked example for two separate bin bays
This is a measurement example, not a set of construction dimensions or a fit claim for a particular plan. Suppose two bins are each 24 in (61 cm) wide. You test 2 in (5.1 cm) of clear space on each side of each bin and find it comfortable for straight removal.
| Part of the calculation | Inches | Centimetres, rounded |
|---|---|---|
| Each clear bay: 24 + 2 + 2 | 28 in | 71.1 cm |
| Two clear bays | 56 in | 142.2 cm |
| Example central post width | 3½ in | 8.9 cm |
| Span between inside faces of outer posts | 59½ in | 151.1 cm |
| Two example outer posts, 3½ in each | 7 in | 17.8 cm |
| Outside framing width | 66½ in | 168.9 cm |
The 66½ in (168.9 cm) result does not include any cladding or roof projection beyond those posts. It also does not establish door width. If stops or hardware reduce each opening below the 28 in (71.1 cm) clear bay width, check whether the remaining passage still works for the bin and your hands.
For comparison, an open compartment with the same two bins, 2 in (5.1 cm) at each outside edge and one 2 in (5.1 cm) shared gap would start at 54 in (137.2 cm) internally. That is a different layout, with less space between the bins and no central post. The two calculations are not interchangeable.
Allowing for a third bay
For the same example, a third 28 in (71.1 cm) clear bay and one additional 3½ in (8.9 cm) dividing post add 31½ in (80 cm) to the framing width. The two outer ends are already included, so calculate the actual extra structure rather than assuming every dimension grows by 50%.
| Example layout | Clear bays plus posts | Outside framing width |
|---|---|---|
| Two separate bays | 2 × 28 in + 3 × 3½ in | 66½ in (168.9 cm) |
| Three separate bays | 3 × 28 in + 4 × 3½ in | 98 in (248.9 cm) |
These are illustrative layout calculations, not dimensions from a Firesided plan. They exclude projecting cladding and roof overhangs. The framing, door openings and roof still need to be designed for the chosen arrangement.
Mark the extra frontage on the ground before choosing a larger store. Test the end bay beside the wall or fence as carefully as the middle bays: its door may have less room to swing, and the bin may need to turn immediately after leaving the opening. Each bin should be removable while its neighbours remain parked.
A small food caddy or recycling box does not necessarily need another full-height bay. Give it an accessible location that does not block a lid, handle or removal route. If your collection provider plans to add or replace a bin, confirm the model before reserving space: a wider replacement can require a different bay rather than an extra one.
You can use our bin enclosure sizing calculator for a starting width, then check its assumptions against your layout. A width result cannot confirm lid clearance, door operation or the route to the collection point.
Compare these measurements with the Firesided double trash can enclosure. Check the project’s dimensions and access arrangement against your bins before buying materials. Do not substitute this worked example for the plan’s framing or hardware details.
Plans for your next build
Compare the designs and check the fit for your project
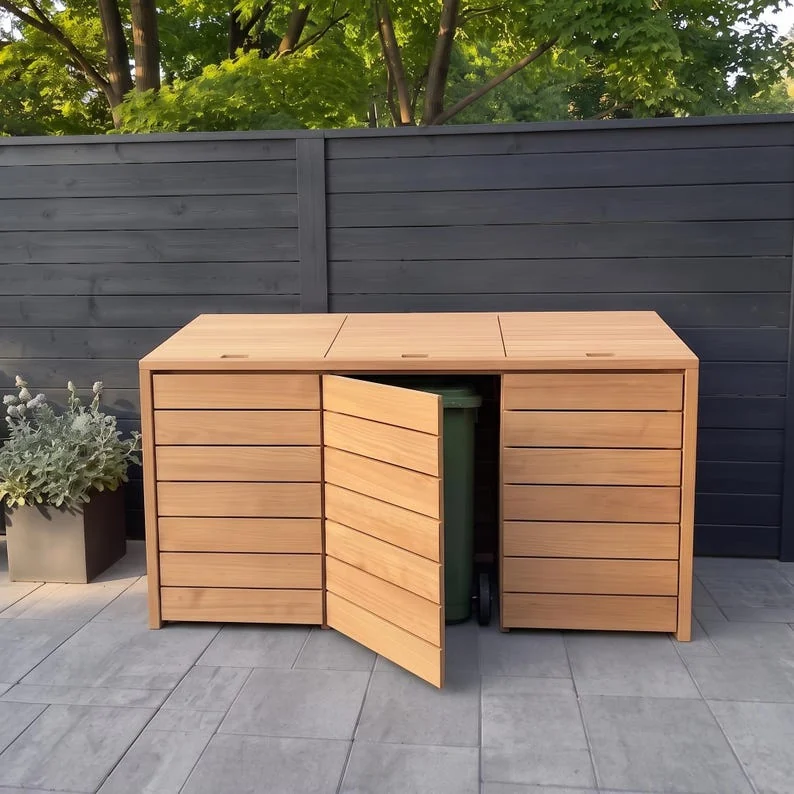
4. Check depth and the lid’s full movement
Depth: include handles and closed doors
Measure to the back of the handle or hinge, not just the back face of the plastic body. Then account for the rear structure, the bin’s position and any door bracing or hardware projecting into the front of the bay. A nominally deep enclosure can still trap a handle against its back wall.
Place the bin where it would sit, mark the proposed back and front limits with tape or temporary objects, and try the normal motion. Leave room to reach the handle without pressing the bin hard against the rear wall. If the bin must tilt before it moves forward, include that arc in the test.
Height: decide how you will put waste in
With a fixed roof, check whether the bin lid can open underneath it or whether the bin must be pulled forward first. The second arrangement needs a convenient removal route for everyday use. An opening enclosure cover may move out of the way, but you still need to check its hinge path and support arrangement. A system that links an enclosure lid to a bin lid introduces another moving connection; use hardware and details intended for that purpose.
Measure the position you actually need for everyday use, not only the highest point of a fully open lid. Watch for the lid moving backwards as well as upwards. Check that it can stay in its intended position without hitting a wall, fence or roof edge.
If the enclosure stands against a wall, an opening top can need space behind it even though the closed enclosure fits. Test the full movement before fixing the location. Do not assume the closed product dimensions include its operating envelope.
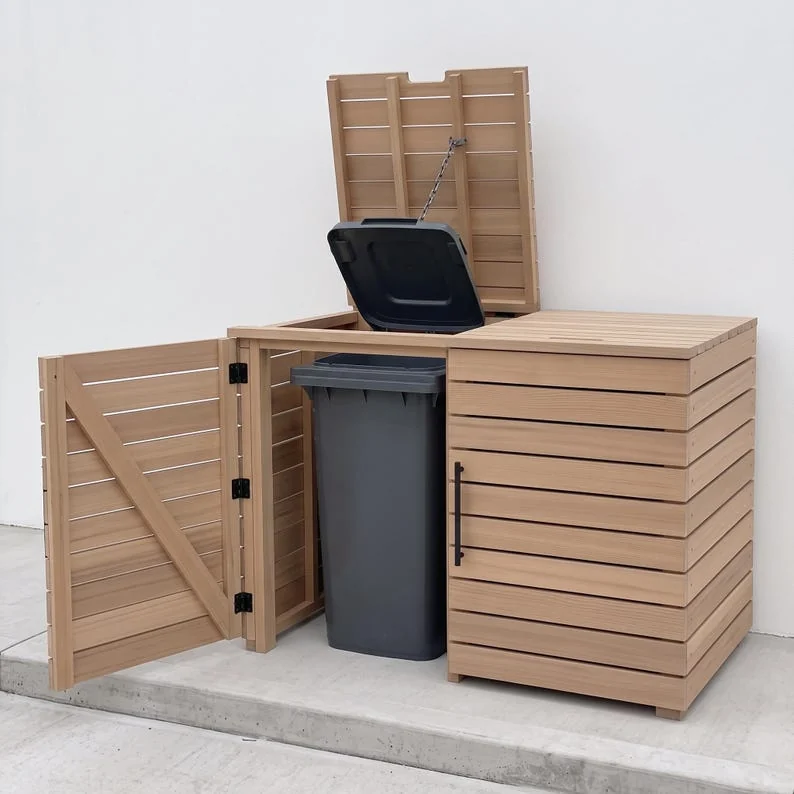
5. Test the doors, threshold and collection route
Mark the proposed enclosure footprint on the ground. Add the door swing and move the actual bin through the intended path. Check with the door at the angle it can really reach on your site, not an imaginary fully open position that a wall or planter prevents.
- Door edges: hinges, stops and thickness can reduce the passage.
- Threshold: a raised rail can obstruct wheels even when the opening is wide enough.
- Turning: a bin may pass straight through an opening but need more room to turn immediately afterwards.
- Approach: gravel, steps, narrow paths and slopes can make a loaded bin harder to handle.
- Neighbouring access: open doors should not block a route you need to keep usable.
Test the route with a safely manageable bin load as well as an empty bin. Do not create an unstable load for the test. The aim is to discover awkward movements before the frame is built, especially if someone with less strength or reach will use it.
Changing a structural rail or threshold to improve access can affect the design. Resolve that in the plans before cutting it away. If the planned layout cannot provide a practical removal route, choose a different enclosure arrangement.
6. Allow for the ground and maintenance access
A level drawing does not account for a sloping site. Check where doors will swing relative to the finished surface. Ground that rises in front of the enclosure can catch a door that clears the ground perfectly when closed.
Decide on the supporting surface and drainage before taking final heights. Keep water from being directed into the bins or trapped against the enclosure timber. Preserve access to drains, service points and wall details that need inspection. For larger storage projects, our foundation comparison explains why the base belongs in the project specification.
Leave a practical way to clean out leaves and debris and maintain the finish. For material selection, compare cedar and pressure-treated wood; for hardware compatibility, use the outdoor screw guide.
7. Check these dimensions before choosing a plan or product
- Clear width and depth of each bay at its narrowest points.
- Clear door opening with hinges, stops and doors installed.
- Available height and the method used to open the bin lids.
- Outside footprint, including projections and roof overhangs.
- Space needed behind and in front when lids and doors are open.
- Threshold and base details along the wheel route.
- Whether the quoted dimensions refer to the frame, the roof or usable space.
If a listing only gives outside dimensions, ask for the usable measurements instead of subtracting an assumed wall thickness. Braces and door details may create local obstructions that a simple subtraction misses. Compare the full purchase and installation scope using our build-or-buy guide.
Common questions
Will an enclosure for two 96-gallon bins fit any two 96-gallon bins?
Do not assume so. Check the precise bin models and their maximum dimensions, then test the door and lid movements. A capacity label alone is not a compatibility check.
How much space should I leave around each bin?
Enough for your actual removal and lid-opening movement, including hand access. The 2 in (5.1 cm) gaps in the example are test inputs, not a universal minimum. Larger handles, an angled route or reduced mobility may call for more space.
Can I make a plan wider for a third bin?
Adding a bay can change spans, supports, doors, roof details and the cutting list. Choose a design intended for that layout or have the changes resolved properly; do not simply lengthen every horizontal part.
What if I have one large bin and one small bin?
Measure and calculate each bay separately. Equal-size bays can be convenient for future replacement bins, but they are not always the most space-efficient arrangement. Decide which matters more before selecting the design.