Shed Foundations: Gravel vs Concrete vs Blocks
A shed base has to do more than look level on installation day. It needs to support the actual floor arrangement, manage water and keep the doorway usable. Gravel, concrete and blocks can each have a place, but they solve different problems.
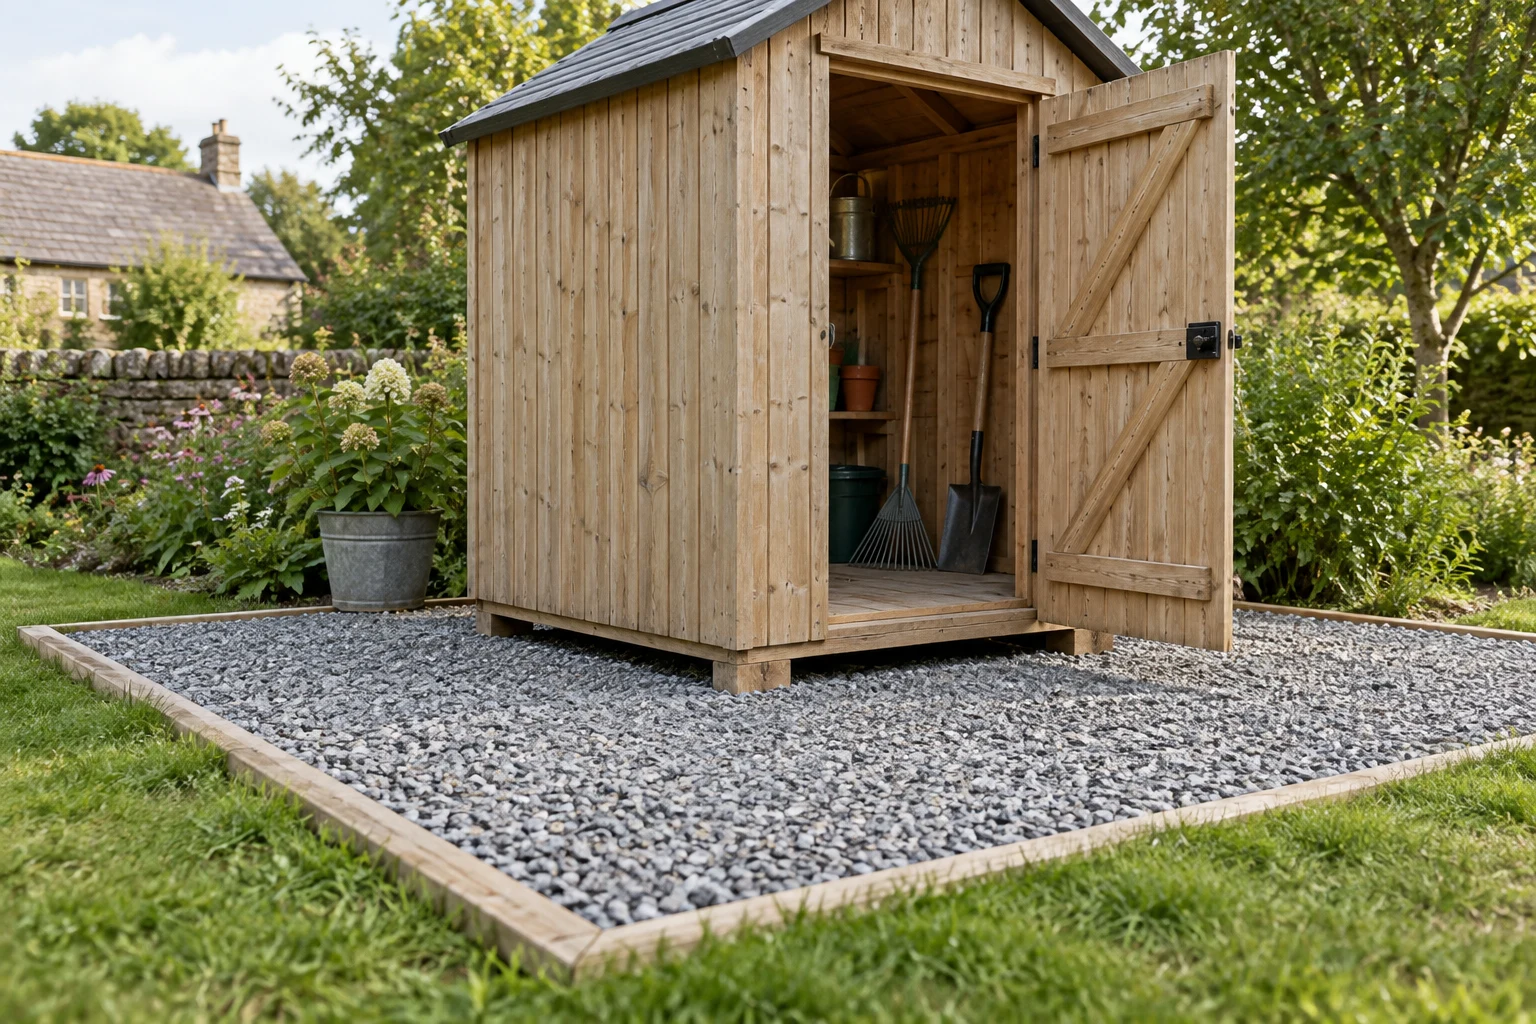
For a shed designed with a timber floor and suitable skids, a properly prepared gravel pad is often a practical starting point. A designed concrete slab can provide the floor itself. Blocks or piers require a floor system designed to span between the supports. Choose from the shed’s support requirements and site conditions—not simply its advertised size.
Gravel vs concrete vs blocks
| Foundation | Useful starting point for | What must be resolved | Budget items often missed |
|---|---|---|---|
| Prepared gravel pad | A shed with its own floor and an approved skid or bearing arrangement | Ground preparation, stone specification, drainage, pad restraint and anchoring | Excavation disposal, delivered aggregate and compaction equipment |
| Designed concrete slab | A building intended to use concrete as its floor, or a load-specific installation | Sub-base, slab and edge design, moisture control, anchors and wall interface | Site access, formwork, reinforcement, delivery and finishing |
| Surface blocks or pads | A small shed whose floor is specifically designed for discrete supports | Support locations, bearing area, settlement and restraint | Ground preparation beneath every support and future access for adjustment |
| Designed piers or footings | A project requiring support below unsuitable surface soil or a frost-related foundation solution | Depth, bearing, spacing, beams, bracing and uplift connections | Excavation, spoil, forms and the connecting floor structure |
The categories can overlap. A project might use piers for structural support and gravel below for surface management. A slab can need perimeter footings. “Concrete” does not describe the full design, and “gravel” does not describe what carries the shed above it.
First identify how your shed transfers weight to the ground
Open the plan at the floor page. Find the floor joists, beams or skids and their required bearing locations. Trace a load from a shelf or stored machine through those members to the proposed ground support. If the plan does not show that information, resolve it before buying foundation materials.
A shed with a built-in timber floor
Some prefabricated sheds use longitudinal skids beneath the floor. Others use a perimeter frame or a particular set of support points. A base that suits one arrangement may leave another unsupported. Do not infer the support layout from the shed’s outside wall dimensions.
Site Prep, a foundation installer, distinguishes sheds with built-in wood floors from buildings needing a concrete floor in its gravel-pad guidance. That is a useful decision point, but the shed manufacturer’s actual bearing requirements remain the starting specification.
A floorless building
If the walls are intended to sit on a slab, the slab is part of the building detail. The wall base, door opening and anchors must be coordinated with it. Pouring an oversized patio and deciding how to attach the shed afterwards can create water and fit problems.
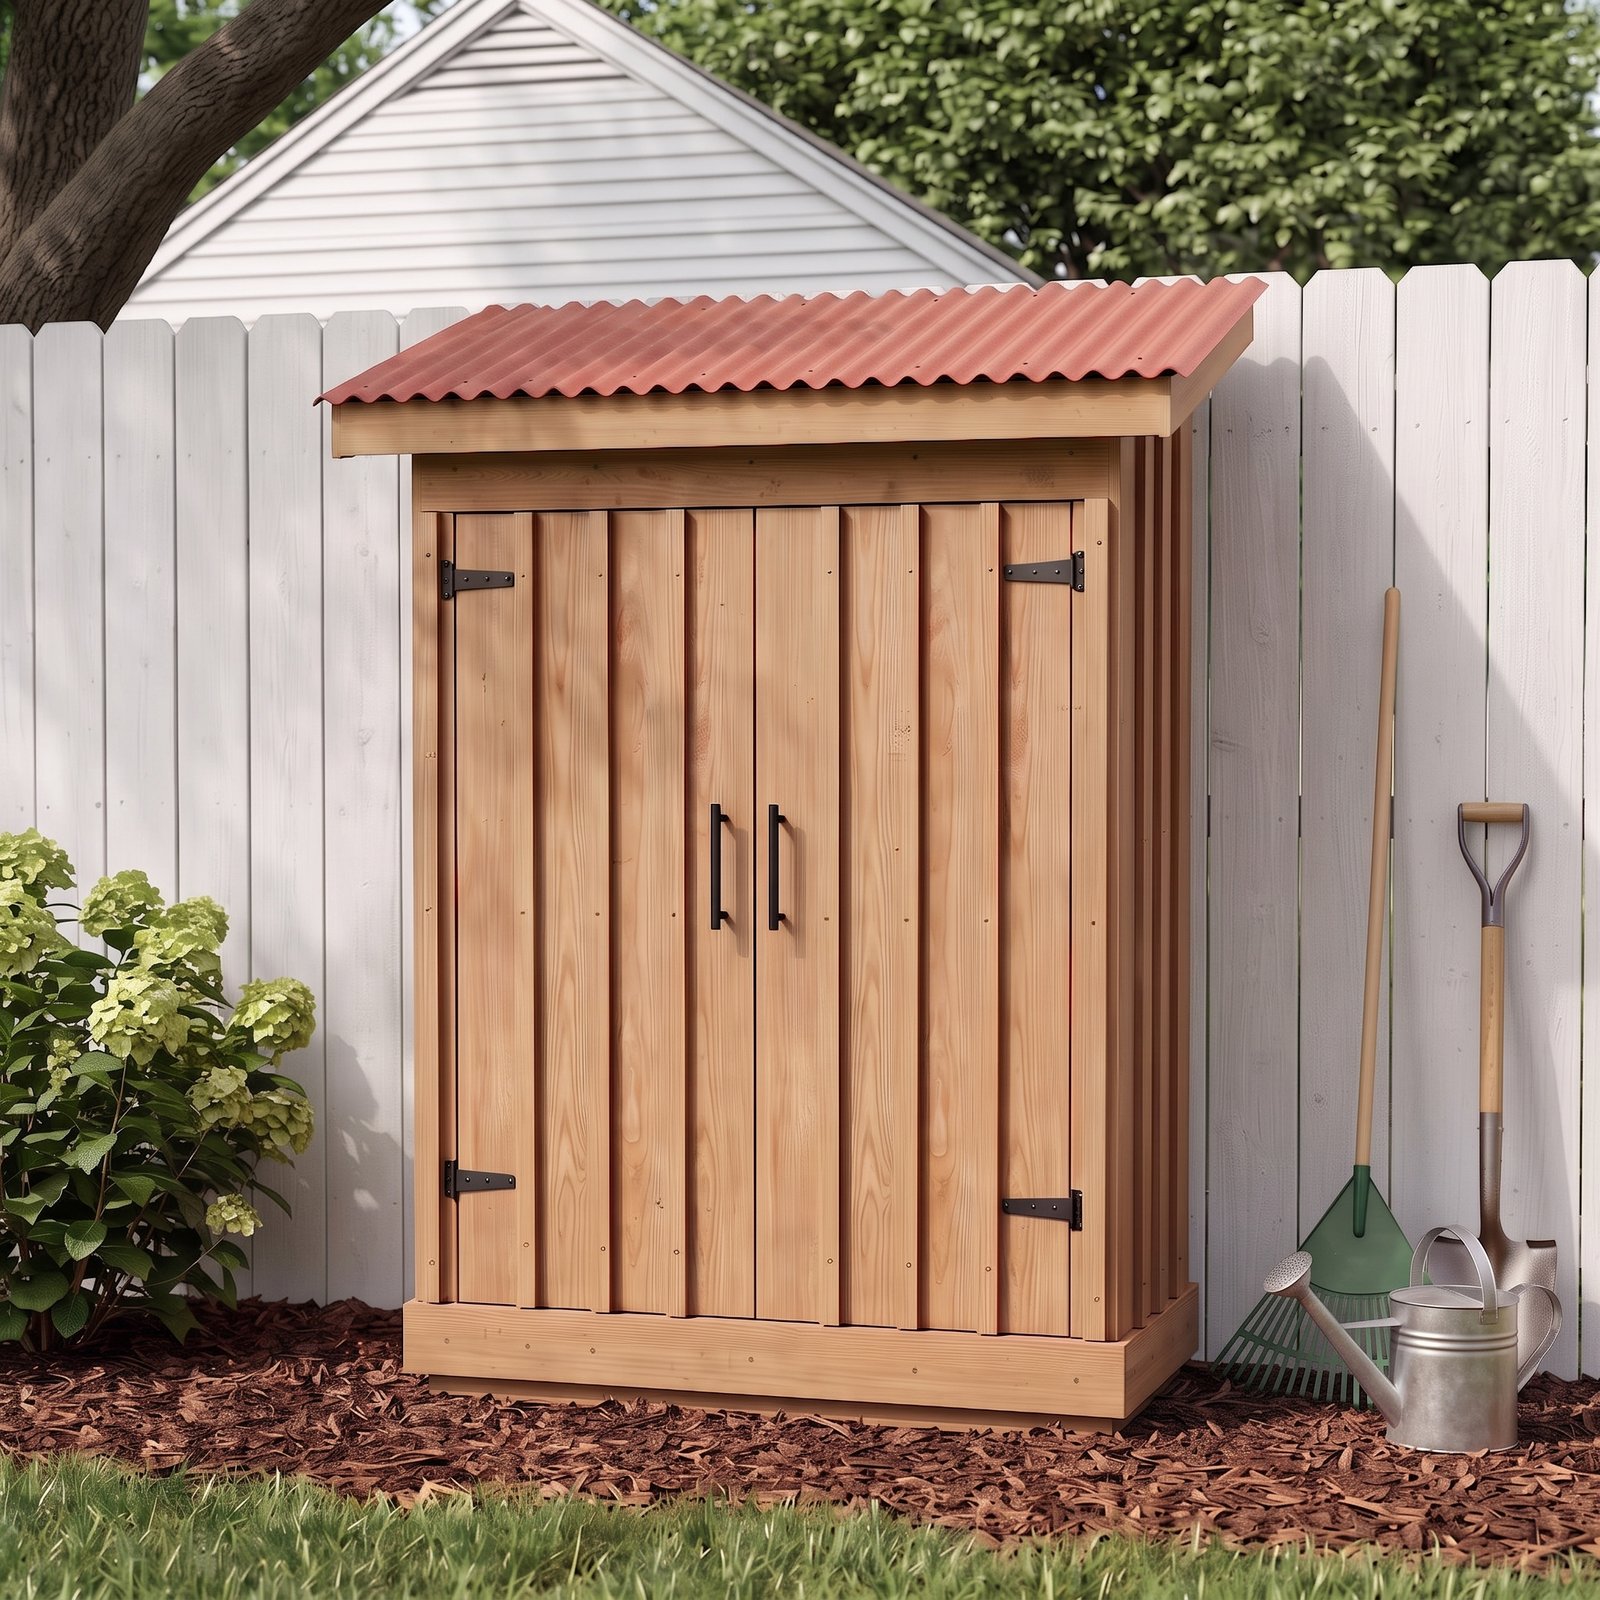
A compact garden storage cabinet
A narrow tool shed still needs its stated support arrangement. Its small footprint does not prove that four corner blocks are sufficient. Check the floor, the weight of stored items and the way the doors operate. For our lean-to garden tool shed plans, use the plan dimensions and base details when setting out the site.
Plans for your next build
Explore more garden storage projects.
Check the site before choosing the foundation
Visit the location after rain if possible. Note where water arrives, where it collects and where it can leave. A gravel-filled hollow can still hold water if the surrounding ground has nowhere to discharge it. Adding stone is not, by itself, a drainage design.
- Surface condition: distinguish firm ground from topsoil, recently placed fill and soft areas.
- Slope: measure the height difference across the entire footprint, not only across one corner.
- Access: consider materials delivery, excavation removal and the future route to the door.
- Water: include roof runoff and nearby downpipes, not only rainfall on the pad.
- Constraints: confirm buried services, boundaries and applicable local requirements before excavation.
A large change in level, persistent wetness or uncertain fill is a reason to get the site assessed. A tall stack of loose blocks is not a sound way to turn a difficult slope into a level platform. Relocating the shed can be simpler than forcing a foundation into the least suitable corner of the garden.
Level support, draining surroundings
The shed’s bearing surface normally needs to meet the building’s level tolerances. Surrounding surfaces should direct water away as appropriate. These are different requirements. Do not deliberately tilt the whole shed to drain rain from its roof or doorway; those need their own details.
Planning a gravel shed foundation
Confirm the shed’s approved bearing arrangement first. Then establish the pad dimensions, finished elevation, excavation and aggregate specification for the site. Specify the material with your supplier: “gravel” can mean very different products, from rounded decorative pebbles to angular crushed stone.
Site Prep’s installation guidance uses a prepared crushed-stone pad, discusses site drainage and explains when additional footings may be needed. It is an installer’s method for its applications, not a universal pad specification. Read the installation guidance.
Set out the pad using actual dimensions
Distinguish three outlines: the floor or skid footprint, the roof overhang and the foundation perimeter. They are rarely identical. Leave the clearances required by the building and base design, and ensure the roof sheds water where intended.
Suppose a design calls for a 96 × 120 in (243.84 × 304.80 cm) support footprint and specifies a 12 in (30.48 cm) gravel margin on each side. The resulting gravel area is 120 × 144 in (304.80 × 365.76 cm), or 10 × 12 ft. Add the margin twice—once at each edge. This is a layout example, not a required margin for every shed.
Use the inside dimensions of any edging when calculating the stone area. If the outside of the edging is the dimension you have measured, subtract its thickness at both ends. Otherwise, your drawing and aggregate estimate describe different rectangles.
Estimate aggregate from the specified compacted depth
For a rectangular area, volume equals length × width × depth, with all three in the same units. Convert depth from inches to feet before calculating cubic feet; divide cubic feet by 27 for cubic yards. For centimetres, divide the cubic-centimetre result by 1,000,000 for cubic metres.
Using the example area above and an assumed compacted depth of 4 in (10.16 cm), the volume is 10 × 12 × ⅓ = 40 ft³, approximately 1.48 yd³ or 1.13 m³. The 4 in depth is used only to demonstrate the calculation; actual depth depends on the approved design and ground.
That is finished geometric volume, not necessarily the delivered loose quantity. Ask the aggregate supplier to convert it using the specific material’s compaction and density information. Do not use a universal “tonnes per cubic metre” figure or a guessed waste factor for every stone.
Preparation determines the result
Resolve vegetation, unsuitable material, separation layers where specified, edge restraint and compaction before placing the building. Check elevation and level across the bearing lines, not just the corners. The final surface should match the shed’s support requirements without improvised wedges under isolated pieces.
When a concrete slab makes more sense
A slab is worth evaluating when the building is designed around a concrete floor, when the stored load needs a purpose-designed solution, or when a durable working surface is part of the brief. Price that complete system against a supported timber floor—not against the cost of loose stone alone.
Slab thickness, reinforcement, footings, moisture control and anchoring depend on the building and site. A commonly repeated slab thickness cannot settle those choices. Give the contractor the wall layout, intended contents, door position and any future equipment loads before work starts.
Tuff Shed’s pre-installation guidance asks customers to coordinate concrete dimensions before installation and to check squareness and level. It also identifies the need to align raised curbs with door openings. See the manufacturer’s preparation guide. The broader lesson is to agree the building-to-base interface before pouring.
Pay attention to the wall edge
A visible concrete ledge can collect rain beside a wall if the detail is wrong. Decide how the wall base is protected, where water drains and how siding terminates. An existing patio needs the same review: being hard and apparently flat does not establish its suitability for a new building.
Are concrete blocks a good shed foundation?
They can be part of a suitable system where the floor is designed for their positions and the ground support is prepared accordingly. The weak version is to place a few arbitrary blocks on topsoil and hope the floor bridges the gaps.
Use the specified block or pad product in its intended orientation. Decorative paving, hollow masonry units and proprietary foundation blocks are different products. Check the required bearing area, the beam or skid contact and how the assembly resists movement.
Surface supports can move as ground conditions change. Buried piers are a different system, requiring their own bearing and frost-related design. Neither approach removes the need to connect and brace the building properly. Do not assume the shed’s weight alone supplies all necessary wind restraint.
Door height and access are foundation decisions too
Add the foundation elevation, supporting frame and floor thickness before deciding the threshold height. A shed that sits nicely above wet ground may need a longer access ramp than the available space allows.
Mark the door swing and the route for your widest stored item. Include turning room for a mower or wheelbarrow. Check the finished path level, not the bare ground before landscaping. These simple measurements can change the preferred location or base arrangement before you spend money.
Before building the base
- Confirm the exact building footprint, roof projection and bearing layout.
- List the intended stored loads and any likely future changes.
- Resolve local approvals and underground services.
- Check soil, slope, drainage and the final surrounding ground level.
- Agree base dimensions, elevations and door access.
- Specify materials, ground preparation and building anchors.
- Check the completed base before the shed arrives or assembly starts.
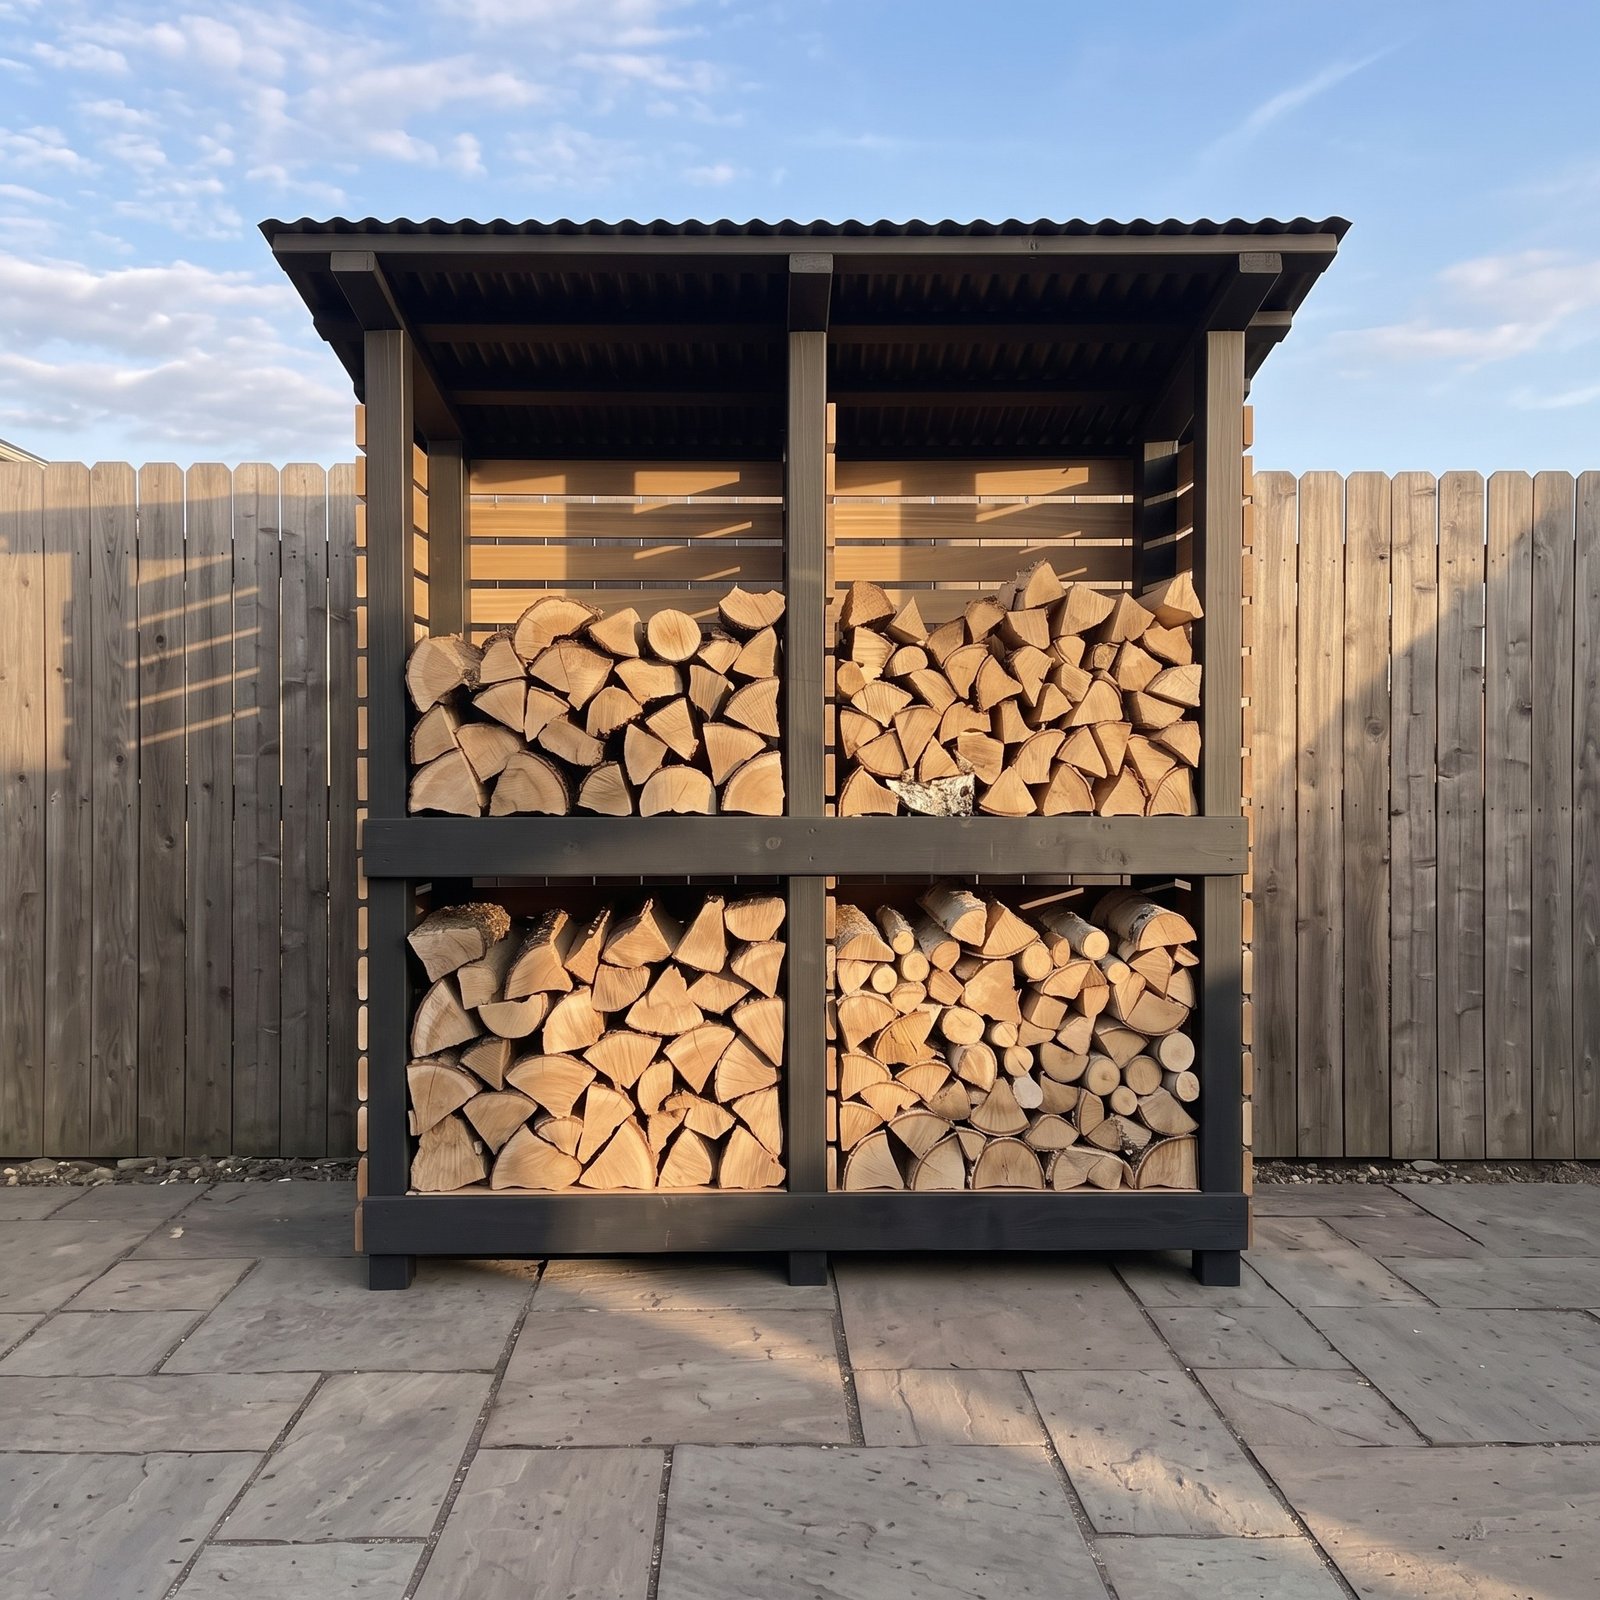
For timber near the base, choose the appropriate exposure specification using our cedar and pressure-treated wood guide. For a heavily loaded log store, first estimate the usable space with the firewood capacity guide, then confirm the floor and foundation design separately.
Common questions
Can I put a shed directly on grass?
Follow the particular building’s installation specification. A generic timber DIY shed should not be assumed suitable simply because another manufacturer permits a particular floor system on firm turf. Account for organic ground, retained moisture and support requirements.
Does a small shed need concrete?
Size alone does not decide. The floor system, ground, intended loads and local requirements matter. A suitable gravel or support-pad arrangement may be enough for one building while another needs a designed slab or footings.
Can I use an existing slab?
Potentially. Check its dimensions, condition, level, drainage detail and suitability for the intended loads and anchors. A patio’s appearance does not reveal its thickness, reinforcement or sub-base.