Wood Screws for Outdoor Projects: Types, Sizes and Uses
Buying outdoor wood screws is a series of small decisions: what the screw joins, how wet it gets, which wood it touches and how much sound timber it can engage. A box marked “exterior” answers only part of that question.
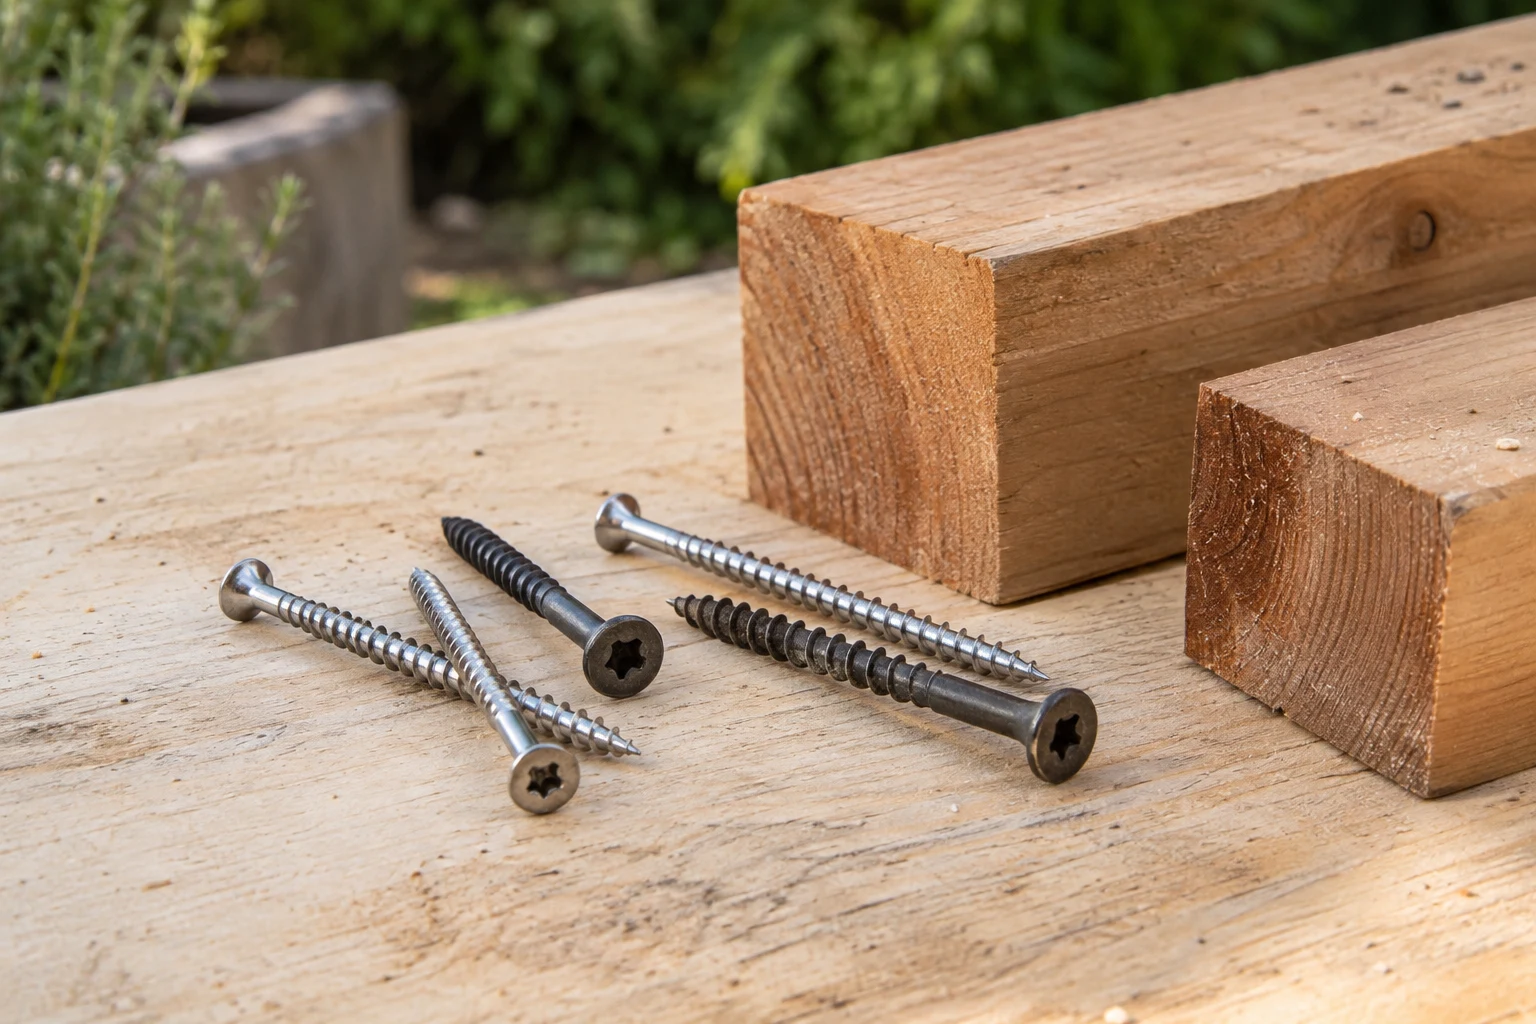
Choose a screw approved for the timber and exposure, with the right head, diameter and length for the connection. Suitable stainless steel or explicitly compatible exterior coatings address corrosion. Load-bearing joints and metal connectors need the exact fasteners specified for that application. A deck screw is not automatically a structural or connector screw.
Choose the screw by connection first
Start with the job the fastener has to do. Attaching a thin cladding board to a frame is different from fixing a hinge to a post, even if both connections are outdoors and both accept a screw.
| Connection | Starting point | What to verify |
|---|---|---|
| Fence boards or light cladding to framing | Exterior wood screw suited to the board material | Head holding area, penetration, splitting and corrosion compatibility |
| Outdoor frame joint carrying load | Specified structural wood screw, bolt or other designed connection | Published application, size, quantity, spacing and installation instructions |
| Joist hanger, post base or framing connector | The connector’s listed fasteners | Exact model, length, diameter and required hole pattern |
| Gate hinge or latch | Hardware maker’s specified fixings | Head fit, substrate, embedment and hardware finish |
| Thin lid or door facing | Suitable exterior screw sized for the actual assembly | No exposed point on the back and adequate grip in the support |
| Roof sheet to timber | The roofing system’s specified fixing | Washer, sealing, position and tightening method |
Use that table to sort a shopping list, not to redesign a connection. When a plan specifies a fastener, a substitute needs equivalent suitability for the actual joint. Matching only the nominal length is not enough.
Deck screws and structural screws are not interchangeable categories
Some products have published structural uses; others are intended for attaching boards. Read the particular product’s documentation rather than inferring strength from its colour, packaging size or drive recess. A screw can resist corrosion well while still being unsuitable for a load-bearing joint.
Metal connectors are especially specific. Their tested performance depends on the listed fasteners and installation. Simpson Strong-Tie’s connector and fastener guidance explains that different connectors use designated nails or connector screws. Do not substitute an ordinary deck screw simply because it passes through the hole.
Stainless steel or coated screws?
Corrosion selection starts with exposure: occasional rain on a freely draining gate is different from trapped moisture in an enclosure base or salt spray near the coast. Also identify the timber species and any preservative treatment. Keep the timber’s treatment label until you have selected compatible hardware.
| Option | Where to investigate its suitability | Important limitation |
|---|---|---|
| Exterior-coated steel | General outdoor woodwork within the product’s stated exposure and treatment limits | “Coated” does not identify one universal performance level |
| Hot-dip galvanized fasteners | Applications for which the required galvanizing specification is accepted | Ordinary electroplated zinc is not the same coating |
| 304 or 305 stainless steel | Many outdoor timber applications where the fastener maker approves the use | Confirm both corrosion suitability and mechanical capacity |
| 316 stainless steel | More demanding chloride or coastal exposure | Still needs the correct product, installation and compatible hardware |
| Unspecified bright, black or yellow screws | Check the actual product identification before considering them | Appearance is not evidence of an exterior rating |
Simpson Strong-Tie distinguishes stainless grades and recommends material selection around exposure. Type 316 provides improved resistance to chloride-related corrosion compared with common 304/305 products. It is not a reason to use any stainless screw in any structural connection. Manufacturer’s stainless-steel fastener overview.
Pressure-treated wood needs explicit compatibility
Preservative chemistry, retention level and moisture conditions influence corrosion risk. Do not assume that every outdoor coating is approved for every treated timber. Check the timber supplier’s guidance alongside the screw and connector manufacturer’s recommendations.
Hot-dip galvanizing and ordinary zinc electroplating are different. A label that says only “zinc plated” is not enough to establish suitability for treated wood outdoors. Simpson Strong-Tie’s treated-wood FAQ discusses these distinctions and the need to consider the treatment.
Cedar and visible staining
With cedar, the appearance of the finished board matters as well as fastener life. The Western Red Cedar Lumber Association notes that iron or steel can react with cedar and cause staining, and recommends stainless screws in its decking fastener guidance. Select a suitable fastener before fitting a whole run of visible boards.
Keep the assembly compatible too. A stainless screw through a metal bracket is a combination of materials, not just an isolated screw choice. Follow the bracket manufacturer’s permitted fastener and finish combinations, particularly where the connection stays wet.
How long should an outdoor wood screw be?
Think in terms of the material the screw passes through and the receiving material it must engage. Use actual finished thicknesses, not nominal lumber names. The receiving member also sets a limit: a longer screw is not an improvement if it leaves a sharp point exposed inside a bin enclosure or behind a gate.
Approximate depth beyond the joint = screw length − thickness of the outer piece − any intervening layers.
This estimates where the point reaches. It does not establish load capacity or usable threaded embedment. Head seating, the unthreaded shank and the tapered point must also be considered.
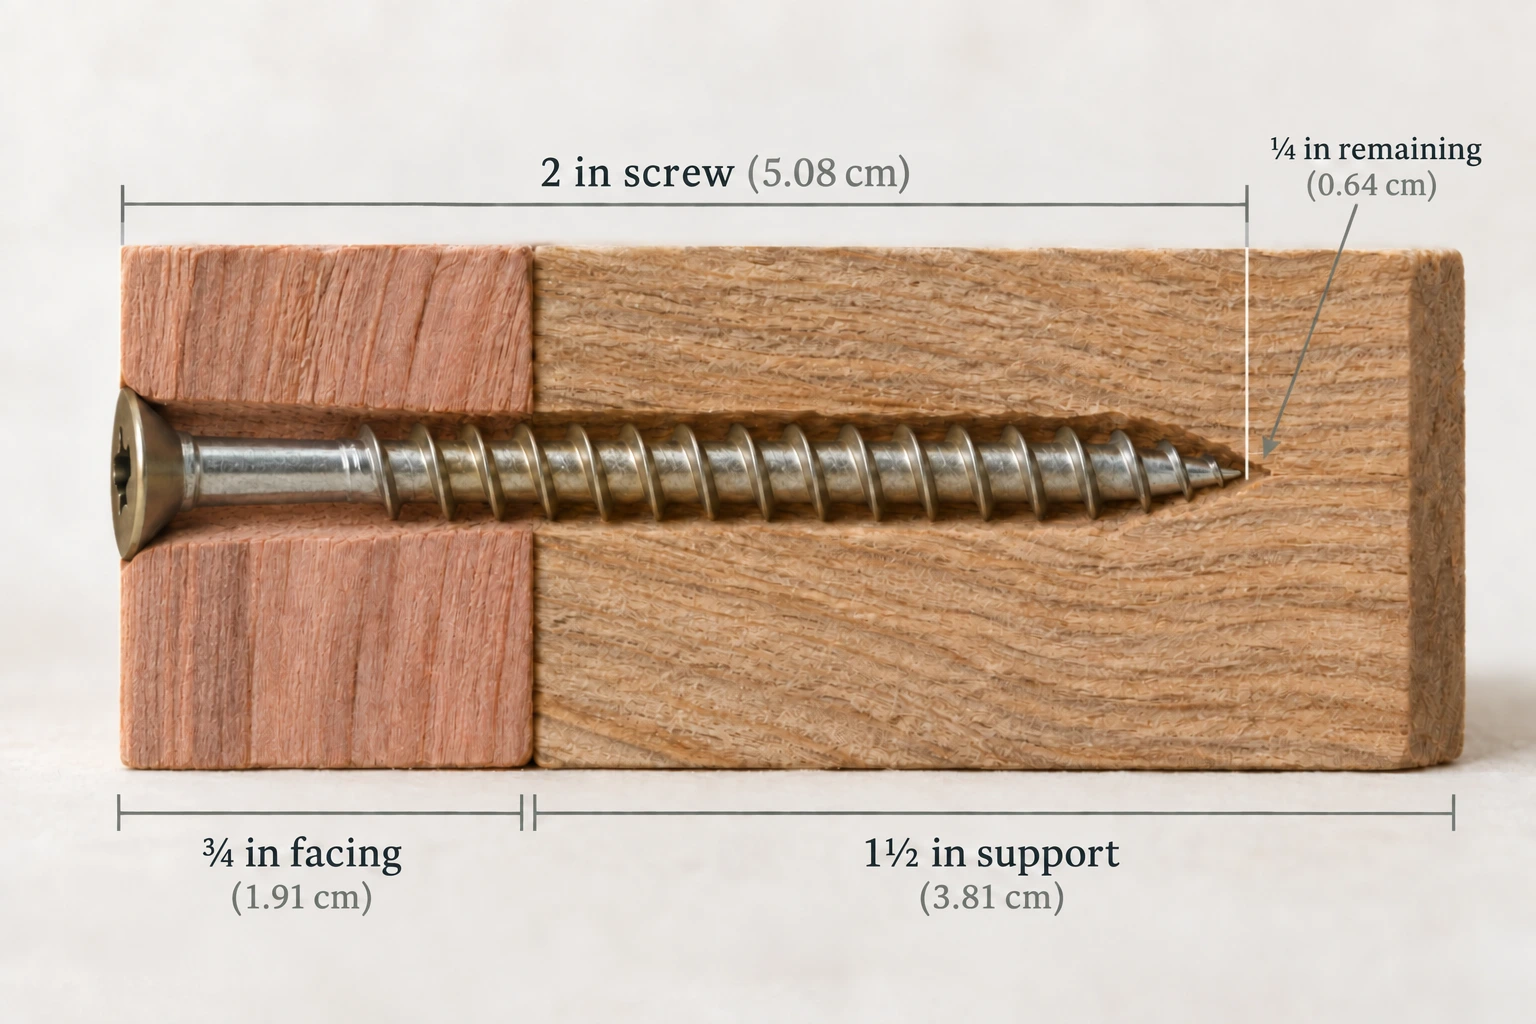
Worked example: cladding onto a small frame
Suppose a ¾ in (1.91 cm) facing board lies flat against a 1½ in (3.81 cm) thick support. The complete stack is 2¼ in (5.72 cm). With a suitable countersunk 2 in (5.08 cm) screw seated flush, the point reaches approximately 1¼ in (3.18 cm) past the joint and remains about ¼ in (0.64 cm) short of the back face.
A 2½ in (6.35 cm) screw driven the same way would extend about ¼ in (0.64 cm) beyond that stack. That is a protruding point, not extra useful holding depth. Conversely, a shorter screw might avoid protrusion but provide insufficient engagement for the connection. The plan or fastener data still determines the required size.
Check a sample assembly before production. Add the real thickness of washers, brackets or spacers when present, and use the manufacturer’s length convention for the head style. Small differences matter most on thin doors and lids.
Why the “twice the board thickness” rule is incomplete
A simple multiplier ignores the receiving timber, thread geometry, loading and hardware. It may produce a screw that is too short in one joint and dangerously long in another. Use it neither as a structural calculation nor as a substitute for a specified fixing schedule.
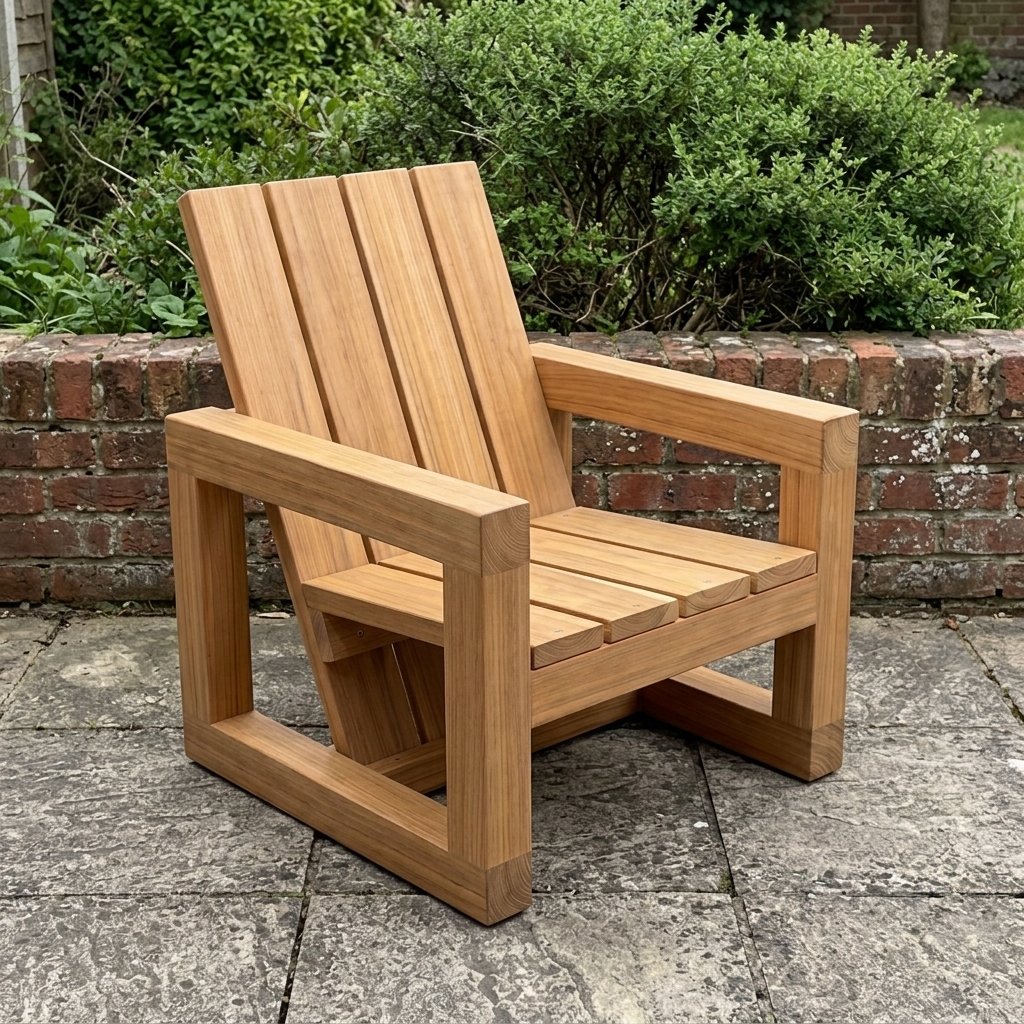
Choosing the timber too? Compare cedar and pressure-treated wood. For seating and tables, decide on the finish and preparation sequence before final assembly.
Plans for your next build
Choose the project first so you can match fixings to its connection details.
Choose the head and thread for the assembly
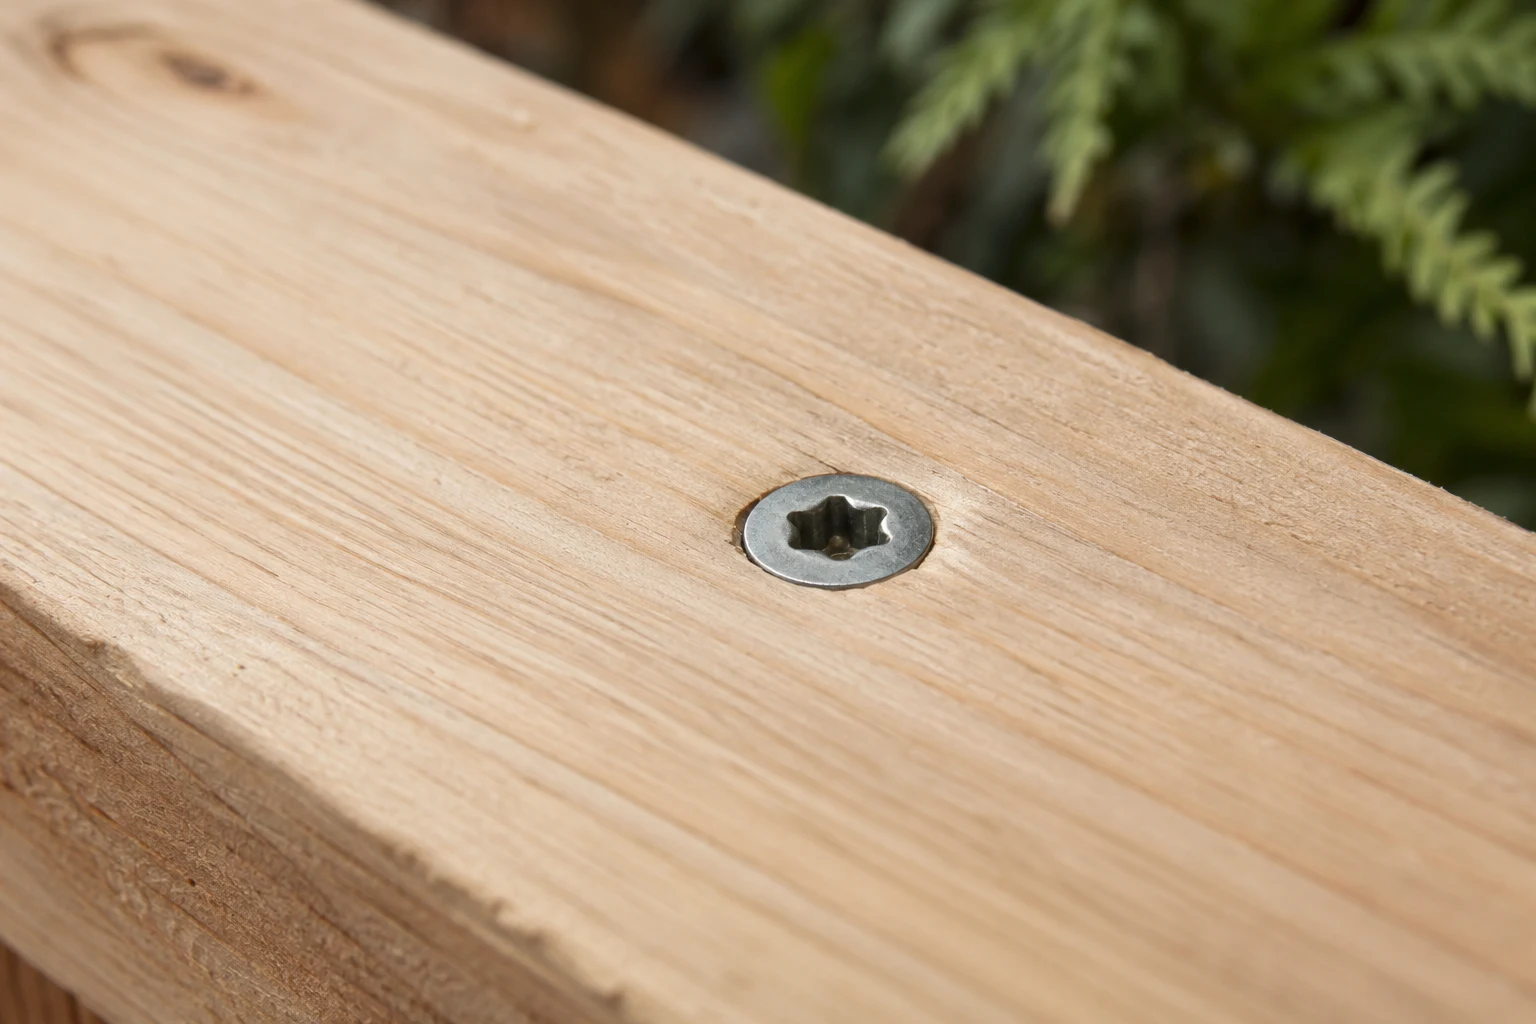
Countersunk heads are useful where a flush surface is intended and the wood or hardware accommodates the head. Overdriving removes supporting material around the head and can split or crush a thin board. “Below the surface” is not automatically better.
Washer or flange heads provide a different bearing surface. They may be specified for framing or particular hardware, but they do not fit every countersunk hinge hole. Do not force an incompatible head against a plate and assume it is seated properly.
Partially and fully threaded screws can behave differently when drawing parts together. In an ordinary wood-to-wood assembly, threads gripping the outer board can hold it away from the support if the pieces are not clamped or drilled appropriately. Specialist structural screws may intentionally use full threads for a different load-transfer mechanism. Follow the product’s joint detail.
Do outdoor screws need pilot holes?
Follow the fastener instructions first. Some products are designed for installation without predrilling in stated conditions; that does not remove every splitting risk. Dense timber, thin parts and locations near board ends deserve particular attention.
A pilot hole prepares the receiving wood. A clearance hole, where the connection detail requires one, lets the screw pass through the outer piece without those threads holding it apart. A countersink seats an appropriate head. These are three different functions, so do not treat one drill size as suitable for all three.
There is no single pilot-hole size for every “#8 screw.” Geometry, timber density and the specific product matter. Follow published guidance and test the setup on an offcut of the same stock when appropriate.
Drive screws without damaging the connection
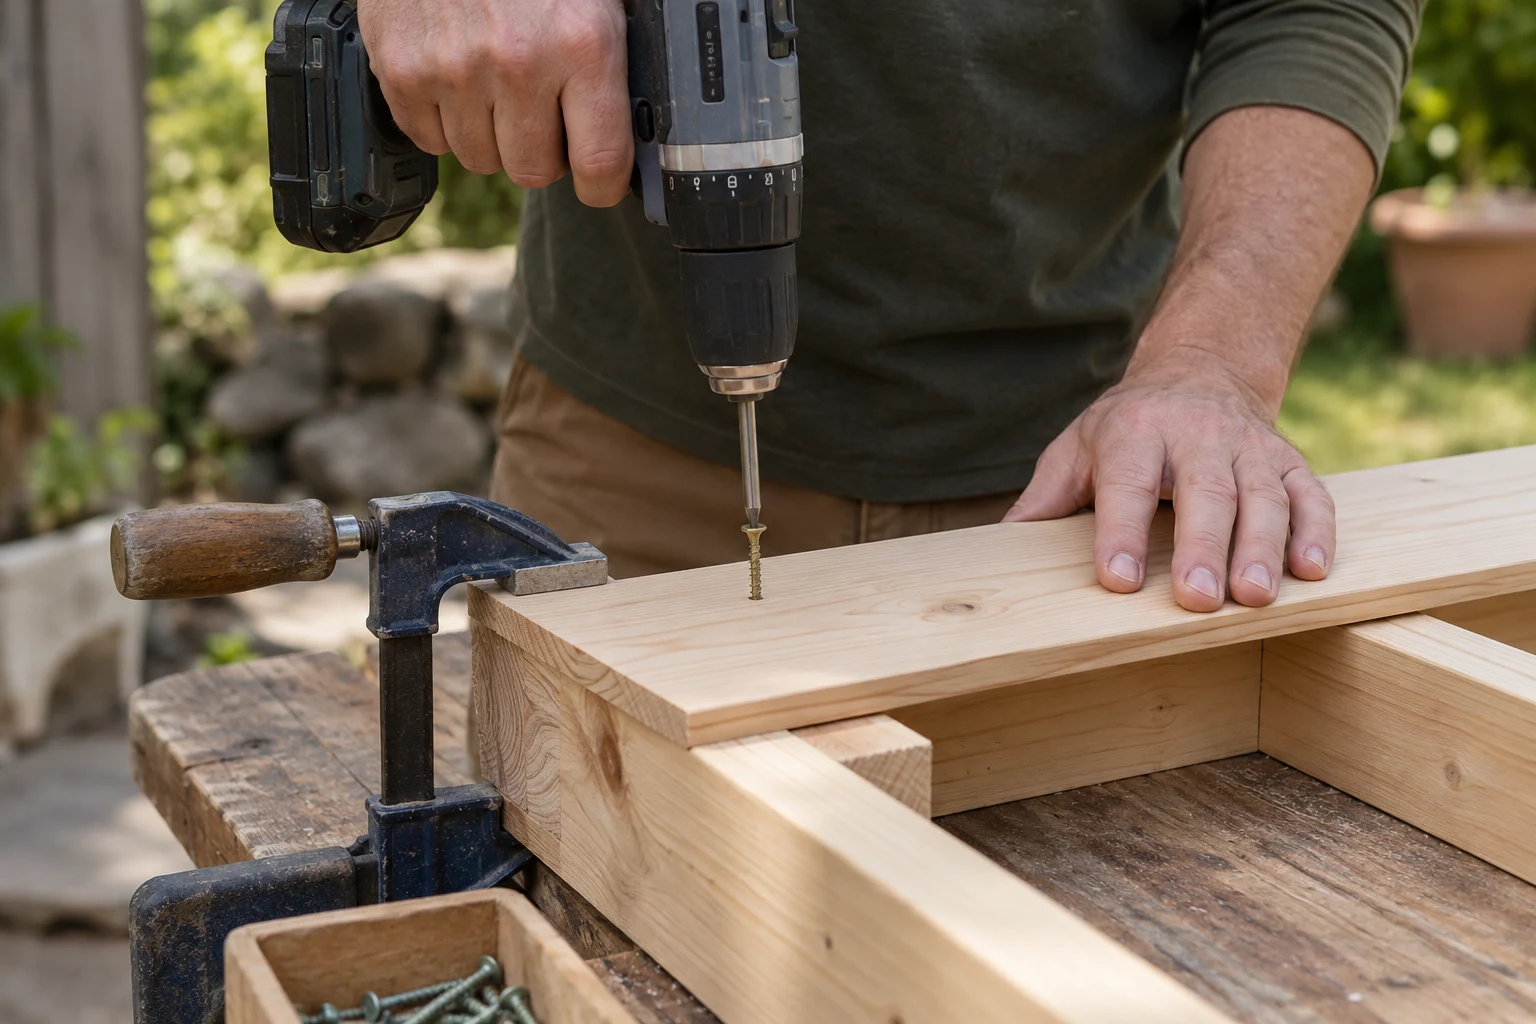
- Clamp the parts in their final position and check the actual thicknesses.
- Mark the fixing locations, preserving the specified edge and end distances.
- Drill or countersink where the design and fastener instructions require it.
- Use the correct bit and drive straight. Control speed and torque as the head seats.
- Stop at the intended seat, rather than burying the head to close a badly fitted joint.
- Inspect for splits, damaged heads, gaps and protruding points before repeating the pattern.
Apply the choice to a gate, shed or bin enclosure
Garden gate
Separate the frame-joint screws, facing-board screws and hinge fixings on your list. They serve different purposes and may need different lengths or head shapes. A stronger-looking screw will not correct a missing diagonal or a moving post. See how to build a wooden gate that won’t sag for the frame layout, or diagnose a sagging gate before replacing its hardware.
Shed cladding and roof framing
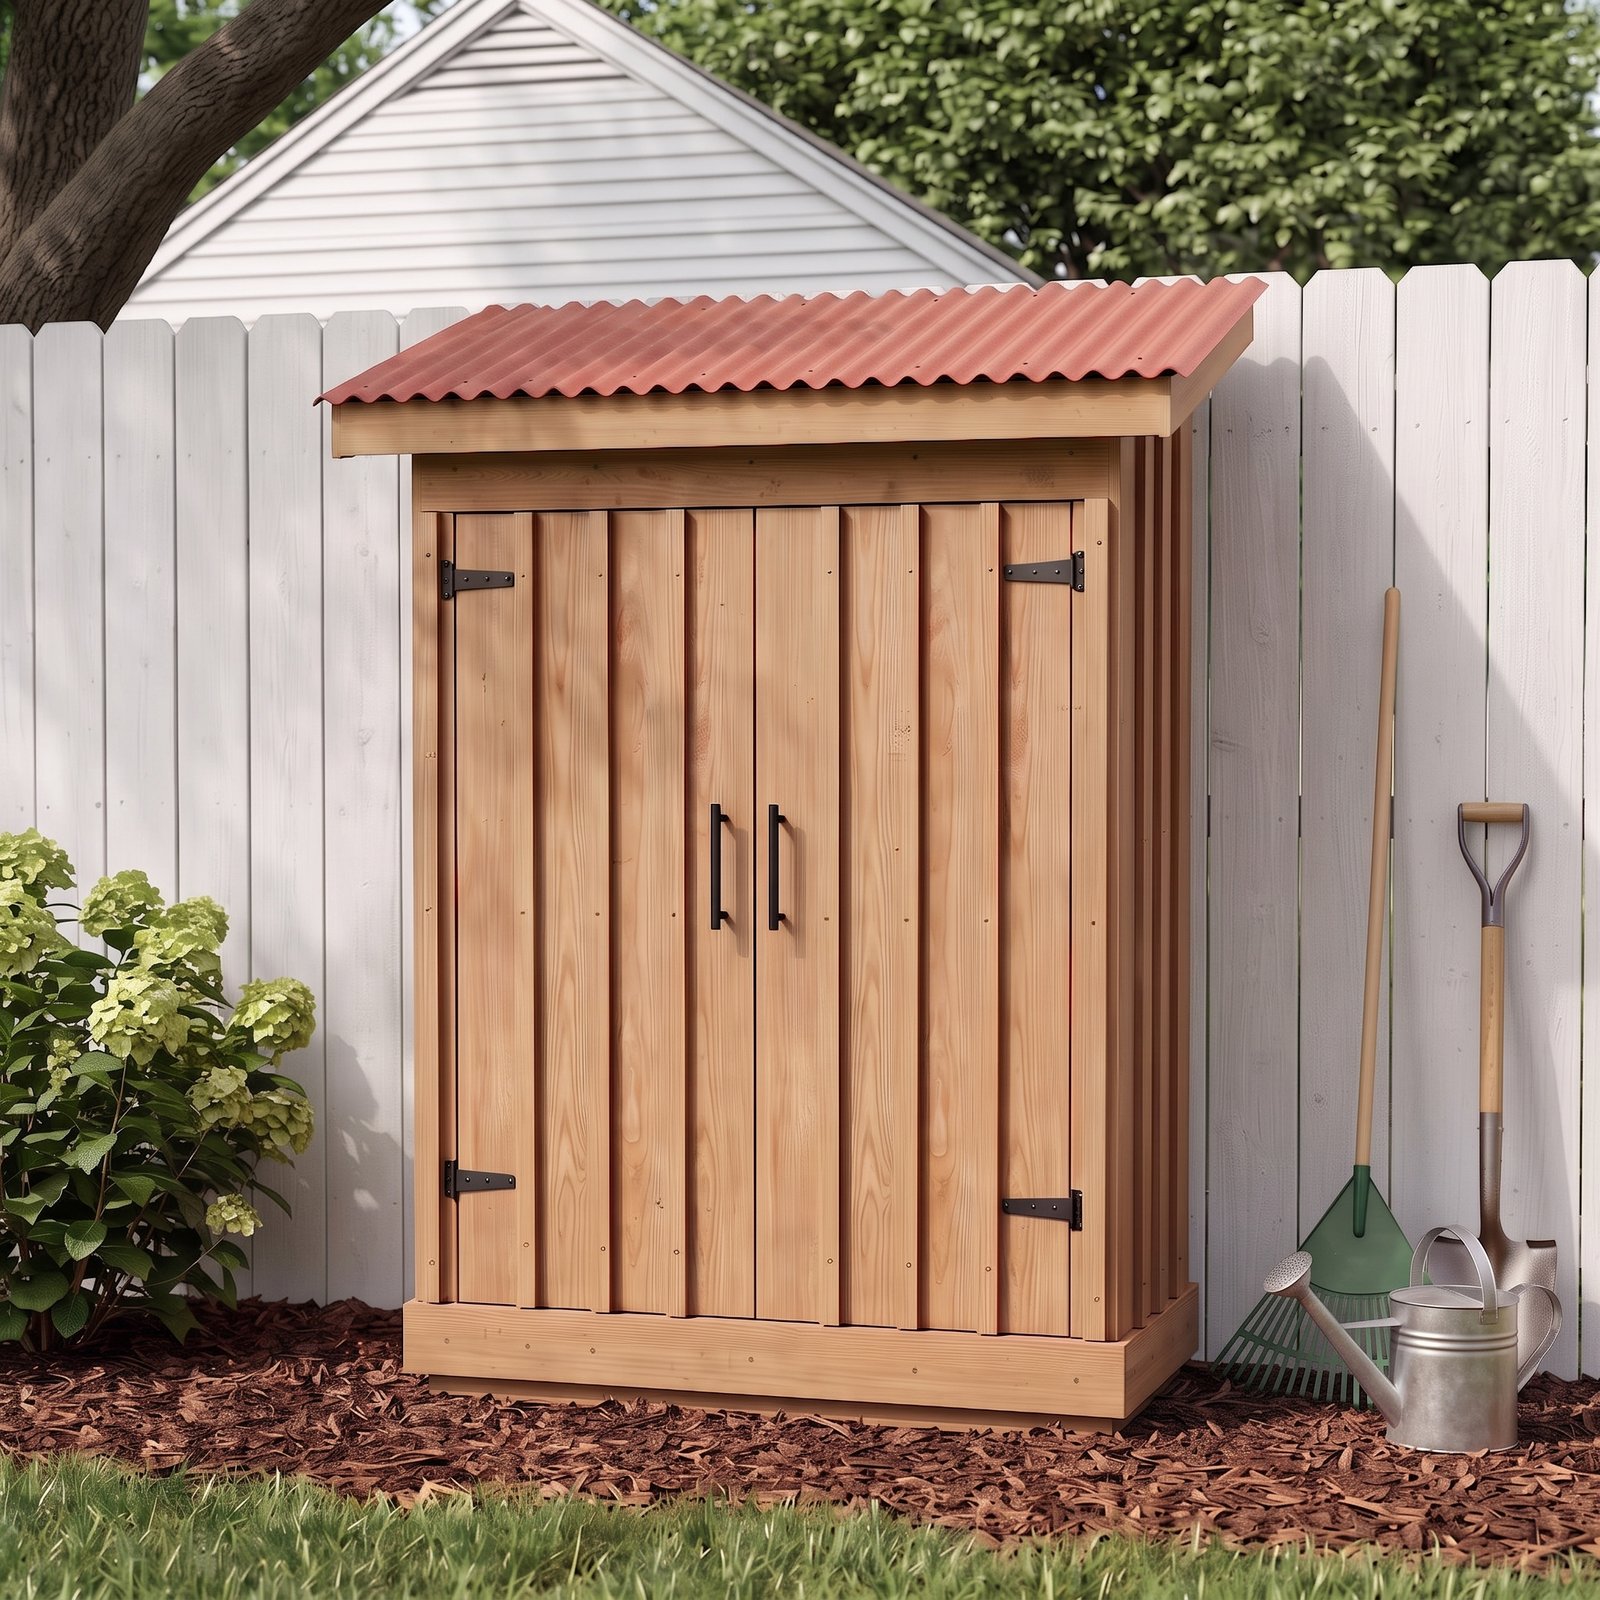
Keep the cladding fixings separate from structural roof connections and roofing-sheet fasteners. A waterproof washer on a roofing screw has a specific job; it does not make that screw the right choice for the timber frame. If you are planning storage, the lean-to garden tool shed shows the project context, while the plan’s hardware schedule remains the starting point for buying fixings.
Bin enclosure doors and lids
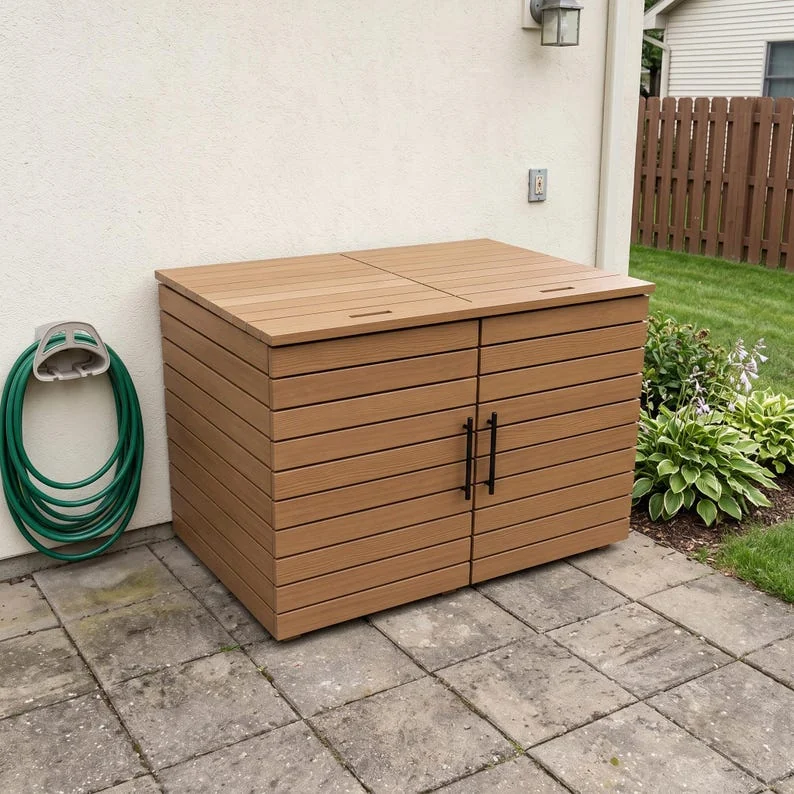
Check the rear face of each moving panel before fixing its boards, handles and hinges. A screw may remain concealed when the lid is down yet expose its tip when the lid opens. Use a sample stack to verify length, and inspect the finished panel from both sides. The double trash can enclosure plans are a useful next step if you want a complete coordinated build rather than choosing every joint independently.
What to check on the box before buying
- Product identity: keep the brand and exact model, not just a photograph of a loose screw.
- Intended connection: board fixing, structural timber connection or specified hardware installation.
- Corrosion approval: the exposure and timber treatment the product actually covers.
- Dimensions: diameter, overall length and relevant thread length.
- Head and drive: fit to the hardware and the correct driver bit.
- Installation: pilot holes, edge distances, spacing, quantities and tightening instructions.
- Availability: buy enough of the specified product so the last few connections are not improvised with a different screw.
A practical hardware list has one row per connection type. For example: “door facing to frame,” “hinge to door frame” and “hinge to post.” Add the specified screw beside each row and total identical products afterwards. That catches length conflicts before you are halfway through assembly.
Common questions
Can I use drywall screws outdoors?
Do not choose a drywall screw for an outdoor timber connection unless its manufacturer explicitly approves that exact use. Ordinary drywall screws are intended for attaching board indoors, not as a general substitute for exterior or structural timber fasteners.
Are all stainless screws stronger than coated screws?
No. Corrosion resistance does not establish mechanical capacity. Compare the specified application and published performance of the actual products. Different alloys, diameters and geometries can have different properties.
Can I paint over a screw to make it suitable outdoors?
A finish applied after installation does not establish corrosion protection for the buried shank, threads or damaged surfaces. Start with a fastener rated for the conditions; treat paint as part of the project’s finish.
Do I need one screw size for the whole project?
Usually not. Consolidate sizes only when each resulting connection still meets its requirements. One convenient box can create short frame fixings and overlong panel fixings in the same build.