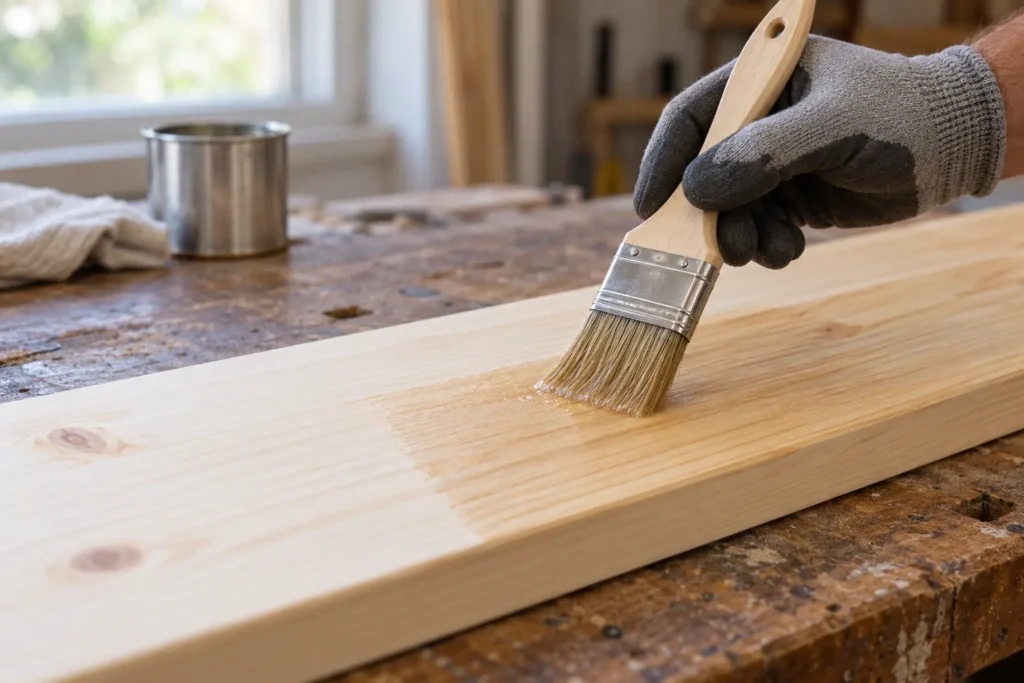
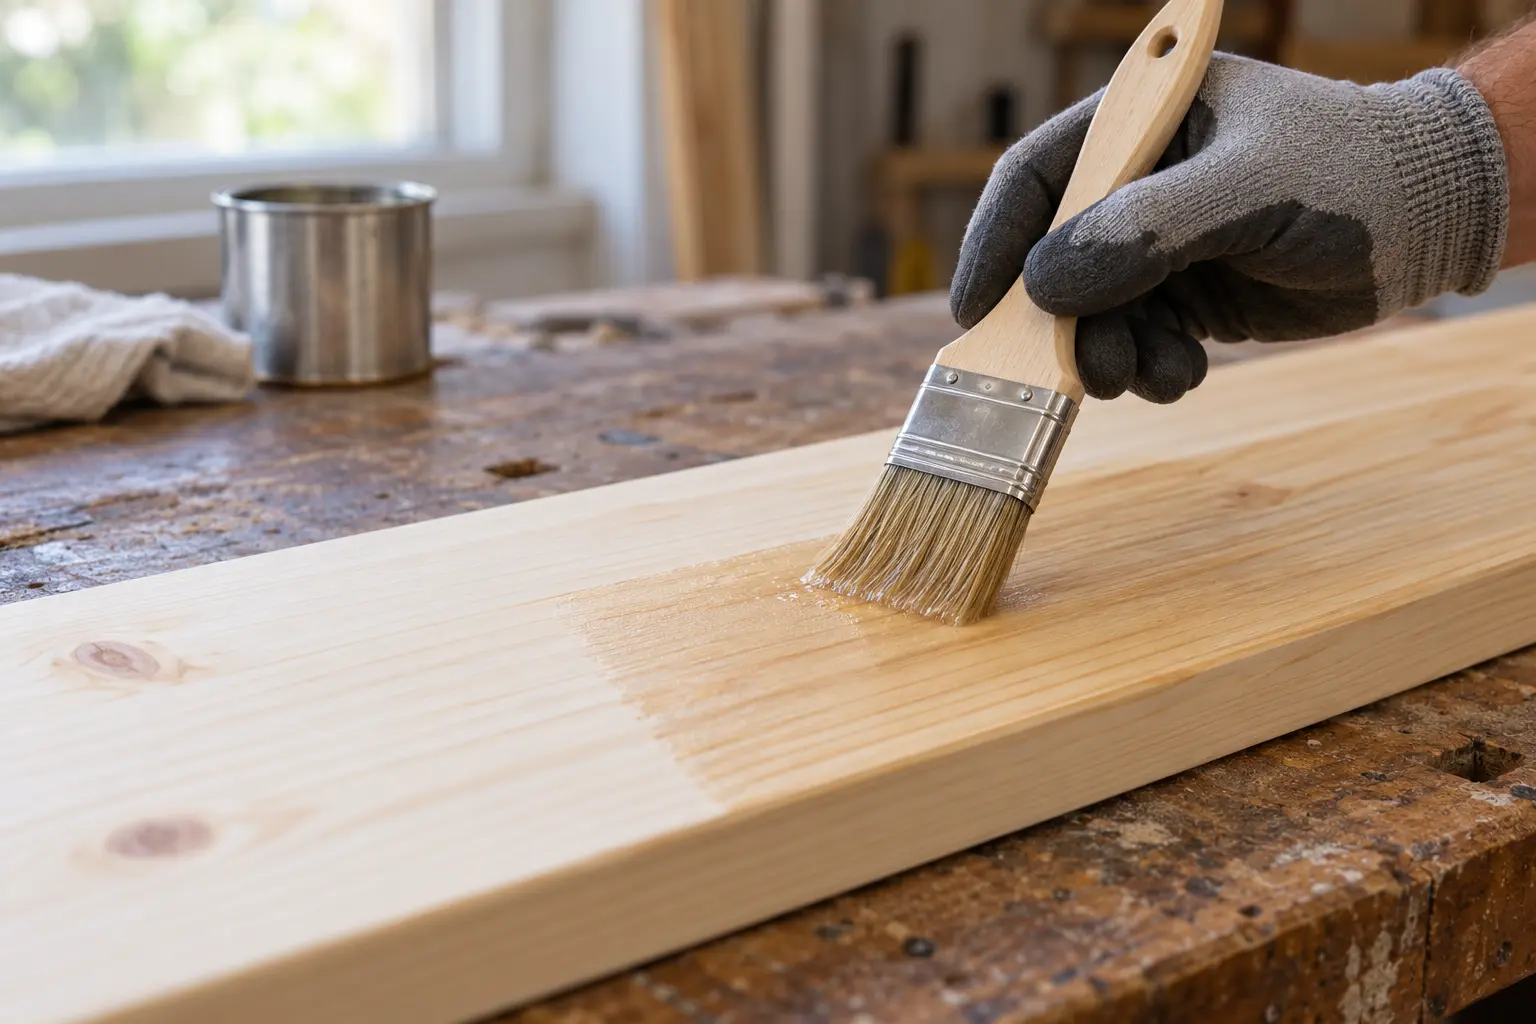
Apply it to prepared bare wood before staining; it cannot remove glue, repair existing blotches through a clear finish, or replace sanding
When wood conditioner before staining helps
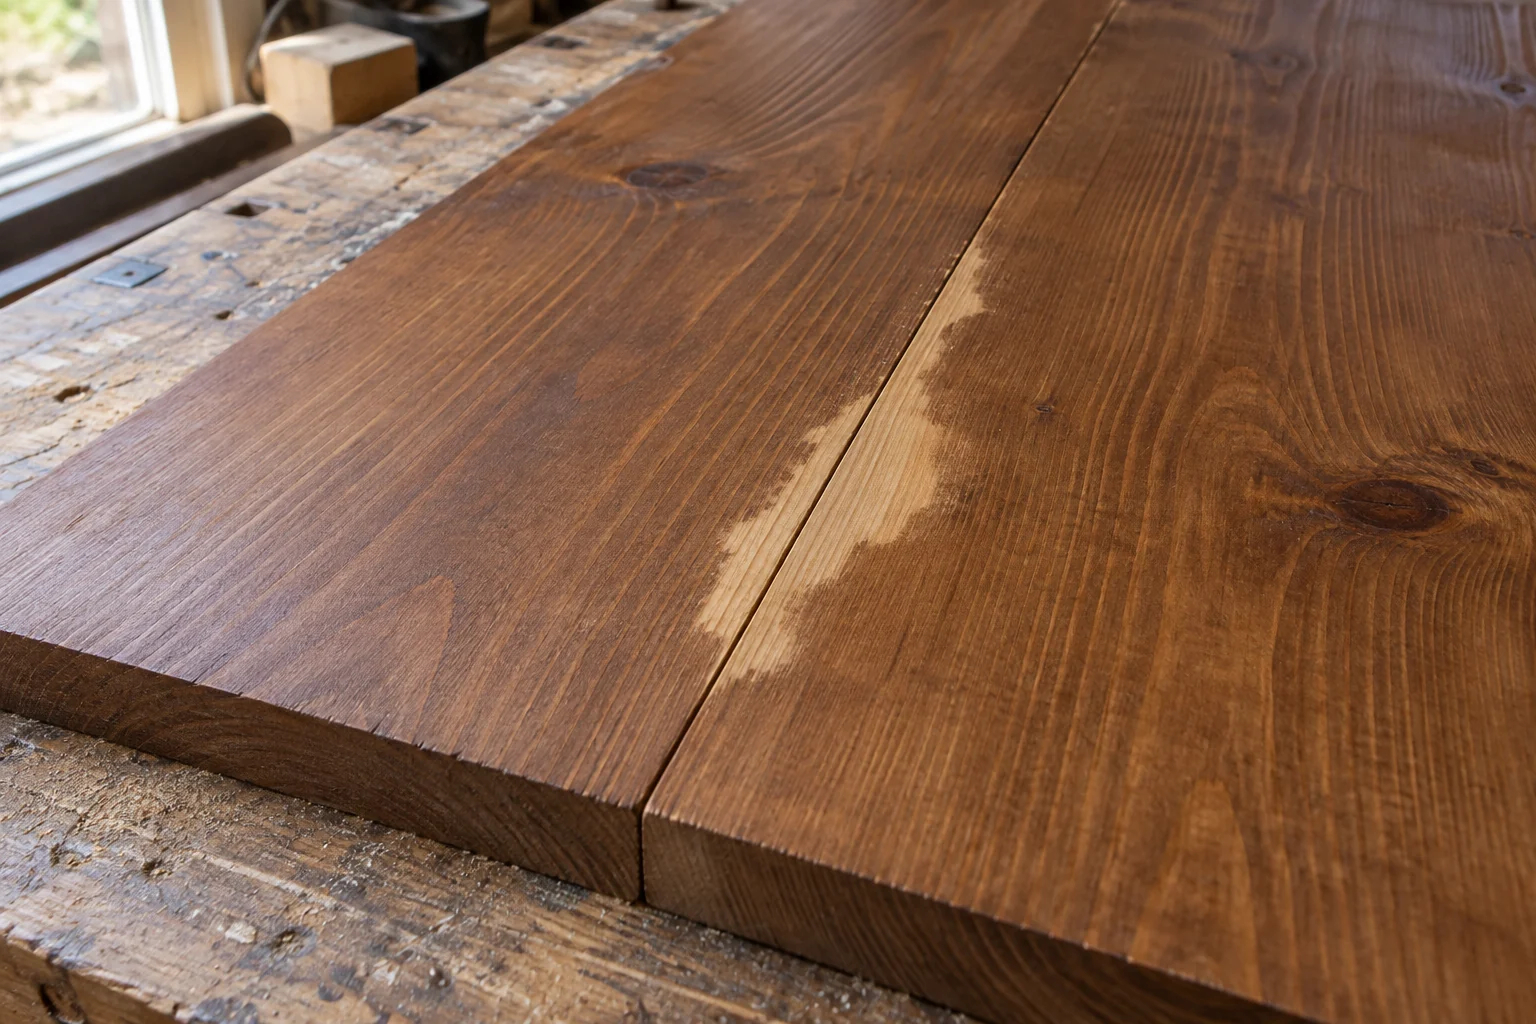
Pine and other woods that absorb penetrating stain unevenly can develop cloudy light and dark areas; conditioner moderates that absorption, but the result still depends on the wood, sanding and stain
Minwax identifies pine, fir, alder, aspen, birch and maple as woods where its oil-based pre-stain treatment is particularly useful
Do not assume every softwood needs one identical treatment or every hardwood can skip it; start with the instructions for the stain system you actually bought
If the wood is already stained, first identify whether the mark is absorption blotching, an overlap or a glue barrier using the blotchy-stain diagnosis guide
Oil-based and water-based conditioner are different procedures
| Named product | Penetration and wiping | Next step |
|---|---|---|
| Minwax Pre-Stain Wood Conditioner, oil-based | Allow 5–15 minutes, then remove excess | Apply compatible stain within 2 hours of the conditioner application |
| Minwax Water-Based Pre-Stain Wood Conditioner | Allow 1–5 minutes, then remove excess before it dries on the surface | After 15–30 minutes, lightly sand raised grain and remove dust before staining |
These are product-specific directions, not interchangeable timing rules for all brands; use the current label on your can if its formulation or regional instructions differ
Within this Minwax system, pair the oil-based conditioner with the oil-based stain and the water-based conditioner with the water-based stain
Do not interpret a headline drying time as permission to leave surplus conditioner on the surface or ignore the staining window
Make a comparison that answers your colour question
Use two adjacent offcuts from the same board, or divide a long offcut into two marked test areas; prepare both with exactly the sanding sequence intended for the project
- Label the backs
Record the wood, final sanding grit, stain colour and date so the samples remain identifiable
- Condition one sample
Follow its application, wiping and sanding instructions; leave the other as the unconditioned comparison if the stain system permits that comparison
- Stain consistently
Use the same application method and wiping interval on both samples
- Finish the samples completely
Let the stain dry as directed and apply the intended compatible clear coat before choosing the colour
This is a test you can carry out, not a claim that Firesided has measured the two outcomes; compare both the overall colour and the variation within each sample
If the conditioned result is too light, test another stain colour or the manufacturer’s permitted application method instead of leaving a thick layer of penetrating stain to dry
Remove barriers before applying conditioner
Glue residue can keep stain out regardless of how carefully conditioner is applied; inspect seams and joints before treating the entire face
Remove glue and unwanted old finish using a method appropriate to the material, then bring the visible surface to a consistent preparation standard; be especially careful with thin veneer
Check the sandpaper-grit guide against your chosen finishing system rather than automatically polishing the bare wood with an extremely fine abrasive
Use side lighting to find scratches and dust before applying a transparent finish, which will not hide them
Plan a batch around the staining window
For an oil-based Minwax example, if you apply conditioner at 10:00, the two-hour staining window ends at 12:00; wiping at 10:10 does not restart that clock
That arithmetic matters on a batch of chair parts: divide the work into groups you can condition, wipe and stain within the required window, keeping each component’s timing consistent
Follow the product’s ventilation and waste-disposal instructions, particularly for cloths containing oil-based products; do not leave soaked rags crumpled on the bench
Is conditioner the same as sanding sealer?
No; pre-stain conditioner manages stain absorption, while a sanding sealer serves a different role within a finishing system
Can conditioner fix stain that is already sticky?
No; diagnose excess product, incompatible layers or insufficient drying using the sticky-stain guide