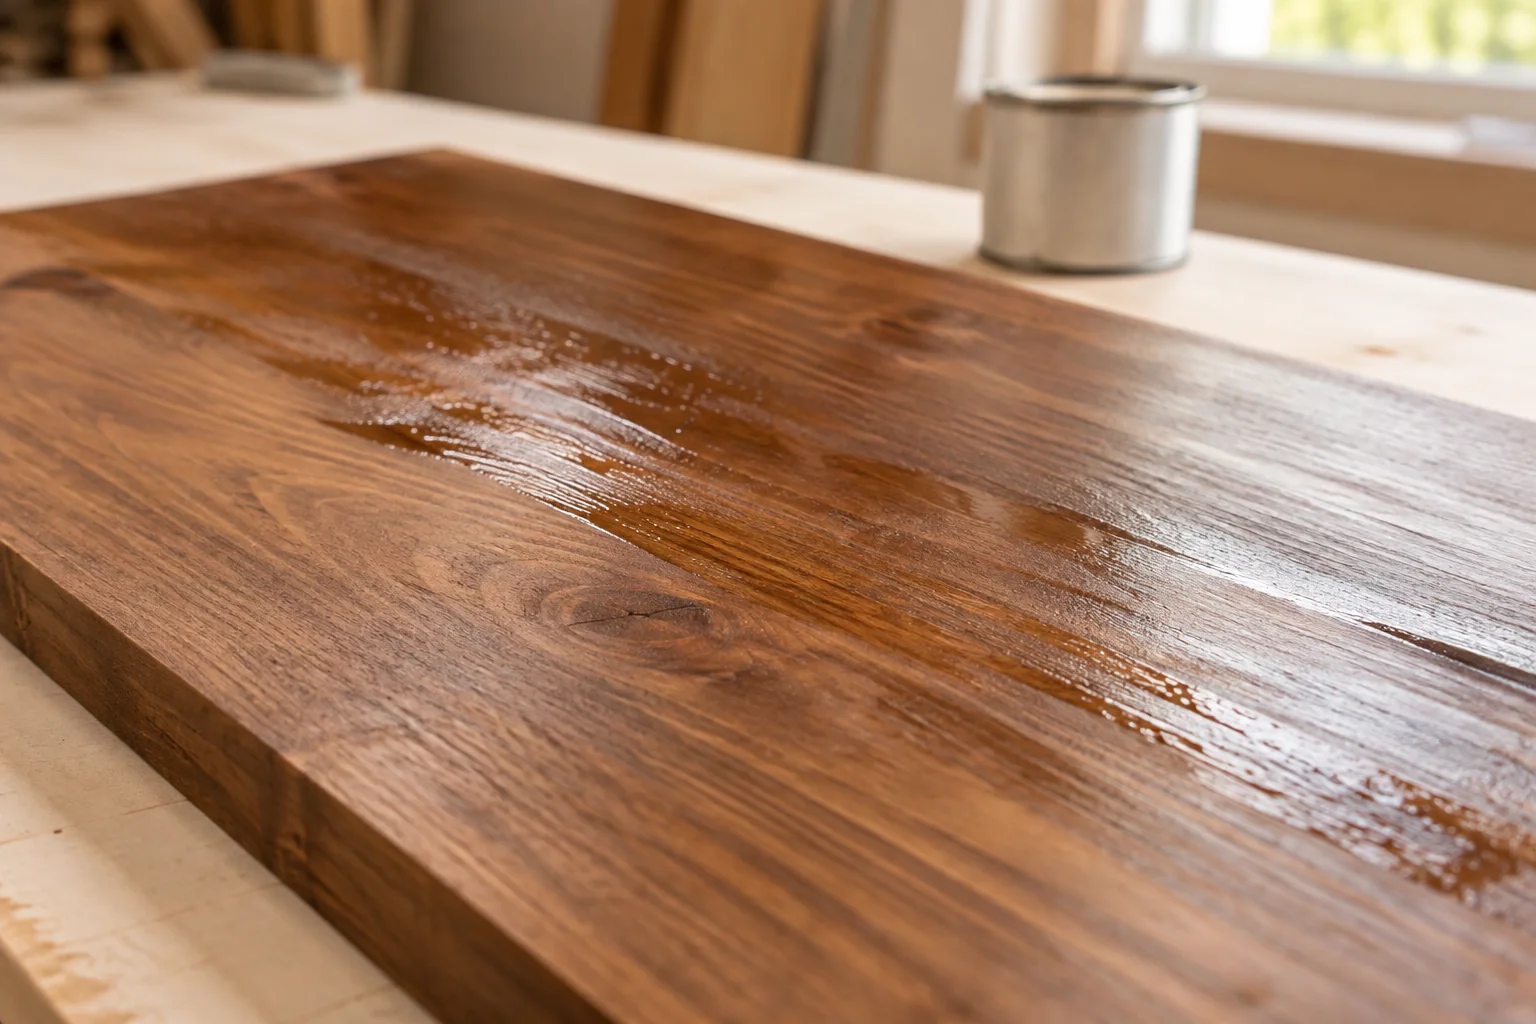
Common causes include excess wipe-off stain left on the surface, application over an unsuitable existing finish and drying conditions outside the product’s requirements
Identify the exact stain and the layers beneath and above it, then choose that product’s recovery method; do not cover unresolved tackiness with polyurethane
Find these five details first
- Full product name Record the brand, range, base and whether it is a penetrating stain, gel stain or stain-and-finish combination
- Starting surface Was the wood bare, fully stripped, previously varnished, painted or otherwise sealed?
- Coat history Note the number of coats and when each was applied
- Application method Did the instructions require wiping off excess, and did you do it within the working time?
- Anything applied afterwards Include clear finish, wax, cleaners and attempted solvent treatments
Photograph the front and back labels so that a similar product name cannot be confused with the one actually used
A useful record might read: “One coat of this oil-based penetrating stain, applied yesterday to sanded bare pine, excess not wiped away, no topcoat”
That record points towards a different investigation from “Two wiped coats of gel stain over a previously varnished cabinet” even if both surfaces feel tacky
Also distinguish a colour problem from a drying problem; blotchy wood that has dried is not the same fault as soft residue sitting on the surface
Match the symptom to the next check
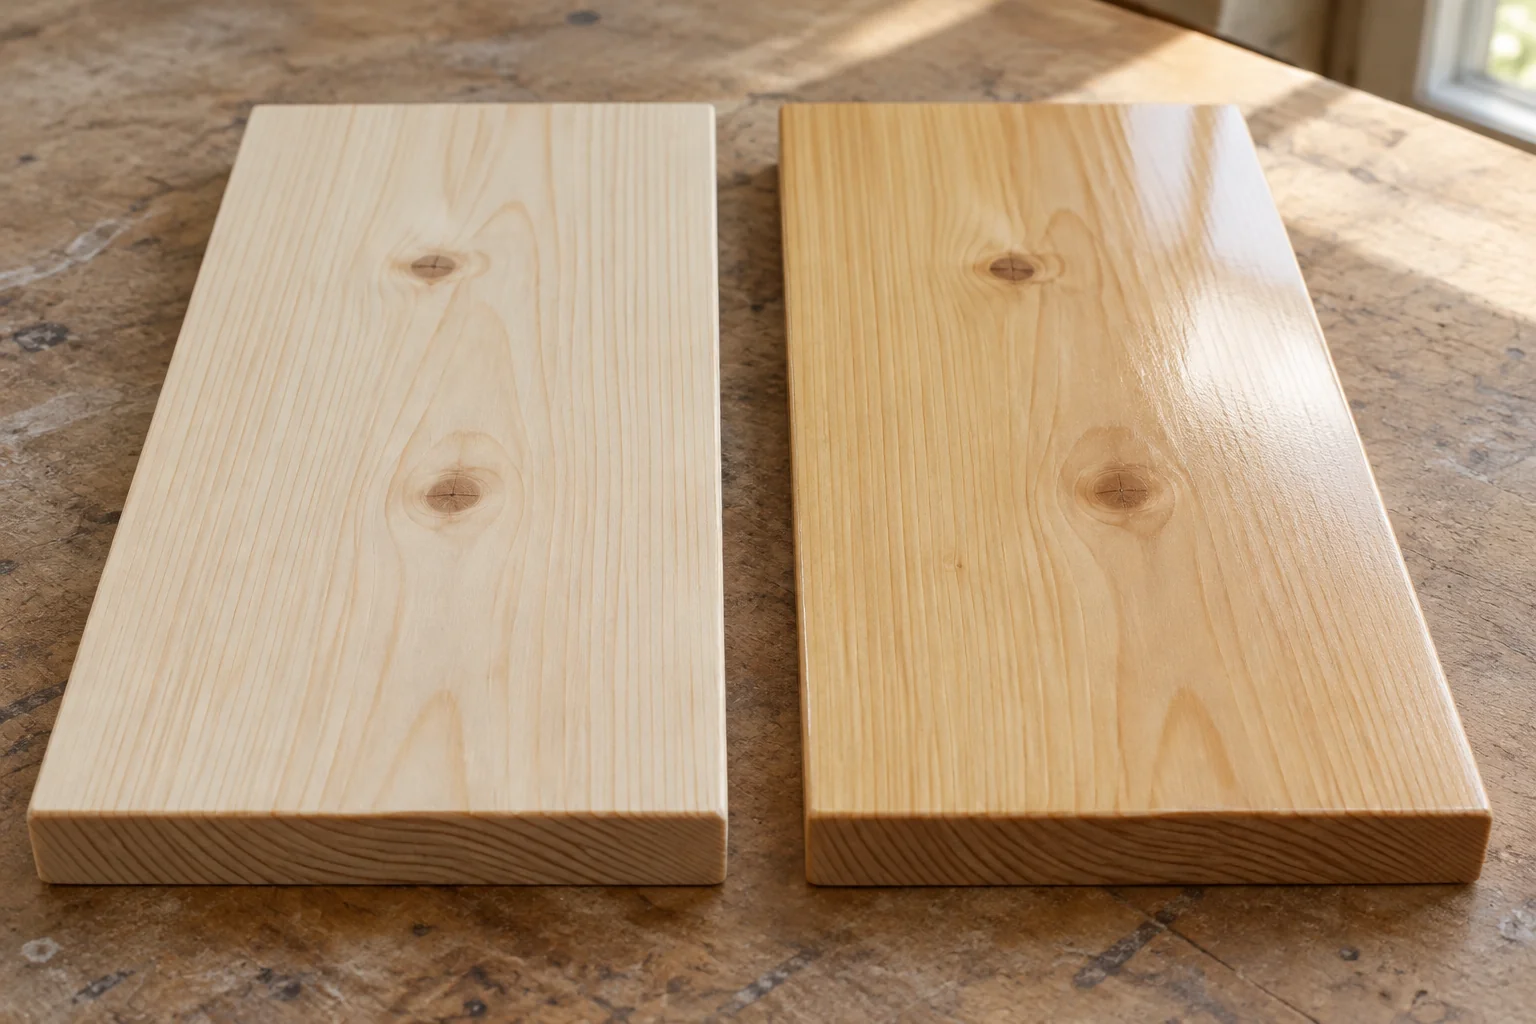
| Situation | What to establish | Next move |
|---|---|---|
| Thick, glossy or uneven residue after a wipe-off stain | Whether excess was removed as instructed | Check the named product’s excess-removal method |
| A thin, correctly applied coat in a cold or humid space | Actual room conditions and elapsed drying time | Provide the specified conditions and allow the required interval |
| Stain over varnish or another sealed surface | Whether that exact stain permits application over an existing finish | Use its existing-finish instructions or plan removal of the incompatible system |
| Dry colour underneath a sticky new topcoat | Which layer is failing and whether the two products are compatible | Investigate the complete coating sequence |
| Unknown product or several unsuccessful treatments | The original container, receipt and treatment history | Identify the system before adding another chemical or coating |
Look at the whole surface in side light and note whether the problem is continuous or concentrated in corners, overlaps and heavy application areas
Use those observations to select a recovery route; a photograph can show uneven sheen, but cannot establish whether a coating is dry enough to recoat
Choose a remedy for the actual stain
Route 1: excess oil-based penetrating stain
Minwax Wood Finish is an example of a penetrating oil-based stain intended for bare or stripped interior wood; its instructions are relevant to that product, not to every brown coating
For tacky excess, Minwax’s FAQ describes wiping with a cloth dampened with mineral spirits, or briefly softening the residue with more of the same stain before removing the excess
- Confirm that the remedy fits your product
Check the label and technical guidance before selecting the cleaner; a solvent recommended for one stain is not automatically suitable for another finish underneath it
- Try a small inconspicuous area
Use the approved method there first and inspect the effect on the colour and underlying surface before working across the whole piece
- Remove the loosened excess
Work in manageable sections with clean absorbent cloths; rotate to a clean part of the cloth rather than spreading collected residue into the next area
- Let the recovered surface dry
Inspect the dried result before deciding whether more colour is needed; recovery may change the appearance, so another coat should be a considered step
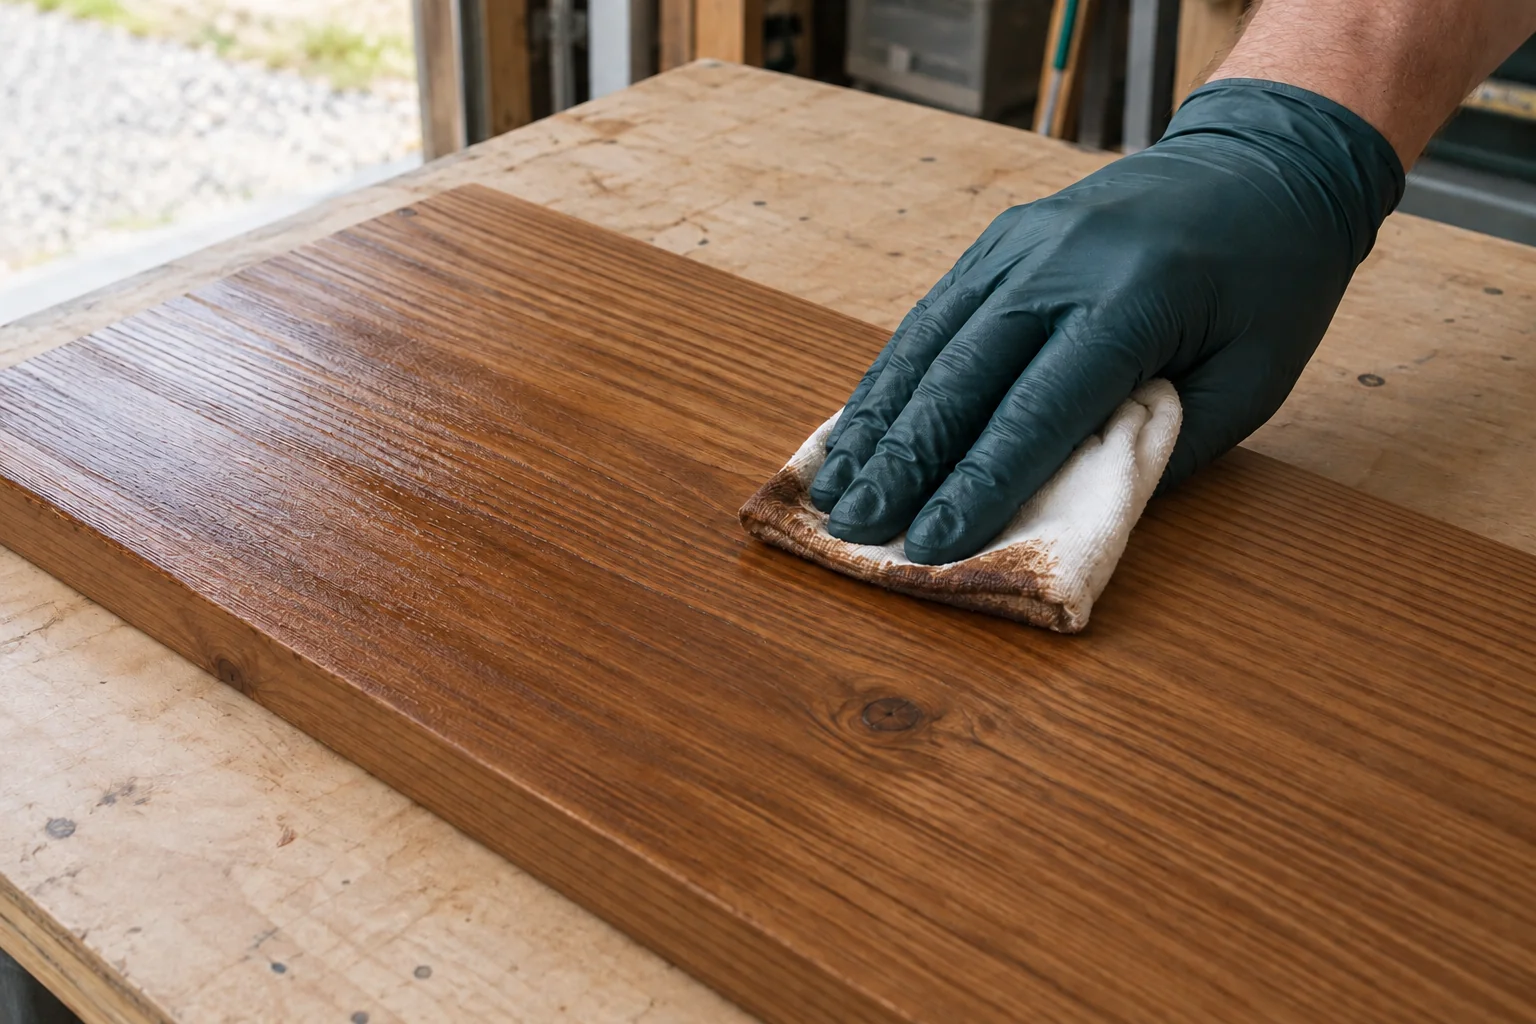
The purpose of the recovery pass is to take excess away; simply applying another coat and leaving it there repeats the original problem
Route 2: General Finishes Gel Stain over an existing finish
General Finishes Gel Stain allows specified applications over prepared existing finishes, with some methods requiring 72+ hours before recoating under the stated conditions
For its existing-finish method, check with a white cloth or cotton ball; tackiness or more than a faint colour trace means it is not ready
The guidance says stripping and restarting may be necessary if this gel stain remains tacky after five days; that advice applies to this product, not all wood stains
Route 3: water-based stain
General Finishes’ hand-application guidance describes working in complete sections, wiping excess evenly and immediately rewetting fresh lap marks with stain
That correction applies during wet application; for a completed coat that stays tacky, check the product’s application conditions and obtain its recovery method before using solvents
Wet-tool cleanup instructions do not establish how to remove a failed coating from furniture
Route 4: stain-and-finish products
Combined colour-and-finish products may intentionally build a film; follow their coat-thickness and recoat instructions rather than treating that film as unwanted penetrating-stain residue
If a clear finish is already on top
Write down the order of every layer, including any old finish, new stain and clear topcoat; the layer you can touch is now the topcoat, so surface tack alone does not isolate the cause
Do not assume a cloth treatment for exposed stain can repair stain sealed beneath another coating
Before removing material, get advice for the named combination and explain the timing between coats; the recommendation may involve removing more than the latest layer
If the piece has a thin decorative veneer, say so when discussing removal, since aggressive sanding can damage a surface that cannot be replaced by adding more stain
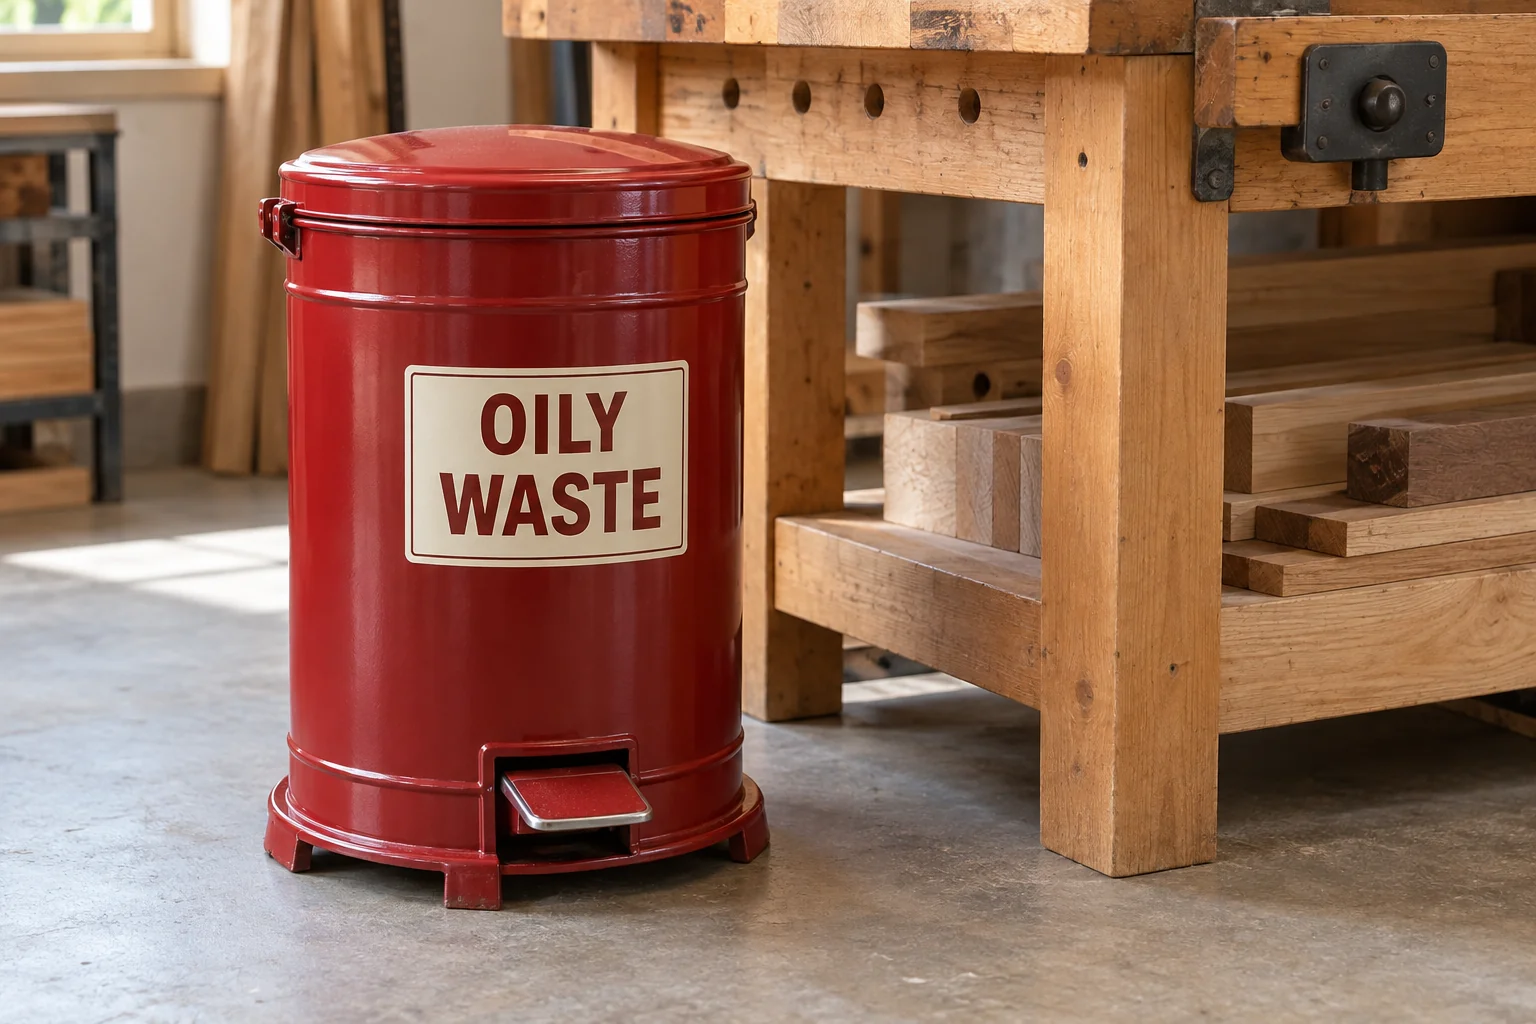
Oil-soaked rags and applicators can ignite if discarded incorrectly; follow the label’s handling and disposal instructions, keep solvents away from ignition sources and use the specified ventilation and protective equipment
Check the stain before applying a clear finish
General Finishes distinguishes recoat time from cure time: a finish can reach the stage for another coat before it reaches the stage for normal use
| Stage | What it tells you | What it does not prove |
|---|---|---|
| Touch-dry | The surface has reached the product’s initial drying stage | That another coat can safely be applied |
| Ready to recoat | The product’s next-coat conditions have been met | That heavy use or covering is already appropriate |
| Cured for use | The system has reached its specified service stage | That an incompatible layer beneath it has been repaired |
Use the stain and intended topcoat instructions together, especially when combining oil-based and water-based products
- Confirm the required interval has elapsed under suitable conditions
- Check that the surface meets the manufacturer’s dryness test, where one is given
- Resolve thick residue or unexplained tackiness before proceeding
- Try the topcoat on a representative sample once the stain is ready
Cooler temperatures, humidity and application thickness can extend drying; adding uncontrolled heat or another coating is not a substitute for identifying the problem
Three similar-looking problems with different next steps
| Illustrative situation | Why the distinction matters | Useful next step |
|---|---|---|
| Bare pine, penetrating stain, excess left overnight | There may be removable residue above the intended stained surface | Verify and test that product’s excess-removal method |
| Prepared varnished cabinet, approved gel stain, still inside its drying window | A permitted existing-finish application can need substantially longer than a bare-wood application | Check the relevant method, conditions and readiness criteria |
| Sticky table after stain followed quickly by polyurethane | The problem involves a layered system rather than exposed stain alone | Identify both products and the interval between them before choosing removal |
These are decision examples, not records of product testing; they show why a universal “wait one day” or “wipe it with solvent” answer is unreliable
Will tacky stain eventually dry?
A correctly applied coat may need more time under suitable conditions, but excess or incompatible material may need removal; the product, substrate and application history determine which case you have
Can I sand it while it is sticky?
Do not make sanding the first experiment on unresolved wet residue; establish the removal or drying route first, then prepare the stable surface for the next finish
Make the next attempt on a sample
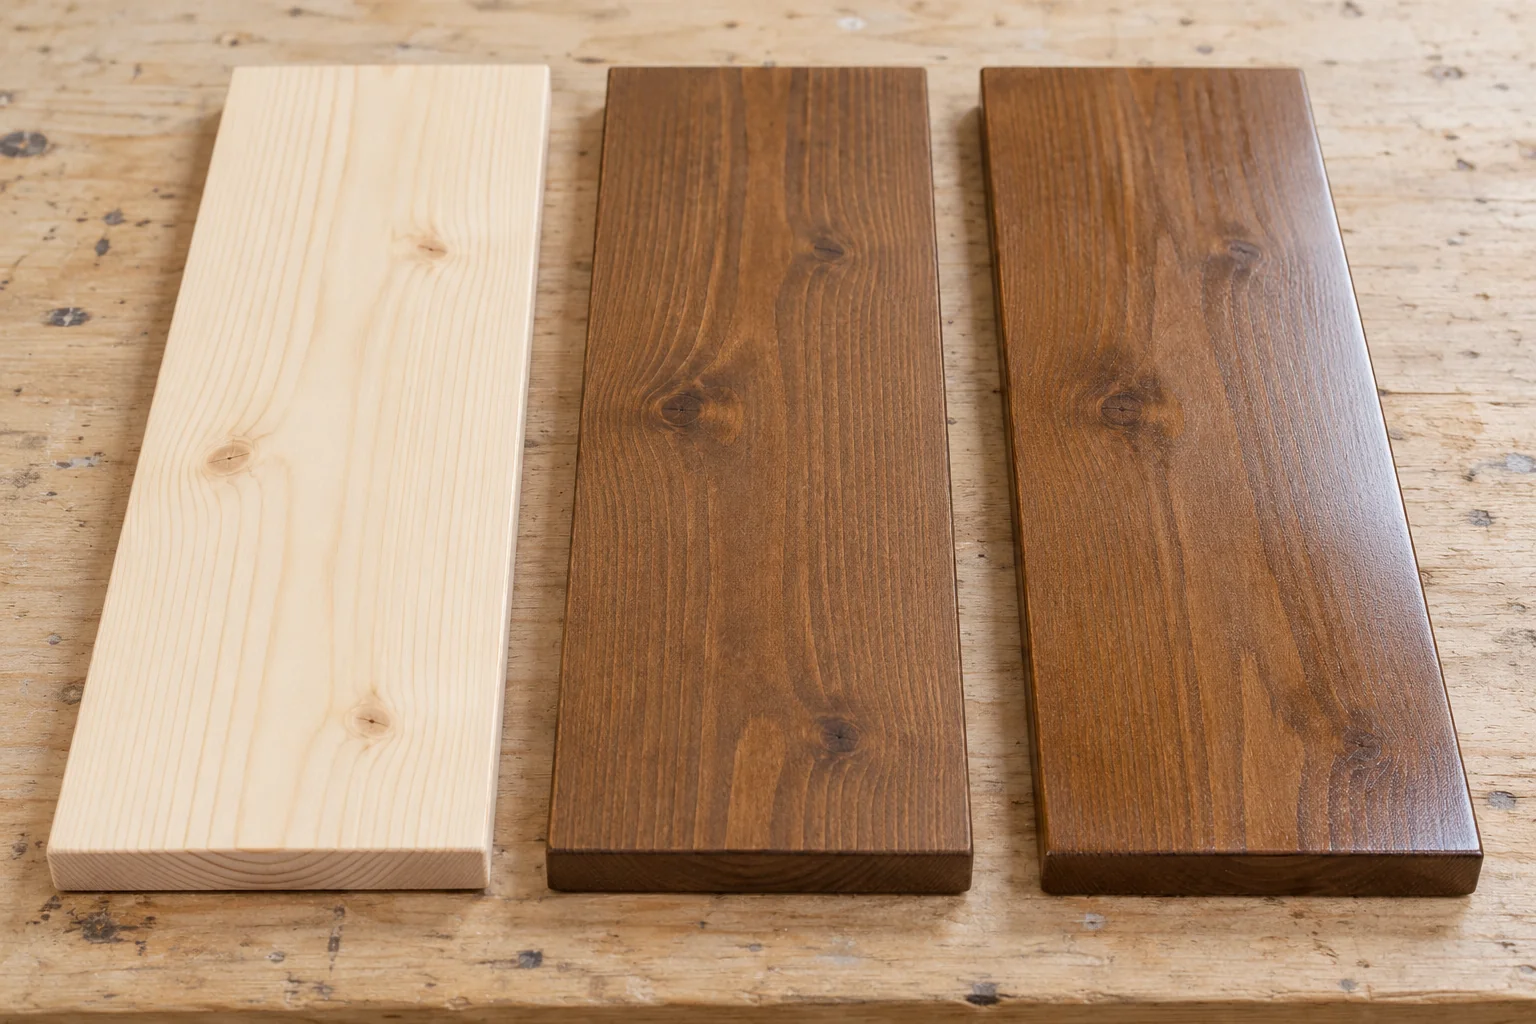
Use matching wood and reproduce the complete proposed sequence, including any conditioner, stain and clear finish; a bare scrap does not represent a varnished cabinet unless its starting surface is prepared the same way
Record the product names, preparation, working conditions, wipe-off timing and intervals between coats, then keep the successful sample as a reference
For a large project, plan manageable sections and have the wiping materials ready before opening the stain
For garden projects, also check that the complete system is approved for the exposure and surface; see our outdoor furniture finish guide
Sources and product instructions
- Minwax: tacky excess stain and finishing problems
- Minwax Wood Finish: intended use
- General Finishes Gel Stain: application methods and recovery guidance
- General Finishes: hand application of water-based stains
- General Finishes: drying and curing
Researched guide with illustrative decision examples · Follow the current instructions for the exact products used
More help with surface preparation and finish repairs
Once the sticky finish has been removed and the timber is ready for preparation, see what grit sandpaper to use before staining wood for choosing a sanding sequence that suits the finish.
Working on a painted surface instead? Read how to repair paint pulled off by tape for preparing and repainting the damaged area.