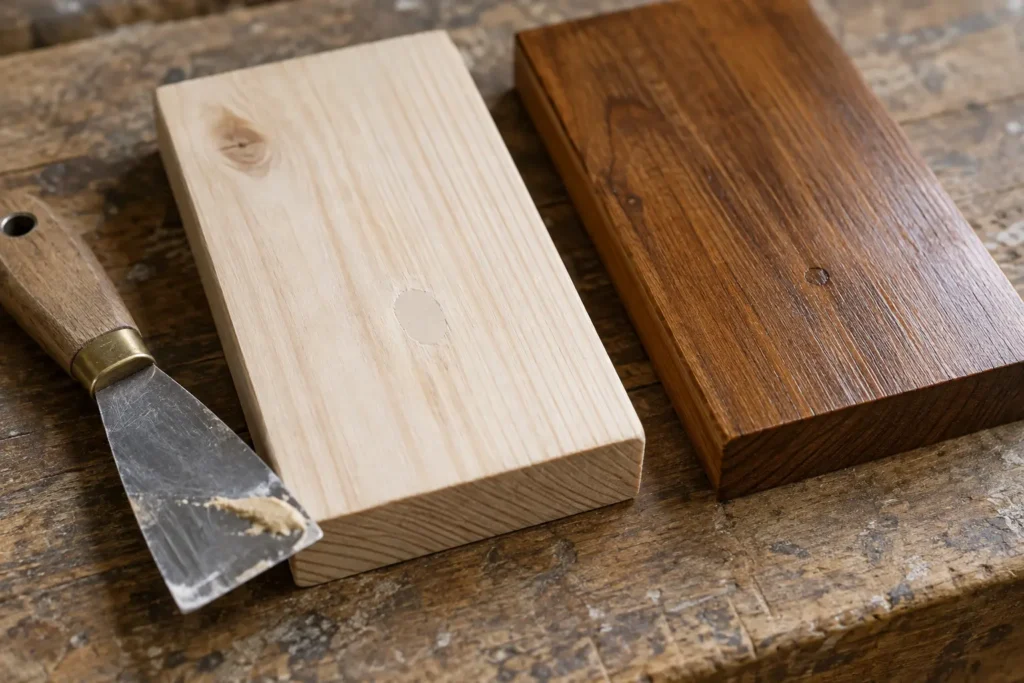
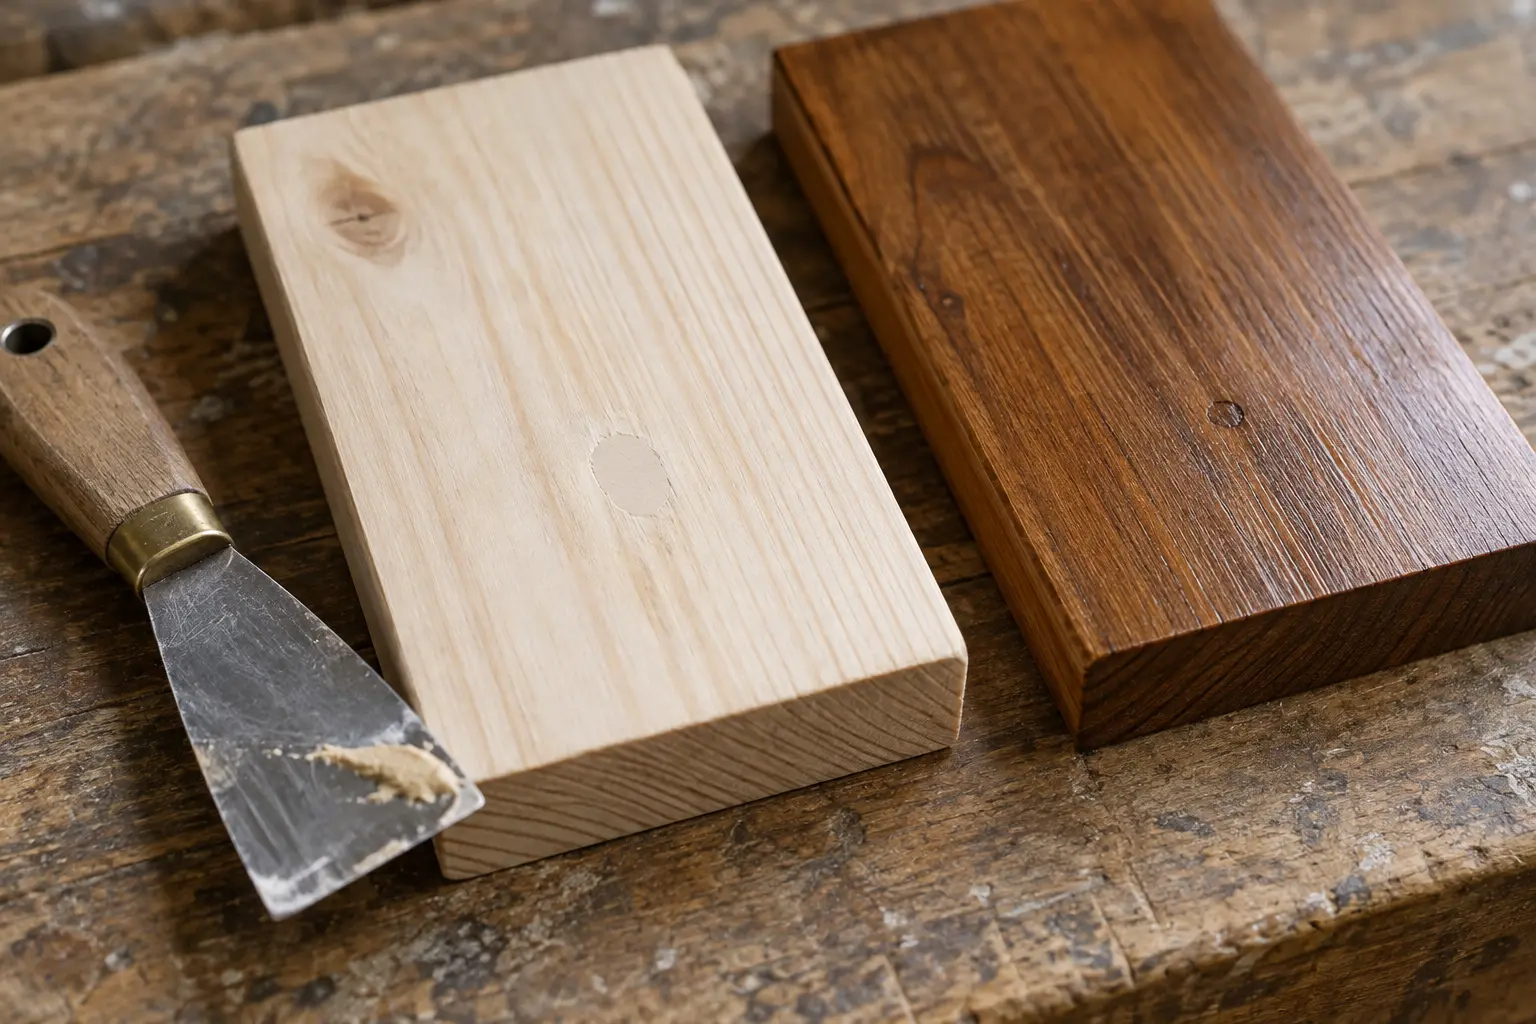
Names vary between brands, so check whether the exact product hardens, can be sanded, and accepts your intended finish rather than relying on the word filler or putty alone
Wood filler vs wood putty at a glance
| Question | Hard-setting filler | Non-hardening putty |
|---|---|---|
| Typical task | Fill a small defect before sanding and finishing | Disguise a small hole in an already finished surface |
| Can it be sanded? | Usually, once fully dry or cured as specified | Not if the product stays soft |
| How is colour matched? | By testing filler with the complete finish | By selecting putty against the finished wood |
| Will it carry a joint load? | Do not assume an ordinary cosmetic filler can | No; cosmetic putty is not a fixing repair |
A two-part repair compound is another category with its own mixing, working time and application limits; it should not be treated as interchangeable with either a ready-mixed filler or soft putty
Use a sandable filler on an unfinished surface
For a small nail hole or shallow gouge in bare wood, choose a product rated for the material, repair size and indoor or outdoor exposure
Minwax Stainable Wood Filler is one example intended for small defects in unfinished wood; its instructions require a clean, dry surface, slightly overfilling, complete drying and sanding flush before finishing
Its stated limit is a hole no larger than ¾ inch, approximately 19 mm; that limit belongs to this product, not every filler sold under the same broad name
Depth affects drying, so a patch that is firm on top may not yet be ready throughout; follow the specified layer thickness and do not rush sanding because the surface has changed colour
Keep excess off the surrounding face, where a broad smear creates a larger area to sand and can complicate later staining
Use compatible putty for a tiny hole after finishing
Minwax Wood Putty is explicitly non-hardening and intended for minor defects, with staining and topcoating completed before it is applied
Choose the closest colour against the final clear-coated wood, not against the bare timber or a colour swatch on an unrelated species
- Clean the small defect
Make sure the existing finish is sound and the surface is dry
- Press in a small amount
Fill the defect without spreading a large film over the surrounding finish
- Remove the surplus
Use the wiping method the putty manufacturer specifies and check the result under normal viewing light
Do not wait for this particular non-hardening putty to become sandable; sanding it can smear the material and scratch the surrounding finish
For a different brand or a plan to coat over the repair, verify that product’s compatibility rather than copying this sequence blindly
Stainable does not mean an invisible colour match
A patch can accept stain and still look different because it lacks the surrounding wood’s grain, pores and natural colour variation
Make a small repair in a matching offcut, let it dry, then apply the same sanding, stain and clear-coat sequence planned for the project
Inspect the sample in the light where the item will be used; judge the repair at ordinary viewing distance as well as close up
If the patch remains conspicuous, decide before filling the finished piece whether a suitable wood patch, a changed finish or replacing the part gives a better result
Keep this separate from stain blotching: a pale filler patch and uneven absorption in intact wood are different problems
Three repairs that need different decisions
| Situation | Approach |
|---|---|
| Small brad hole in a bare pine trim board that will be painted | Use an appropriate sandable, paintable filler, then prepare and prime as the coating system requires |
| Tiny nail hole in an already stained and clear-coated trim board | Consider compatible colour-matched non-hardening putty |
| A hinge screw turns in a damaged hole | Repair the fastening into sound material; do not rely on cosmetic putty |
These are selection examples, not claims of tested repair strength
For damaged or decayed timber, establish how much sound material remains and whether the part should be replaced; covering the surface can hide the condition without restoring the original connection
Can either product fix a moving joint?
A rigid cosmetic patch should not be expected to stop movement; correct the joint or use a repair method intended for that movement
Can I fill a screw head so it disappears?
Plan the recess and future access first; the countersink and counterbore guide explains why burying the screw farther also changes its penetration