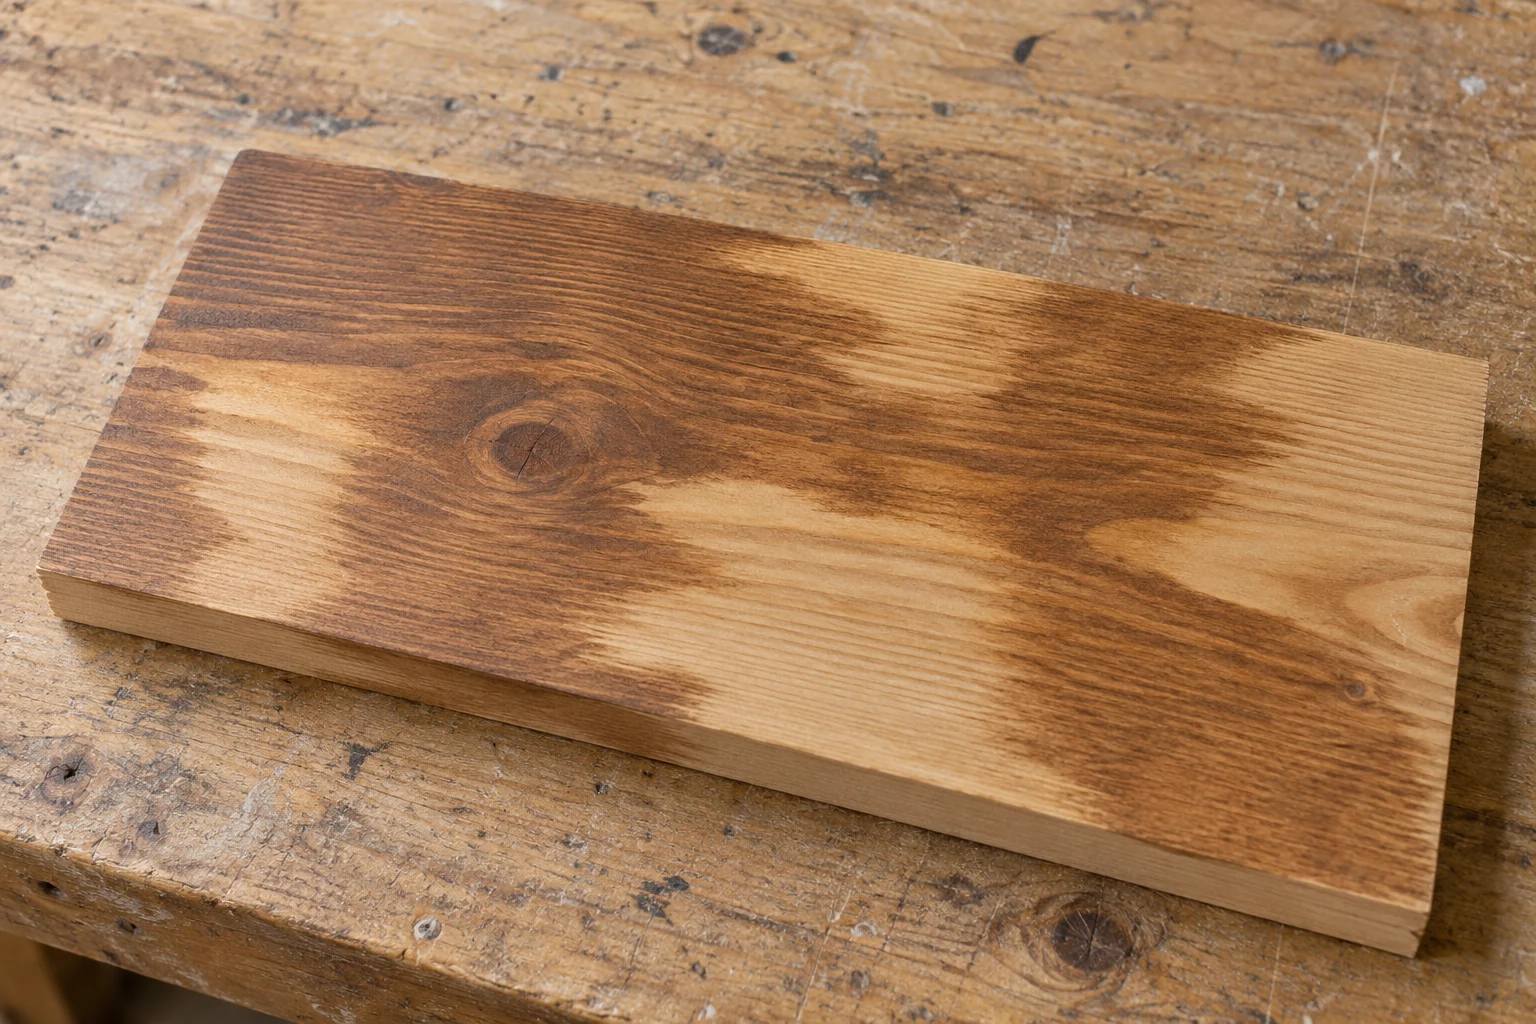
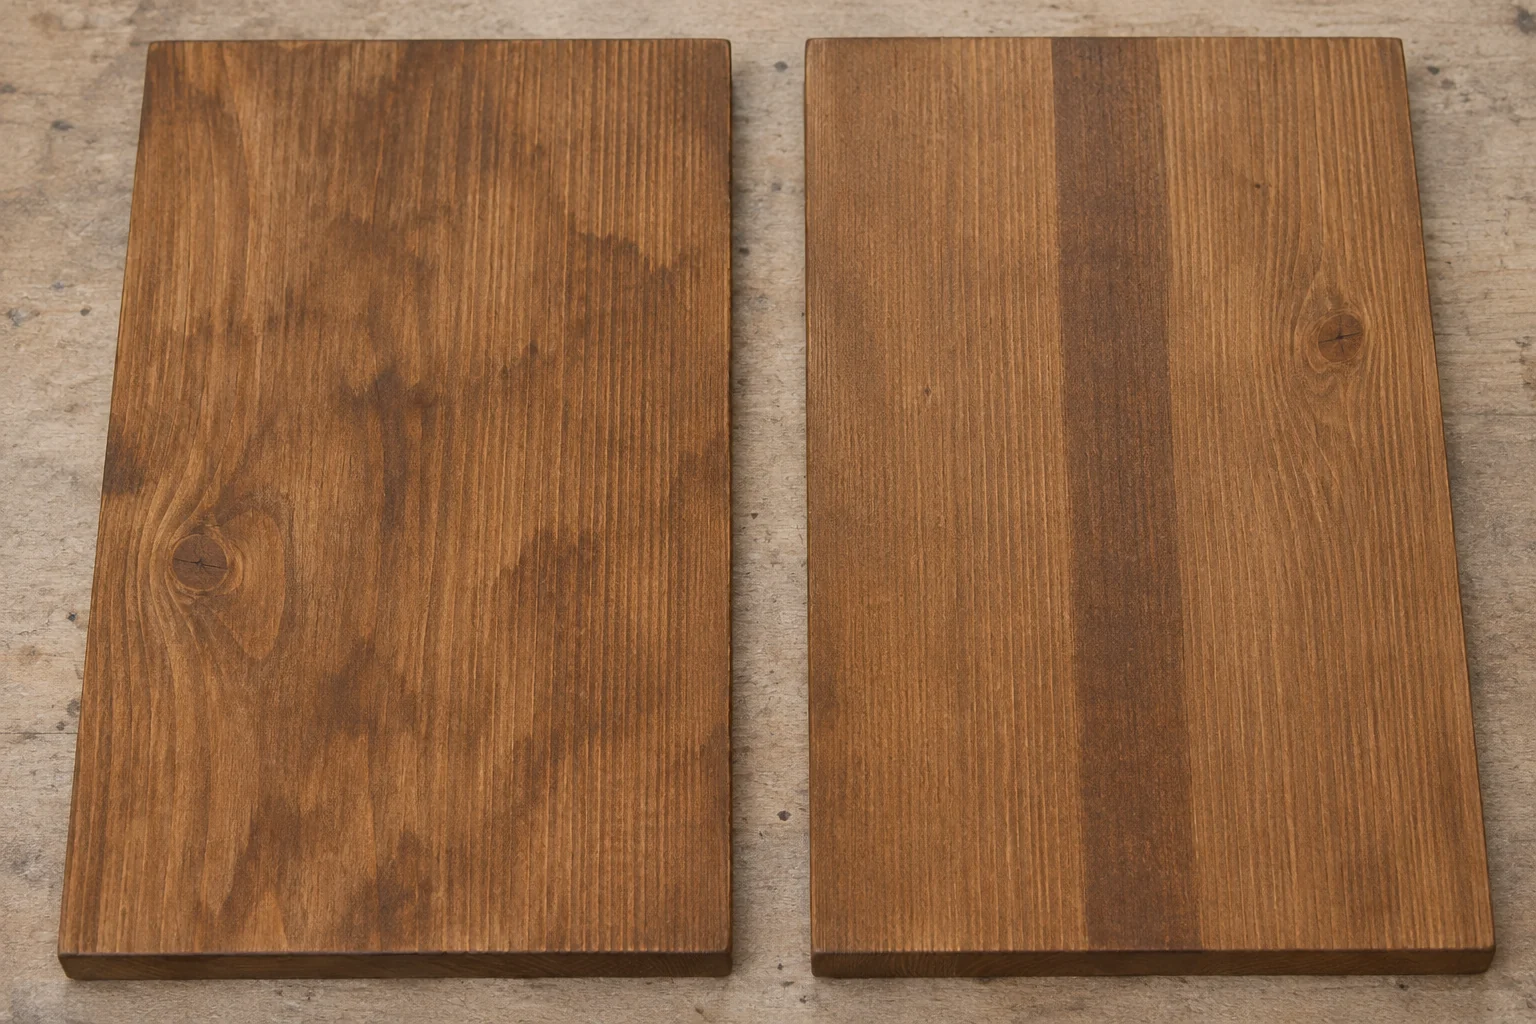
Cloudy patches can come from uneven absorption, pale marks beside joints can indicate glue, and straight dark bands can indicate an application overlap
More stain may deepen the colour without removing those differences; identify the cause before recoating
Check whether the stain is wet, dry or topcoated
Identify the stain, wood, final sanding grit and any conditioner, then check whether a clear topcoat is already present
Judge the colour after the specified drying period under consistent lighting; a wet reflection can make an area look darker
If it remains tacky or has thick residue, start with the sticky-stain troubleshooting guide before correcting the colour
Identify blotches, glue patches and overlap marks
| Pattern | Likely area to investigate | Check |
|---|---|---|
| Cloudy light and dark patches | Uneven stain absorption | Whether the pattern follows the grain |
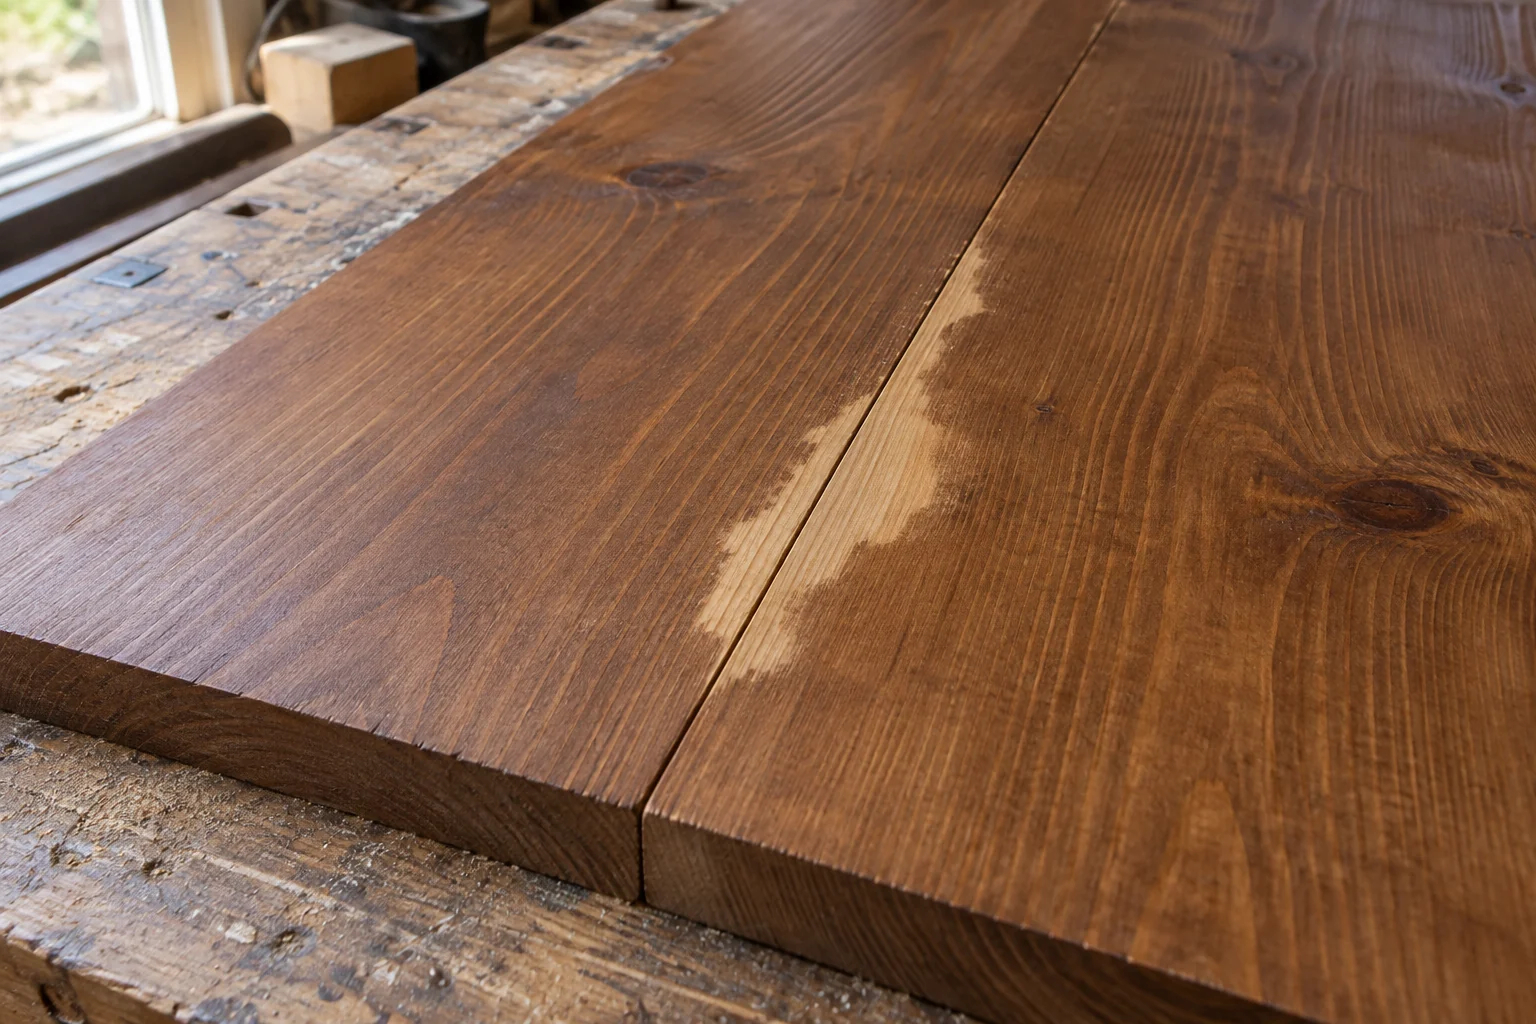
| Pale patch beside a joint | Glue or another surface barrier | Squeeze-out and remaining old finish |
| Straight dark band | Application overlap | Where application stopped and restarted |
| Dark arcs or short lines | Sanding scratches | Inspect with low side light |
| One whole board differs | Timber or preparation variation | Compare wood selection and sanding |
| Glossy, sticky islands | Excess product or curing problem | Resolve the residue before recoating |
These patterns suggest checks rather than prove a cause; confirm the explanation on matching scrap or an inconspicuous area
Conditioner and gel stain: when they help
Minwax discusses pre-stain conditioner for blotch-prone woods such as pine; use it during bare-wood preparation, not as a treatment over existing dark patches
Match the conditioner to the stain system; for example, Minwax water-based conditioner is intended for water-based stains
General Finishes gel stain is another product-specific option for controlling blotching on difficult woods; test the approved system rather than laying a thick coat over an unknown finish
How to fix blotchy stain in four situations
1. A fresh overlap mark while applying gel stain
For General Finishes Gel Stain on raw wood, its instructions allow immediate correction of a lap mark by rewetting the whole working section with the same stain and wiping the excess evenly
Keep the repair within the current wet application stage and finish to a natural boundary, such as the edge of a shelf; this is not a method for dissolving an old, cured finish
2. Dry blotches on solid wood with no clear topcoat
- Choose the whole visible face
For a shelf, treat the top face from edge to edge instead of sanding a small crater around each dark patch
- Restore an even bare surface
Remove the failed stain using a method permitted for that stain and wood, then sand the face evenly through the specified sequence
- Change the preparation that caused the problem
On blotch-prone pine, test a compatible conditioner or an approved gel-stain system on matching scrap before restaining the shelf
- Reapply and inspect
Keep the wiping interval consistent across the face and judge the dry result before adding a clear coat
3. A pale glue patch beside a joint
Extra stain will not reliably colour a glue film. Remove the surface glue without digging into the wood, then prepare the surrounding face consistently and test again
If colour has already been applied, correcting the entire visible face is usually easier to blend than leaving a newly sanded island beside a stained area
4. Blotches beneath a clear finish or on thin veneer
Do not put bare-wood conditioner over the clear coat or sand aggressively through veneer
To make the surface lighter while keeping visible grain, the existing coloured finish normally needs removal; choose a removal method suitable for the coating and veneer before starting
If a darker result is acceptable, General Finishes provides a gel-stain dry-brushing method over a sound existing finish: clean, lightly scuff, test the complete system and allow its longer drying intervals. It adds colour rather than removing the underlying blotches, so reject the test if the patches still show
General Finishes: wet lap-mark correction and finishing over an existing coating
When the coating is unknown or the veneer is already worn through, stop the removal trial and choose a coating-specific repair or an opaque finish rather than repeatedly sanding
Test the repair before treating the whole surface
- Use matching timber
An offcut from the affected board is more useful than unrelated scrap
- Change one variable
Compare the permitted basic system with a compatible conditioner or another approved preparation change
- Complete the finish
Keep sanding, application and lighting consistent, then apply the intended clear coat after the required interval
- Keep the successful sample
Label the products and preparation so the result can be repeated
Worked diagnosis: a pine shelf with two different marks
Suppose the dry shelf has cloudy dark patches along the grain and a narrow pale strip beside a glue joint
Those are two separate problems: remove the glue barrier at the seam, then compare the permitted bare-wood preparation and conditioner on an offcut. A conditioner alone cannot fix the pale glue strip, and more stain alone may deepen the cloudy patches
This is a diagnostic example, not a reported repair test
Prevent blotches on the next coat
Compare visible boards before assembly, keep glue off the faces and use a consistent sanding sequence across matching parts
Prepare enough applicators and wiping material to finish the intended section without abandoning a wet edge
For outdoor work, choose an exterior-suitable coating system; an even colour sample alone does not establish weather resistance
Common blotchy-stain questions
Will a second coat hide blotches?
It may darken the surface if the product permits another coat, but the difference between light and dark areas can remain
Can I sand only the dark patches?
Spot sanding can create another visible boundary; check the material and full finishing method first, especially on veneer
Does conditioner guarantee uniform colour?
No; scratches, glue, application marks and differences between boards still need attention