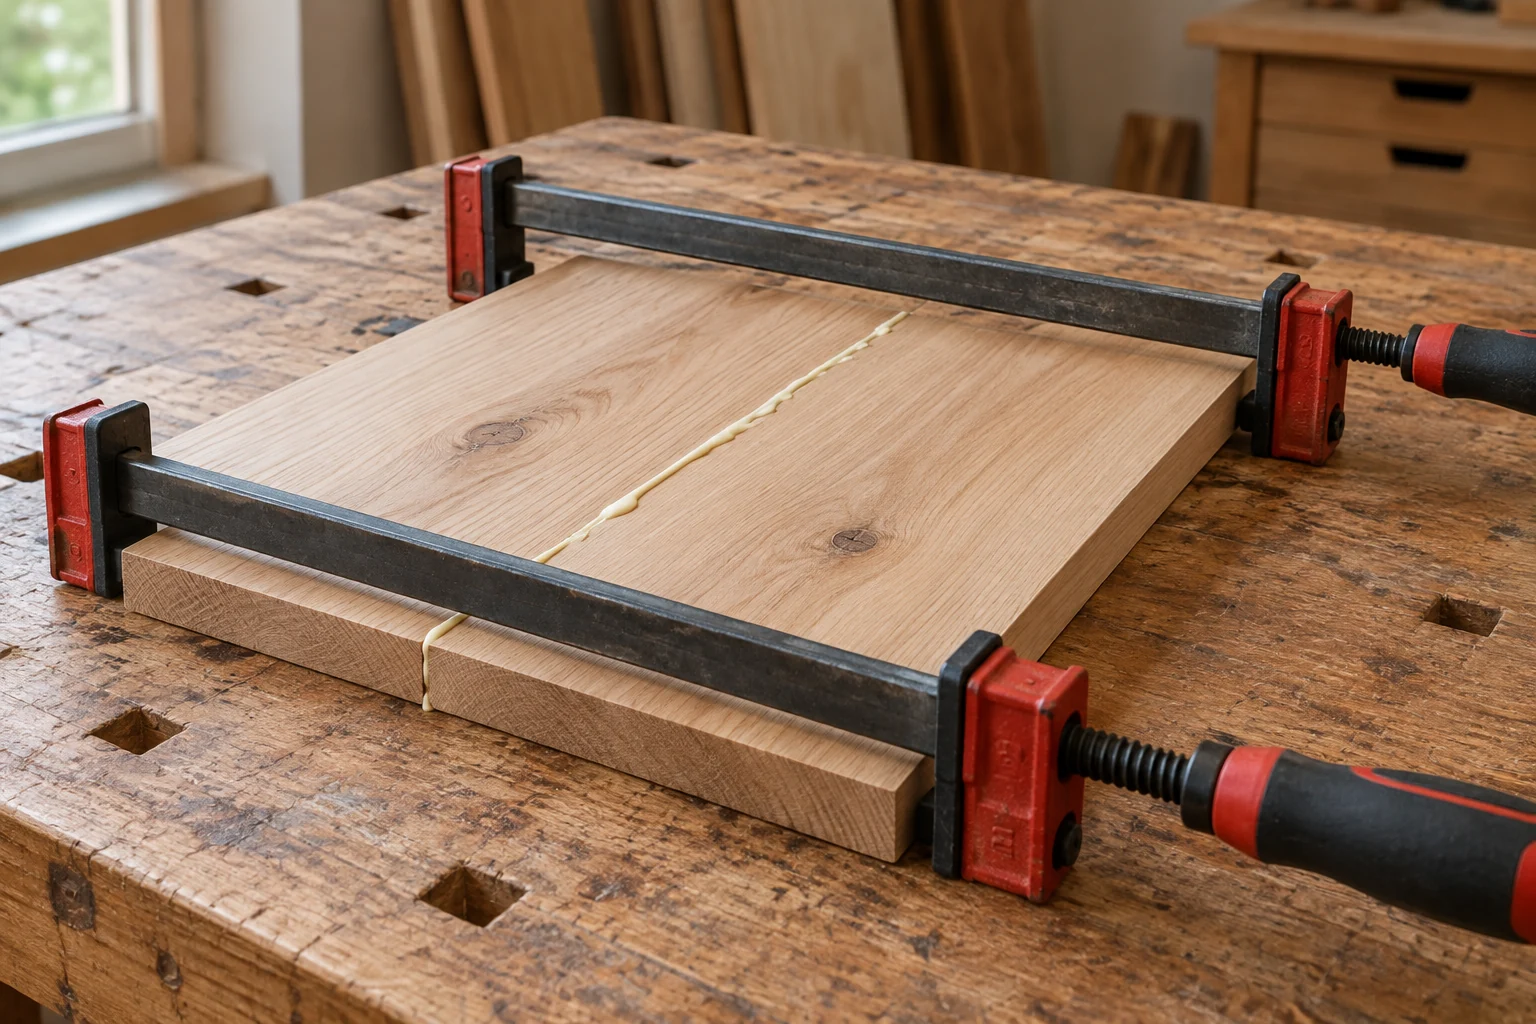
Gorilla Wood Glue specifies 20–30 minutes in clamps and 24 hours to full cure; Titebond recommends 30–60 minutes of clamping for most unstressed wood-glue joints and at least 24 hours before stressing the joint
Use the schedule for the exact adhesive and joint below; removing the clamps does not mean the project is ready for use
Assembly, clamp and cure times explained
| Stage | What it controls |
|---|---|
| Open assembly time | How long the spread glue can remain exposed before the parts meet |
| Assembly time | The window for bringing the parts together, aligning and clamping them |
| Clamp time | How long the joint must remain restrained |
| Cure or load interval | How long to wait before the intended use or stress |
Gorilla and Titebond clamp-time comparison
| Adhesive or joint | Clamping guidance | Cure or loading guidance |
|---|---|---|
| Gorilla Wood Glue | 20–30 minutes at room temperature | 24 hours to full cure |
| Titebond general guidance, unstressed joint | 30–60 minutes for most of its wood glues | Avoid stressing the joint for at least 24 hours |
| Titebond general guidance, stressed joint | 24 hours | Keep the joint free of added stress for at least 24 hours |
An unstressed joint fits together without trying to spring apart; bent laminations and parts held under tension need the stressed-joint allowance
These timings do not cover every glue sold by either brand, including polyurethane glue, instant adhesive or epoxy
Titebond Original, II and III: working time before clamping
These are assembly windows at 70°F (about 21°C) and 50% relative humidity, not permission to remove clamps
| Product | Open assembly | Total assembly |
|---|---|---|
| Titebond Original | 4–6 minutes | 10–15 minutes |
| Titebond II Premium | 3–5 minutes | 10–15 minutes |
| Titebond III Ultimate | 8–10 minutes | 20–25 minutes |
Do not add the open and total times together. Total assembly time includes the open period and the remaining time to bring the assembly together and secure it
For example, a dry run that leaves a joint open for seven minutes already exceeds the listed open window for Original and II. Shorten the assembly sequence or select an appropriate adhesive with enough working time before spreading glue
How temperature and humidity change the schedule
Gorilla specifies room-temperature clamping with the temperature above 55°F, about 13°C, and notes that humidity, temperature and wood porosity affect the timing
Cold timber brought into a warm room may still be cold at the joint; keep the wood, glue and assembly within the adhesive’s application requirements
Do not use a dry bead of squeeze-out as proof that the enclosed bond line has cured
Dry-fit and position clamps before spreading glue
- Check the fit
Assemble the parts without glue and correct gaps or misalignment
- Position clamps and supports
Confirm that each clamp can reach and that tightening does not pull the work out of square
- Practise the order
Make sure the assembly can be completed within the chosen glue’s working time
- Note the clamping time
Record when the joint is secured so the minimum restraint period is easy to track
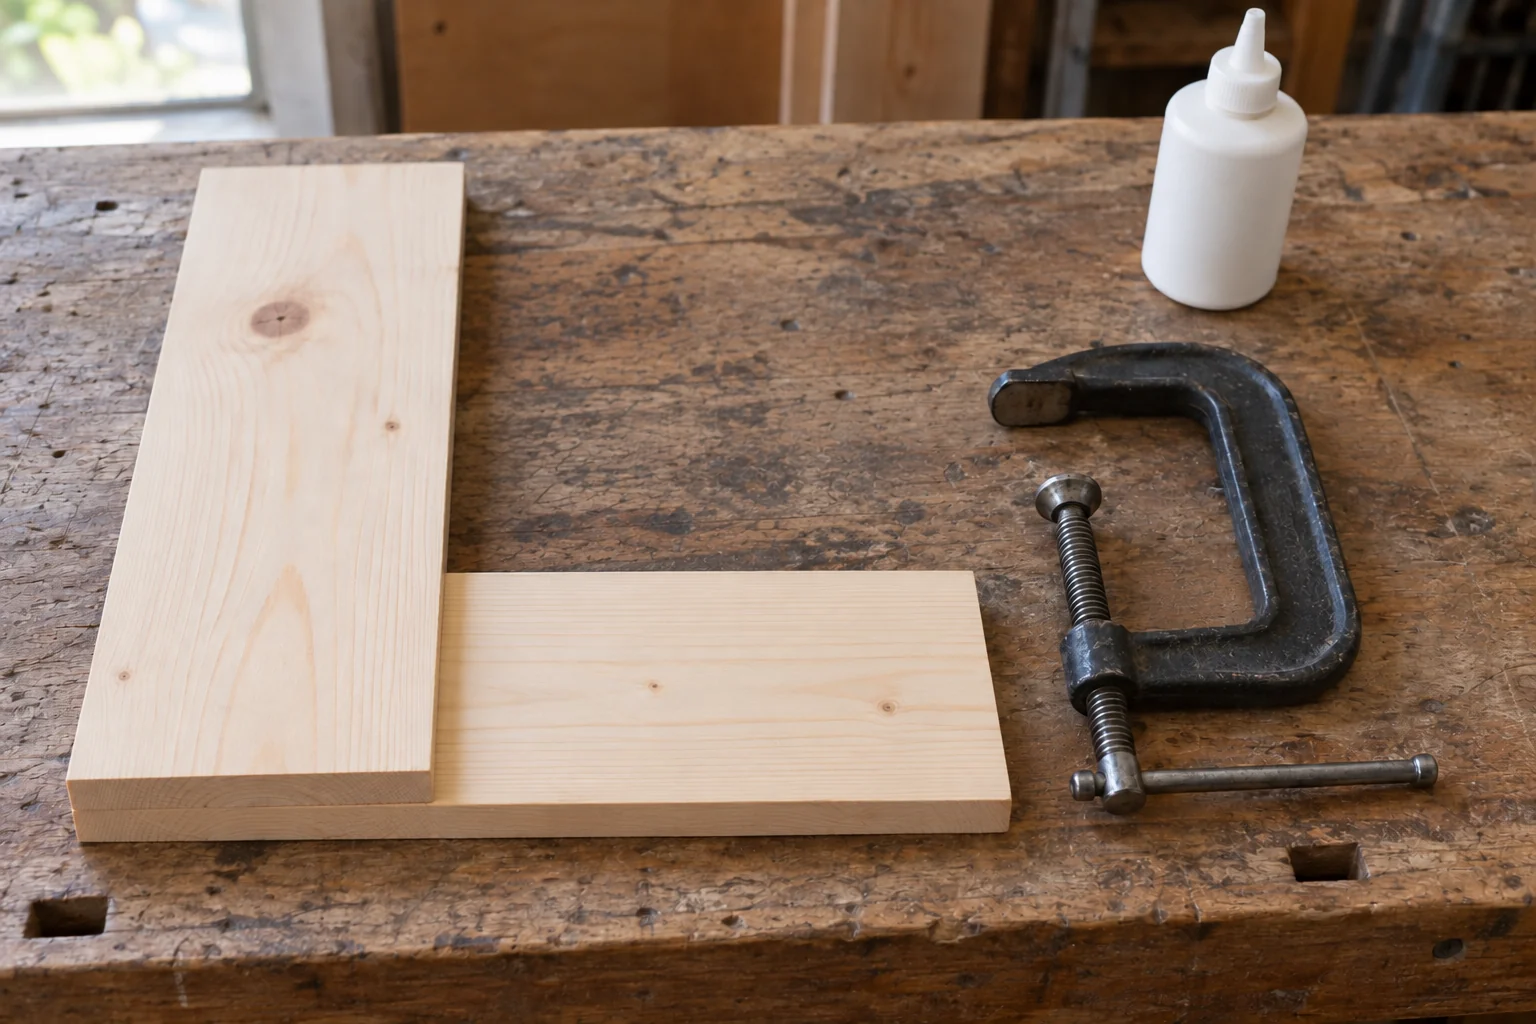
Worked schedule: a joint clamped at 14:00
Example: a simple, well-fitting Gorilla Wood Glue joint is clamped at 14:00 in suitable room conditions
| Time | Next step |
|---|---|
| 14:00 | Leave the aligned joint restrained |
| 14:30 | The stated 20–30 minute clamp period has elapsed; remove clamps only if doing so will not disturb or stress the joint |
| 14:00 the following day | The stated 24-hour full-cure interval has elapsed, provided the application and curing conditions were suitable |
This is a planning example, not a strength test; a stressed assembly or a different adhesive needs its own schedule
What changes if the joint is under tension?
A bent lamination tries to spring back even before anyone uses it. Under Titebond’s general stressed-joint guidance, a glue-up clamped at 14:00 stays restrained until at least 14:00 the next day
A flat panel that fits without force is a different case. Even after its shorter clamp period, lifting it by one end or machining it can stress the fresh joints; keep it supported while the adhesive develops strength
For a panel that will be planed flat, also allow for Titebond’s advice to wait several days for glue-line swelling to subside. Clamp removal, loading and final flattening are separate decisions
Gaps, slipping parts and joints that reopen
| Problem | Next step |
|---|---|
| Visible gap | Correct the fit; standard Gorilla Wood Glue is not a gap-filling adhesive |
| Parts slide while clamping | Check supports, clamp sequence and alignment while still within the working time |
| Joint opens after unclamping | Stop loading it and investigate fit, preparation, timing and adhesive suitability |
| Glue is lumpy or unusually thick | Check the product’s storage and usability advice before using it |
| Outdoor project | Select the required exposure rating; extra curing time cannot make an indoor-only glue weatherproof |
Common drying-time questions
Is overnight enough?
Not necessarily; eight hours overnight is still shorter than a 24-hour cure interval, so use elapsed time rather than the calendar
Can I sand or plane the joint after 24 hours?
Not as a universal rule; Titebond advises allowing several days before sanding or planing to let moisture-related swelling beside the glue line subside and reduce the risk of sunken joints
Does extra clamp pressure make glue dry faster?
No; apply the pressure the joint and adhesive require without distorting the assembly
Can I stain over dried glue?
A glue smear can block stain absorption; prepare the visible wood cleanly and resolve any sticky stain residue before topcoating