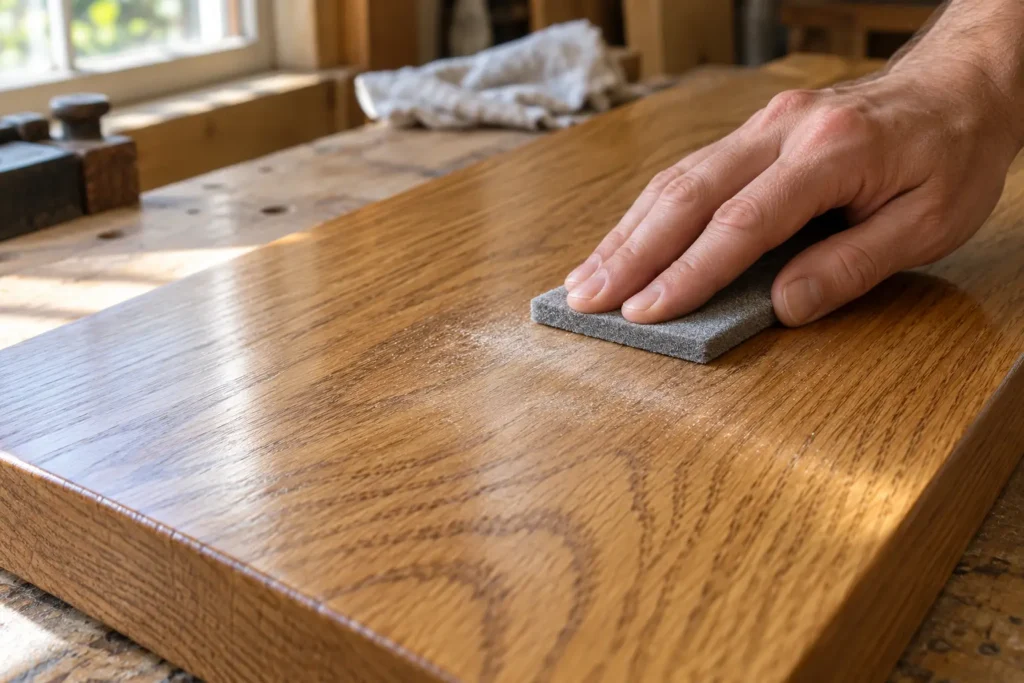
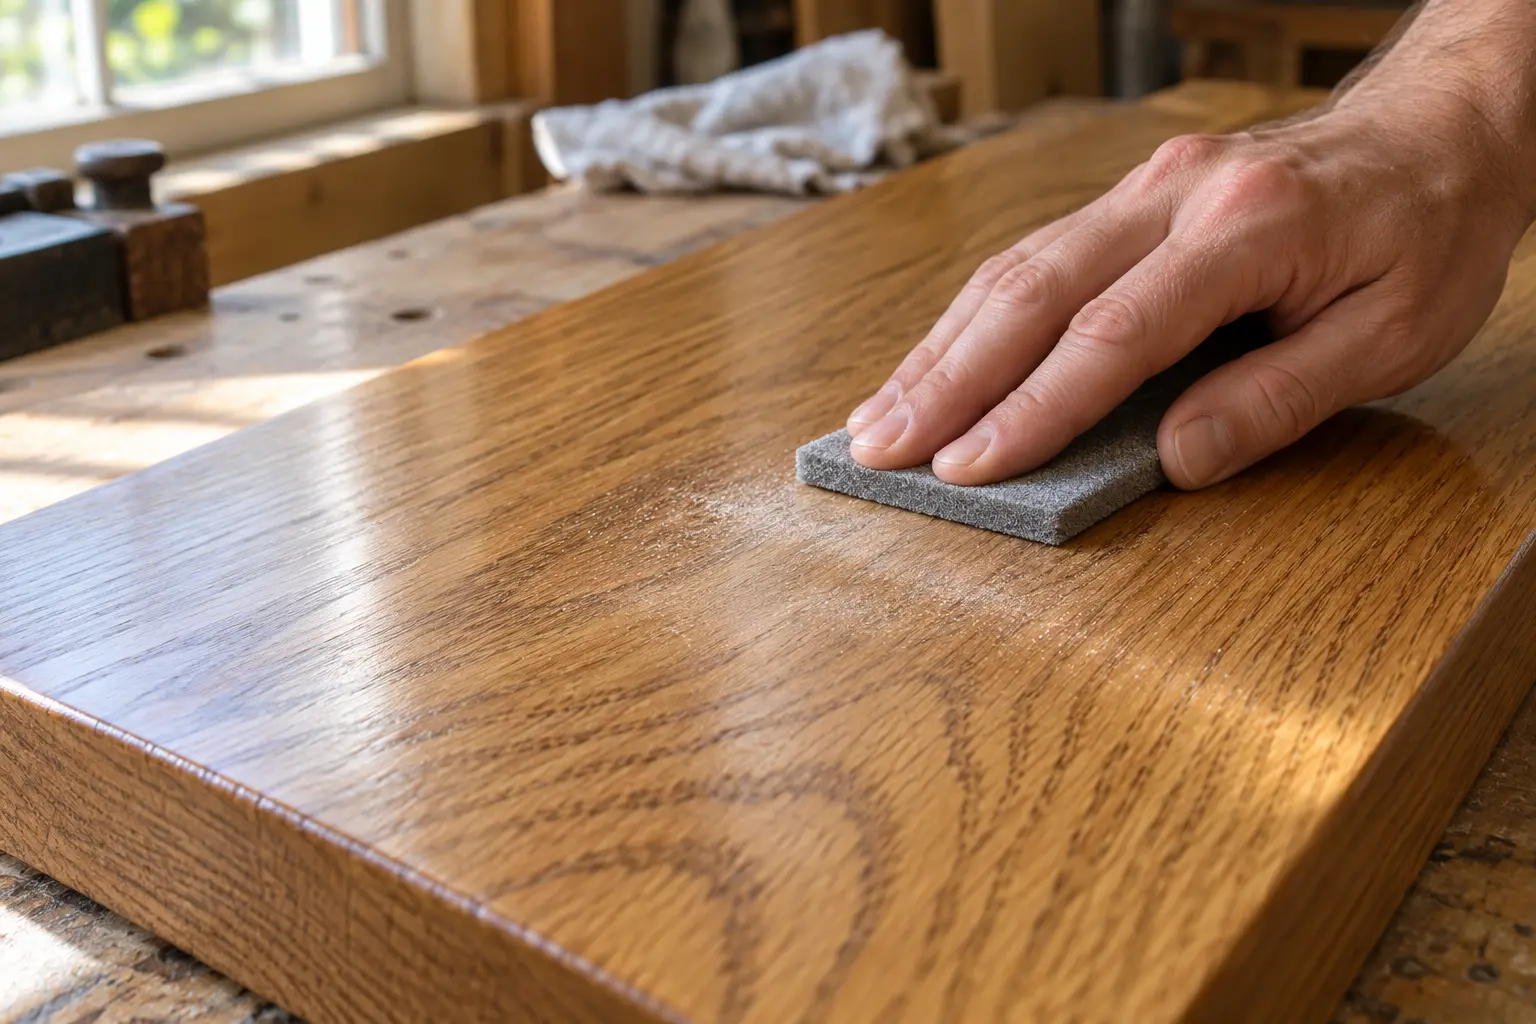
Light scuffing levels small surface defects and prepares the next coat; some products allow a no-sanding recoat window, so there is no universal rule based only on oil versus water
Which grit should you use between polyurethane coats?
| Specific finish | Manufacturer’s between-coat instruction |
|---|---|
| Minwax Fast-Drying Polyurethane | Allow 4–6 hours, then lightly sand with 220-grit paper and remove dust |
| General Finishes High Performance | Use a fine 220–320 sanding pad between coats |
| Minwax Super Fast-Drying Polyurethane for Floors 350 VOC | A specified timely recoat can avoid sanding; after more than 10 hours, its instructions call for a light 220-grit sanding |
The floor finish is a different product from ordinary Minwax Fast-Drying Polyurethane; its no-sanding window is not permission to skip preparation on the other product
Grit numbers alone do not fully describe the cut of a foam pad versus a paper abrasive; use the abrasive type named in the instructions and avoid substituting a much coarser sheet
Check that the coat is ready before touching it with an abrasive
General Finishes lists a minimum drying time of two hours in ideal conditions of 21°C / 70°F and 50% relative humidity, with longer drying needed in less favourable conditions
Its practical check is a small, light sanding test: a ready water-based finish produces powder rather than smearing or rolling into gummy material
If the abrasive immediately loads with soft finish, stop and allow more drying time; additional pressure will not make the coating ready
Dry enough to recoat is different from fully cured and ready for normal service, so do not use the recoat interval as the furniture’s return-to-use time
How to scuff a clear coat without removing it
- Inspect under side light
Find dust nibs, runs and rough patches before sanding, and distinguish a minor surface nib from a large defect requiring more work
- Start with a small hand-sanded area
Use the recommended fine abrasive with light pressure, keeping the pad flat on broad surfaces
- Protect edges and corners
These are easy places to cut through the film; avoid repeatedly bearing down on the same edge
- Stop once the surface is suitably smooth
You are preparing an existing coat, not sanding the piece back to bare wood
- Remove dust using the permitted method
Vacuum and use a cloth compatible with the finish; do not introduce wax, oil or an unapproved cleaning solvent
- Apply the next coat as directed
Keep the application and drying environment clean, and respect the product’s coat thickness and recoat schedule
General Finishes specifically advises against steel wool with High Performance; follow that guidance instead of carrying a habit from a different finishing system across to this one
What different sanding results mean
| Observation | Response |
|---|---|
| Fine dry powder and a smoother surface | Remove dust and check the surface before recoating |
| Sticky rolls or clogged abrasive | Stop and give the coating more time |
| A pale patch or changing stain colour | Stop; you may have cut through the film into the colour layer |
| Deep scratches remain visible | Check abrasive choice and pressure before adding another coat |
| One thick run remains | Let it harden appropriately and deal with that defect before routine recoating |
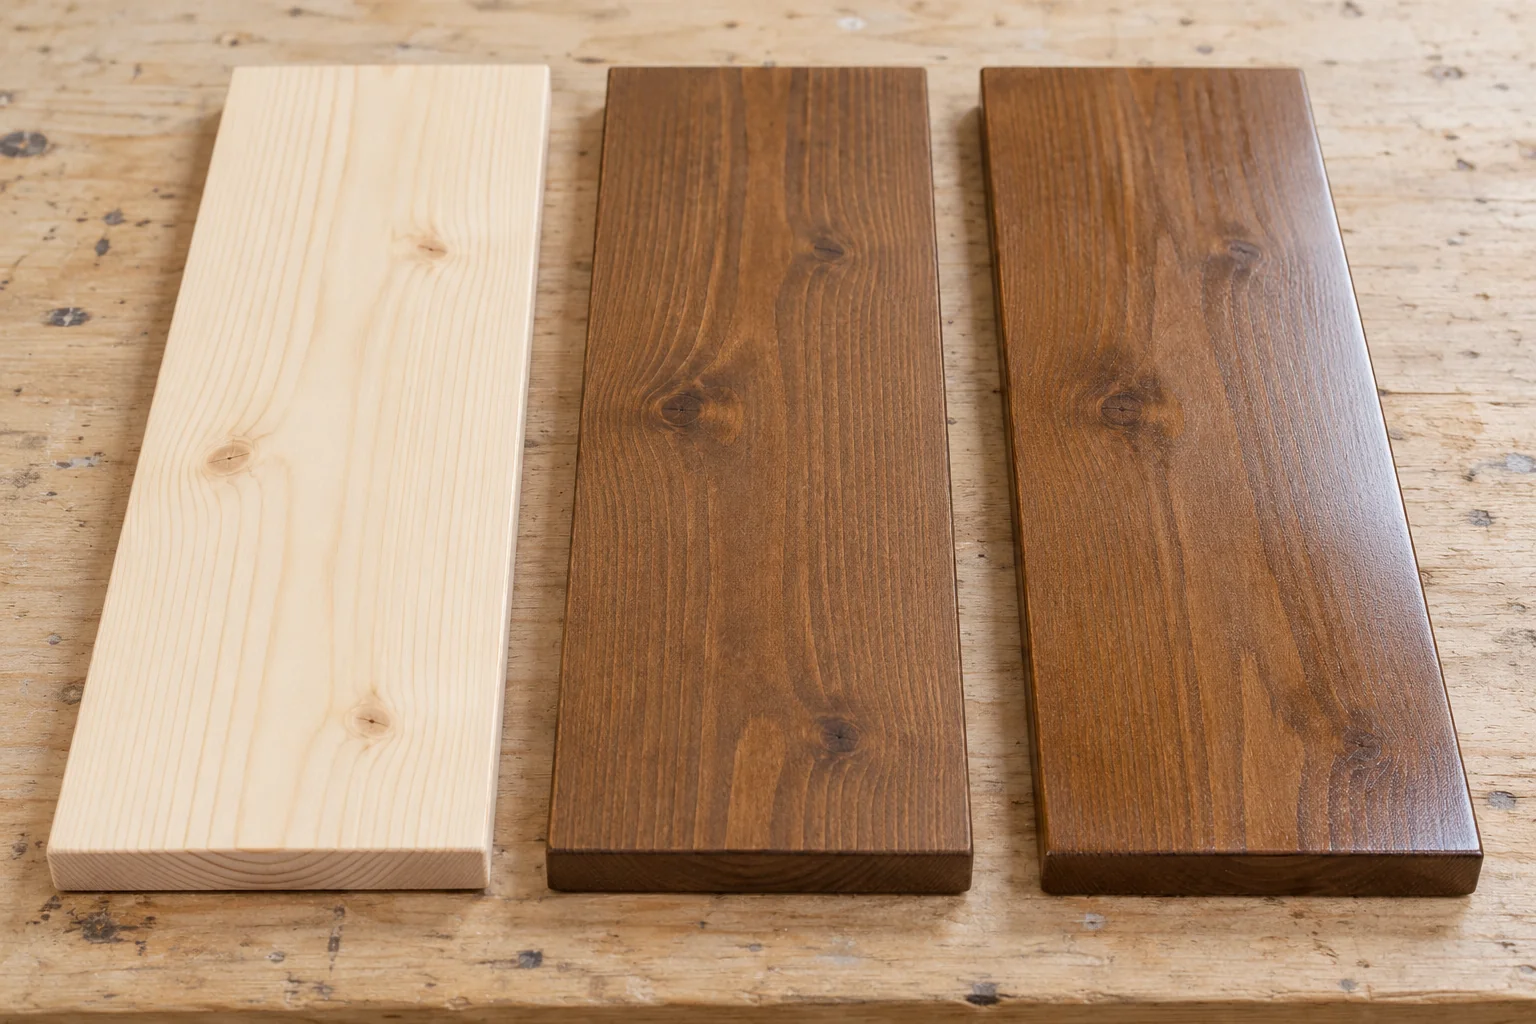
Do not keep sanding an entire panel down to the level of one deep defect without considering the remaining film thickness; on stained wood, that can turn a small repair into a colour-matching problem
Recoat examples and common questions
Can I recoat a floor finish the next morning without sanding?
Not automatically: if the named 350 VOC Minwax floor product went on at 18:00 and the next coat starts at 08:00, 14 hours have elapsed, beyond its stated no-sanding window
That worked timing example applies to that product, not every floor coating
Should I sand the final coat?
Routine between-coat sanding assumes another coat follows; sanding the final coat changes its sheen, so leave it alone unless you are following a suitable repair or rub-out process after the required cure
Is this the same grit as sanding bare wood?
No; preparing bare wood before staining and scuffing a clear film have different aims
Before clear-coating a stained surface, resolve sticky or incompletely dried stain; another layer will not fix it