
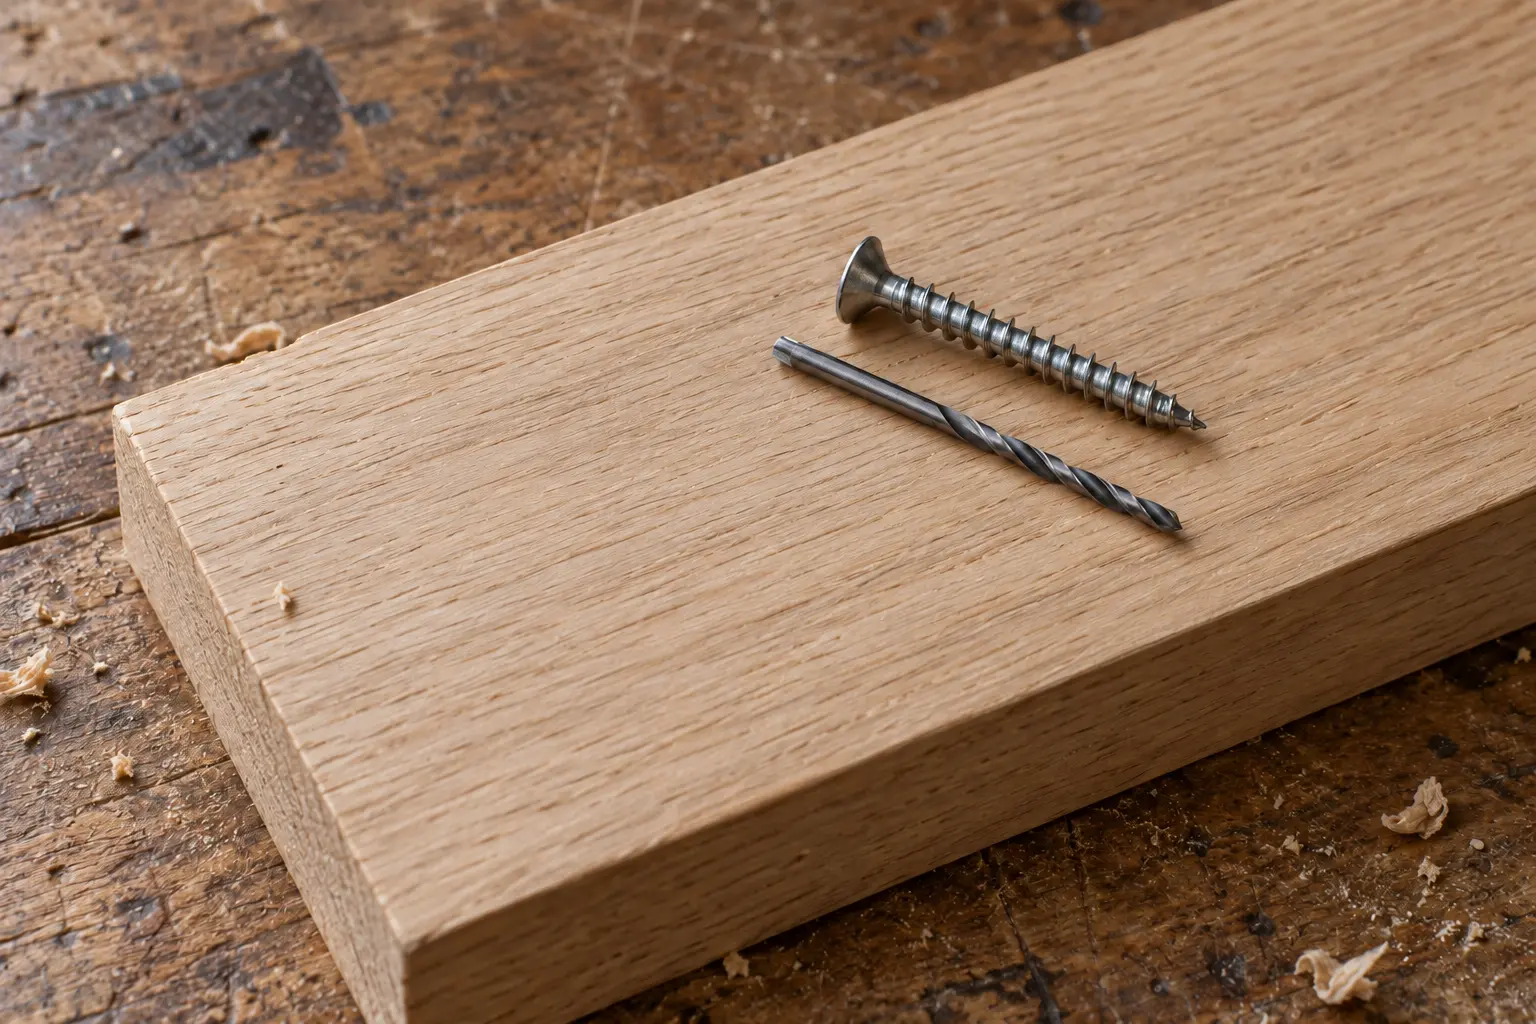
Start with the screw manufacturer’s drilling instructions for the material you are fastening; the screw’s outside thread diameter is not automatically the pilot-hole diameter
Choose a pilot hole for the actual screw
Pre-drilling is particularly useful in dense timber, thin pieces and locations where splitting would spoil the part, but it cannot compensate for a fixing placed too close to an edge or for an unsuitable screw
For a conventional wood screw, distinguish the core between the threads from the outside diameter across them; two screws sold with the same nominal diameter can have different thread geometry
Bosch’s AdvancedDrill manual advises using the thread’s core diameter when pre-drilling for larger, longer screws in hard material; treat that as guidance for that situation, not a universal hole chart for every fastener
Use the fastener’s own specification for structural screws, connectors, specialised self-drilling screws and pocket-hole systems; do not transfer an ordinary wood-screw rule to a fixing designed to work differently
Pilot, clearance and countersink holes do different jobs
| Hole | Where it goes | What it does |
|---|---|---|
| Thread pilot | Receiving piece | Makes room for the screw core while preserving thread engagement |
| Clearance hole | Upper piece, where the joint requires free passage | Lets the screw pull that piece against the receiving piece |
| Countersink | Upper surface | Seats a matching conical screw head flush |
| Counterbore | Upper surface | Provides a flat-bottom recess for suitable hardware |
If threads engage both pieces before they meet, the screw can hold a gap between them; clamp the joint closed and check whether the upper piece needs clearance for your screw and joint design
Do not drill a full thread-clearance hole through the receiving piece, because that removes the wood the threads need to engage
The countersink and counterbore comparison explains head seating in more detail
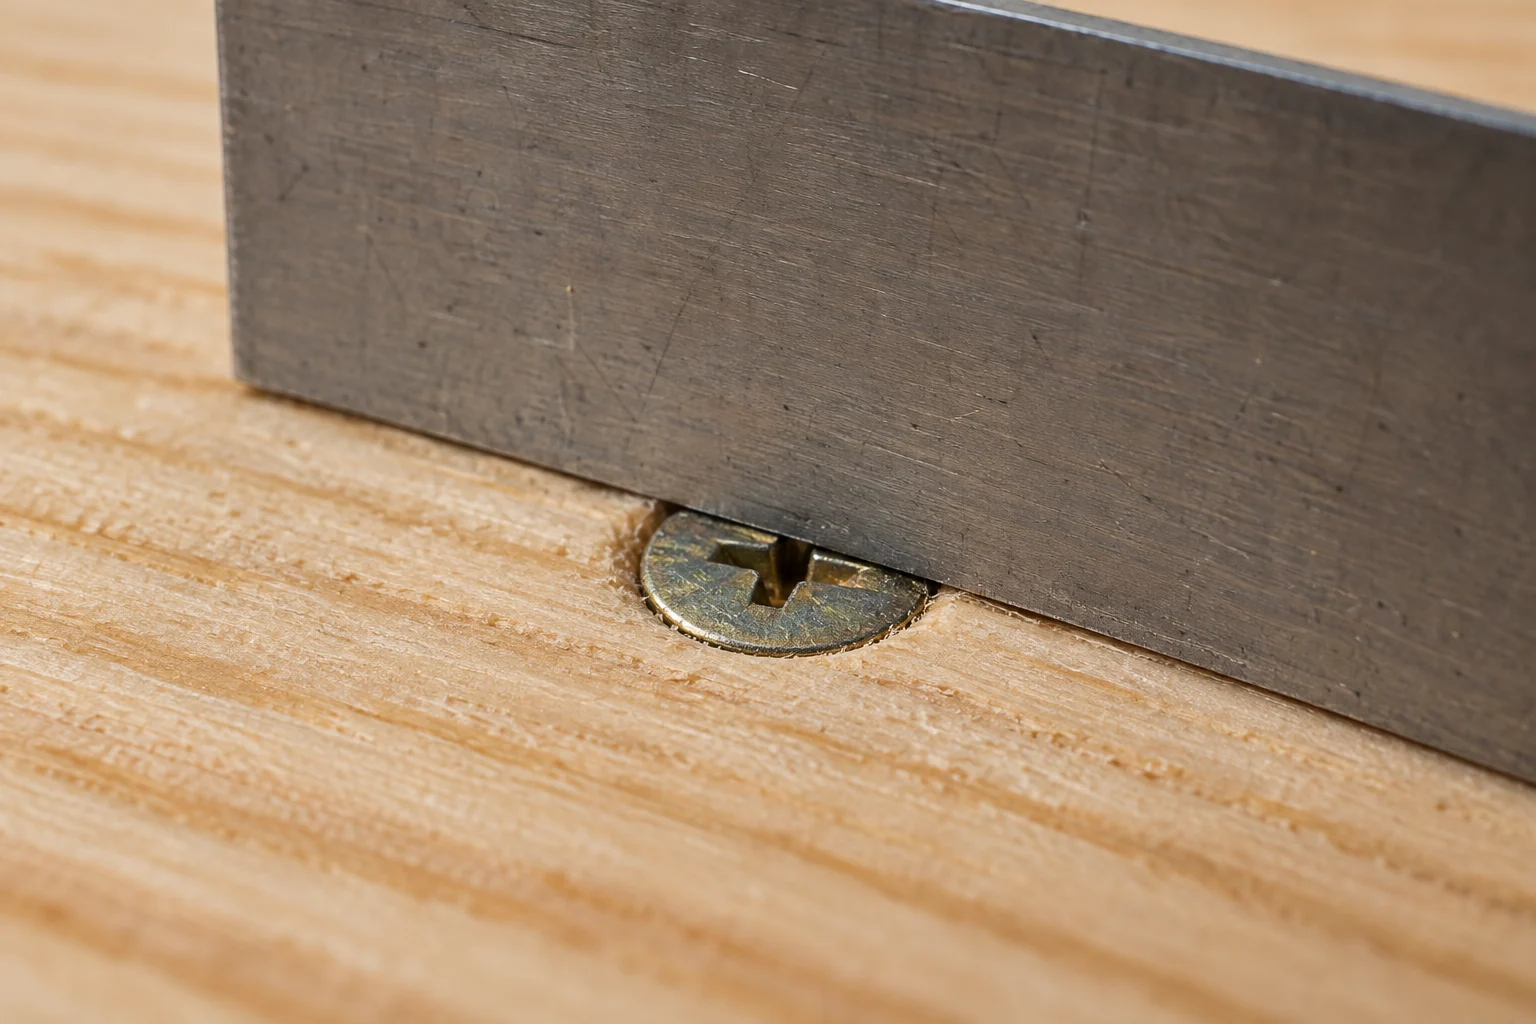
Check depth against the joint thickness
Consider a simple perpendicular joint using a 40 mm countersunk screw driven flush through a 15 mm upper board into a 38 mm receiving member
The nominal penetration is 40 − 15 = 25 mm, leaving 38 − 25 = 13 mm before the far face; this is a geometry check, not proof of the joint’s load capacity
Do not automatically drill the receiving member 40 mm deep just because the screw is 40 mm long; set the depth from the entry face you are actually drilling and the fastener’s instructions, allowing for the drill point
A deeper head recess changes the calculation: driving that same screw 3 mm below the upper surface increases penetration to 28 mm and reduces the remaining wood to 10 mm
Use actual measured thicknesses, especially with planed timber, and include any intervening hardware
Drill and test before fixing the finished piece
- Make a representative test joint
Use offcuts of the same timber and thickness, with the same screw and a similar edge distance
- Clamp the pieces securely
Keep fingers away from the drilling path and check what lies behind the receiving piece
- Set the bit and drilling depth
Use the specified pilot size and a depth stop; check the stop cannot contact the chuck or shift during drilling
- Drill square to the intended screw path
Clear chips without forcing the bit, then make any required upper clearance hole and matching head recess
- Drive under control
Use the correct driver bit and stop when the joint closes and the head seats; forcing it farther can strip the hole or bury the head
Read the result before drilling the rest
| Result | Check next |
|---|---|
| Timber splits | Pilot specification, edge distance, grain defects and head recess |
| Screw spins without tightening | An oversized or stripped receiving hole |
| Boards remain separated | Clamping and whether the upper piece needs clearance |
| Head stays proud | Head/recess match, drilling depth and excessive driving resistance |
A pilot hole does not make an indoor screw suitable outdoors; check the outdoor screw selection guide when the joint will face weather