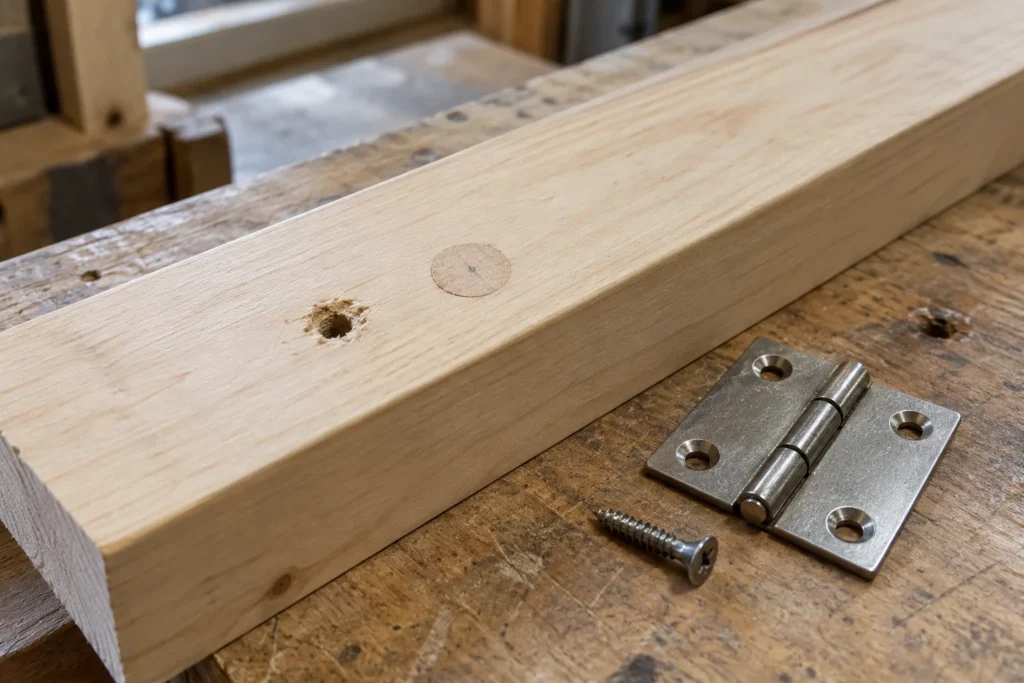
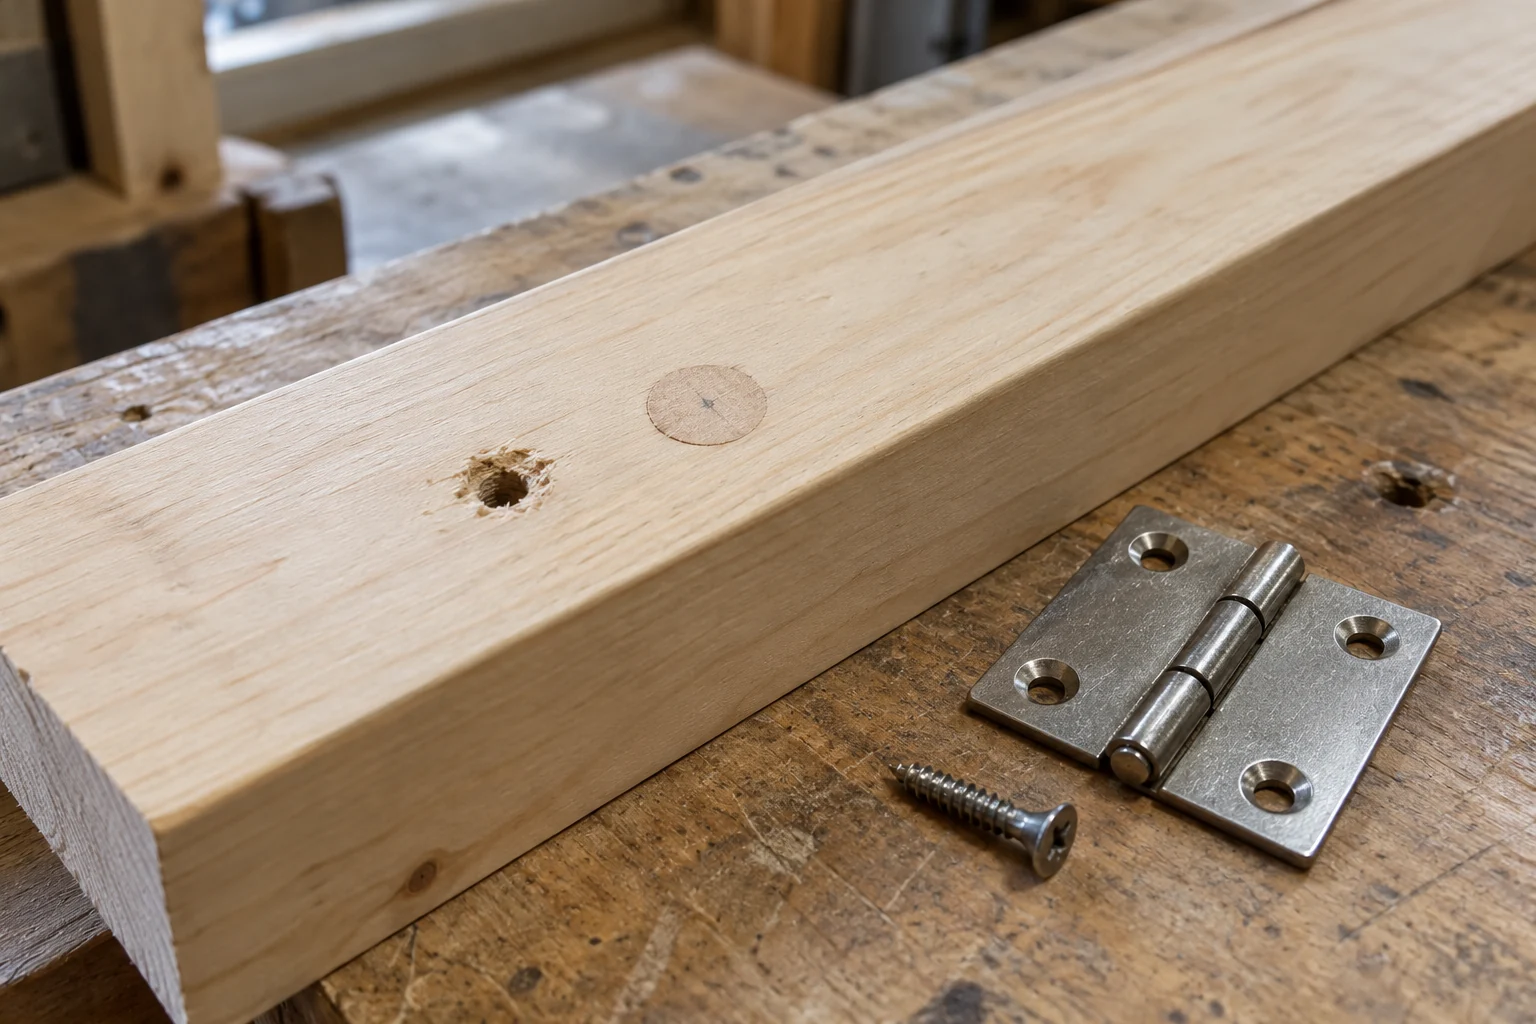
To fix a stripped screw hole in sound wood, restore a firm fixing point and drill a fresh pilot hole
A glued timber repair can suit ordinary cabinet and furniture fittings; a longer screw only helps when there is sound material behind the damaged hole and enough depth to use it
Check what has actually failed
Support the door, lid or other moving part before removing its hardware, then look at the hole and the screw together; a screw that spins without tightening suggests damaged threads in the wood, while a screw that tightens but leaves the fitting loose may be bottoming out or have the wrong head
Look beyond the opening for a crack, soft timber, crushed particleboard or a broken edge; filling the centre of a damaged area does not restore the surrounding material that must carry the load
Check the other fixing positions too; one worn hinge hole is a different repair from an entire hinge plate pulled out of a crumbling cabinet side, and a misaligned door can keep loading a repaired hole until it fails again
This guide covers modest cabinet and furniture repairs in otherwise sound material; structural connectors, guardrails, overhead supports and heavily loaded gates need a fixing arrangement appropriate to their loads, rather than an assumed strength from a small hole repair
Choose a repair that fits the damage
| What you find | Possible route | Check first |
|---|---|---|
| Slightly worn hole for a small, lightly loaded fitting | Glued wood slivers, trimmed flush, then a new pilot | The surrounding wood must still be sound |
| Enlarged hole that can be bored cleanly | A well-fitted glued dowel or timber plug | Enough depth and material must remain around the repair |
| Damaged proprietary cabinet hinge fixing | The hardware maker’s repair insert or compatible repair plate | Match the hole pattern, screw and cabinet material |
| Short screw with sound wood deeper behind it | A suitable longer screw | Available depth, head fit and hidden obstructions |
| Split, rotten or extensively crushed material | Replace the damaged part or redesign the fixing | A filled hole alone cannot solve the wider failure |
Rockler demonstrates both small glued wood fillers and a drilled dowel repair for loose cabinet screws; treat these as repair methods for the examples shown, not as load ratings for every door or timber joint
A cosmetic filler is a different product from a fixing repair; our wood filler and wood putty guide explains why a smooth-looking patch does not automatically provide dependable screw holding
Measure the depth before drilling
Measure the actual panel thickness and check the far side before enlarging a hole; the drill’s cutting point extends beyond the full-diameter part of its hole, so include that point when setting a stop
For a simple geometry example, a 20 mm screw passing through 2 mm of flat hardware reaches approximately 20 − 2 = 18 mm into a 25 mm board, leaving 7 mm before the opposite face; this checks clearance only and does not establish holding strength
The same calculation works in inches: a ¾ in screw through ⅛ in hardware reaches about ⅝ in into the wood; in a 1 in board, that leaves about ⅜ in, subject to the screw’s length convention and how its head seats
Do not choose a deeper repair simply because the drill bit or dowel is long enough; thin cabinet sides and recessed hinge cups can leave much less usable material than the outside dimensions suggest
Fit a timber repair without splitting the part
- Record the original fixing position
Use the hardware or a template to preserve the centre before removing damaged material; a repair that shifts the screw sideways can pull the hinge out of alignment
- Prepare a clean, controlled hole
Remove loose fibres, then use a suitable bit and depth stop if the repair requires a round bore; keep the drill square to the intended screw direction and stop if the remaining wall looks too thin or cracked
- Check the dry fit
The timber repair should fit closely without needing heavy hammering; forcing an oversized dowel into a thin edge can create a second problem, while a loose dowel surrounded by ordinary wood glue is not a sound close-fitting joint
- Glue and allow the bond to develop
Use an adhesive suitable for the timber and exposure, following its preparation, temperature and curing instructions; remove excess glue from the hardware seating area and leave the repair unloaded for the specified time
- Trim the repair flush
Protect the surrounding finish while trimming; the hardware must sit flat without rocking on a proud plug or a bead of dried adhesive
WEST SYSTEM also documents epoxy methods for bonding fasteners; those use a defined resin, filler and preparation process, so do not substitute a random filler into that method or assume every epoxy repair has the same capacity
Drill a new pilot and refit carefully
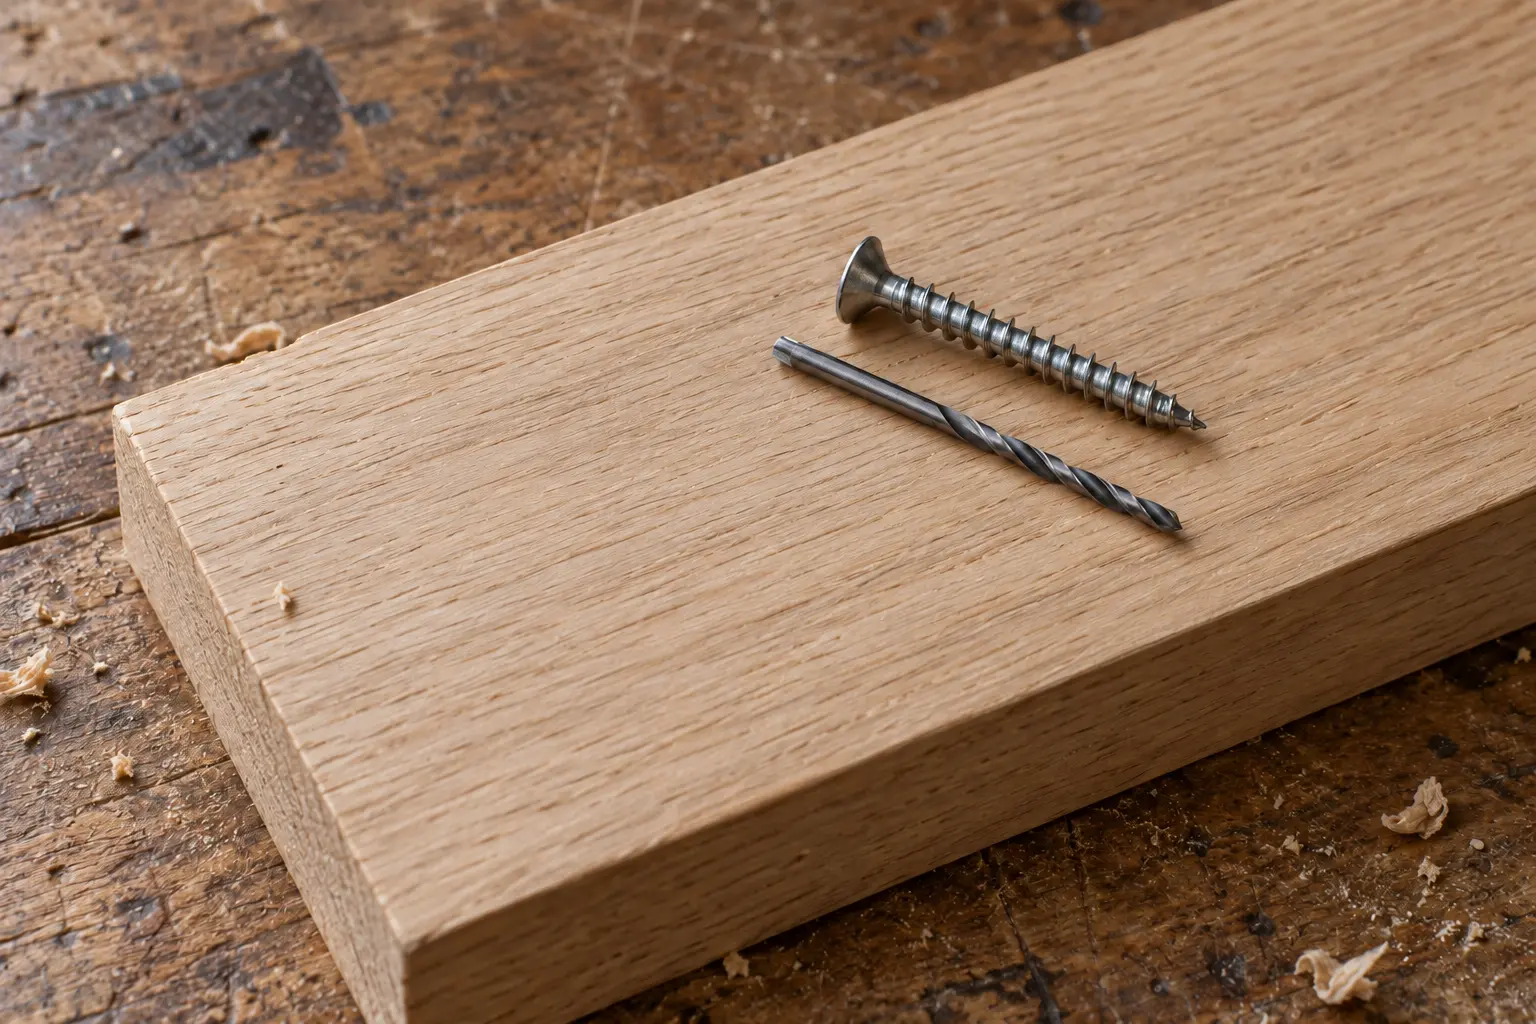
Reposition the hardware and mark the pilot accurately; choose the bit for the actual screw and repaired material, rather than using the outside thread diameter as the default hole size
The pilot-hole guide separates the screw core, thread diameter and clearance hole, while the head-recess guide helps if the screw tightens without seating the fitting correctly
Drive the screw under control and finish tightening by hand; stop when the fitting seats firmly, since extra turns can strip the fresh fixing immediately
Move the door or lid through its normal travel while supporting it and check for rubbing, binding and movement at the plate; correct the alignment before returning the fitting to ordinary use
If the screw works loose again
A repeat failure is a reason to inspect the whole connection; look for a moving hinge plate, an unsuitable screw, a door that binds, or damaged material extending past the visible repair
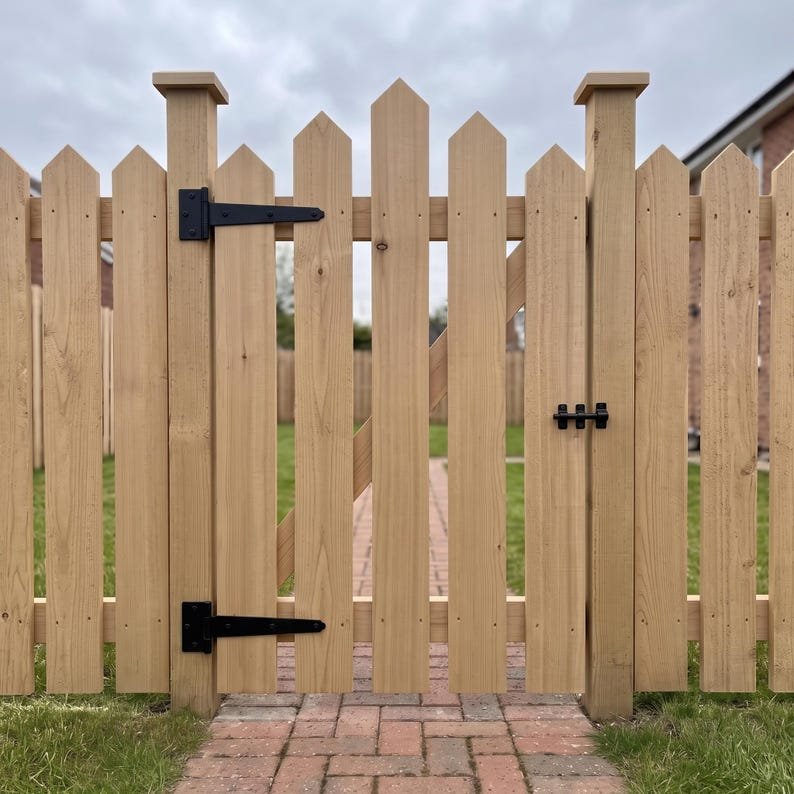
For an outdoor gate, also check hinge position, frame stiffness and post movement using the sagging gate guide; packing a screw hole will not straighten a distorted gate or stabilise a loose post
Sources and product instructions
Planning a garden gate?
Use a gate design with suitable bracing and hardware, then resolve any damaged fixing material before assembly