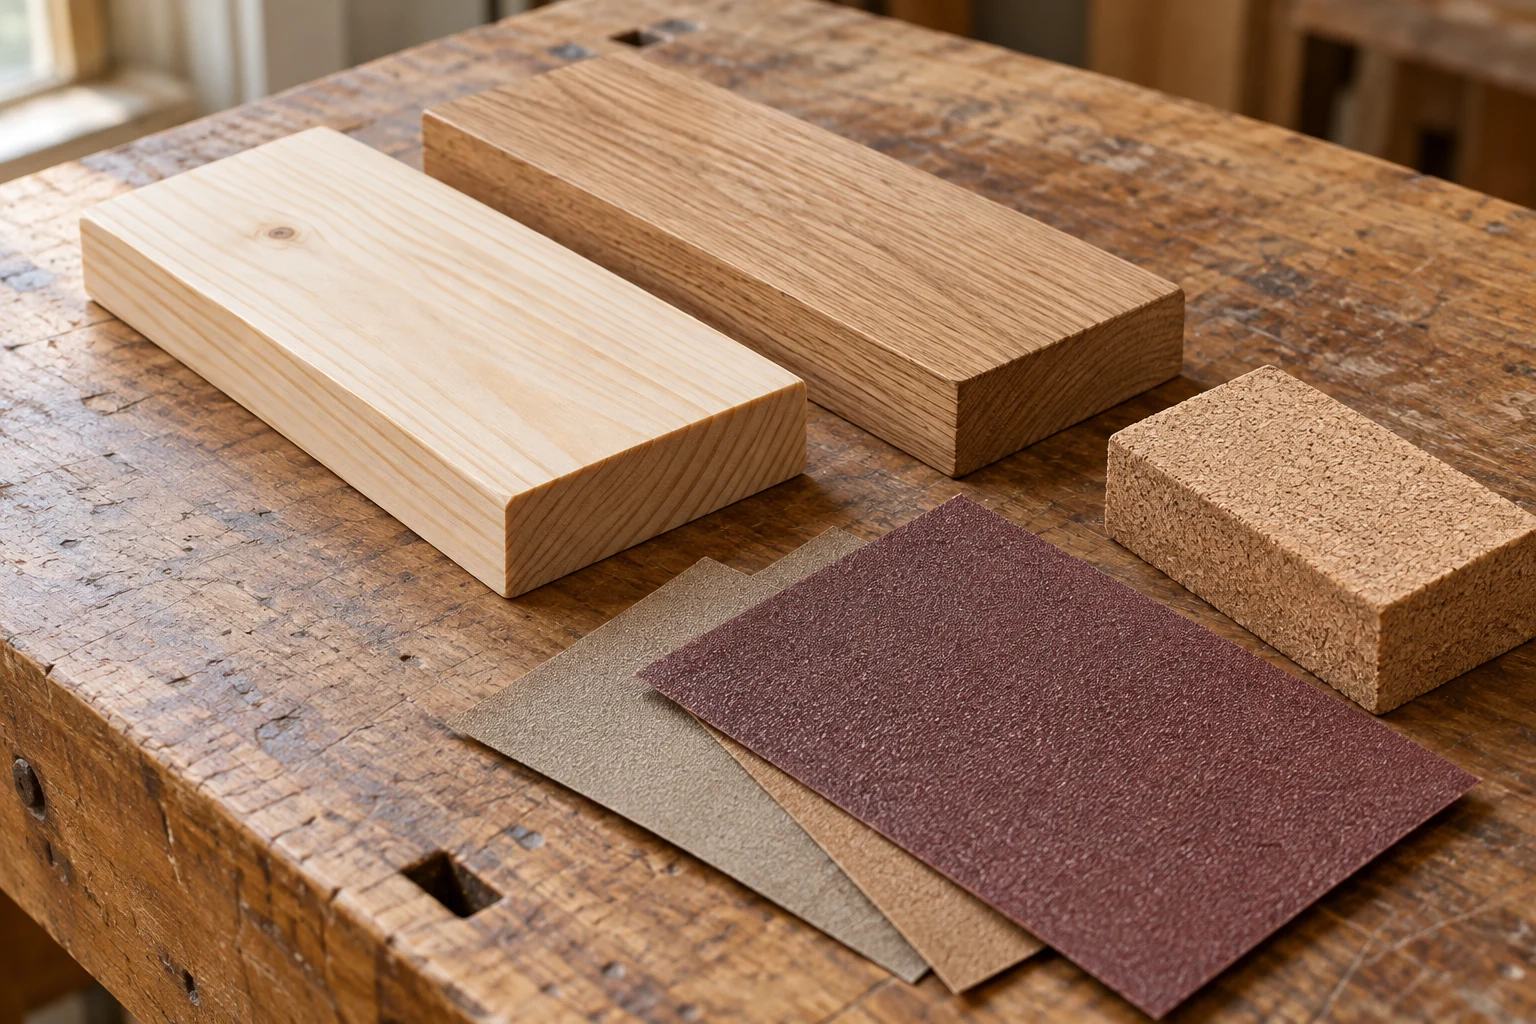
Common manufacturer schedules finish at 150, 180 or 220 grit. General Finishes specifies 180 for its water-based stain preparation on pine, while Minwax Wood Finish Water-Based Semi-Transparent Color Stain specifies a 220-grit final sand
Match the product first, then remove scratches and test on the same wood before staining the project
150, 180 or 220 grit: compare the stain instructions
| General Finishes schedule for new wood | Sequence | Final grit |
|---|---|---|
| Oil-based stain | 120 → 150 | 150 |
| Water-based stain on pine, maple, cherry, birch or alder | 150 → 180 | 180 |
| Water-based stain on oak, ash, mahogany or parawood | 180 → 220 | 220 |
Source: General Finishes preparation guidance · If your exact stain specifies a different sequence, use its instructions
Choose the stain before the final sanding pass, then test the stain and intended topcoat on matching scrap
Why two water-based stains can need different grits
Minwax Wood Finish Water-Based Semi-Transparent Color Stain specifies a final sanding with 220 grit, whereas the General Finishes schedule above stops at 180 on pine
The useful decision is therefore the exact product plus the wood, rather than simply “oil or water-based”
| Your project | Preparation decision |
|---|---|
| Pine shelf with a General Finishes water-based stain | Use its pine schedule of 150 then 180 grit |
| Pine shelf with the named Minwax water-based stain | Follow that product’s instructions, which specify a 220-grit final sand |
| An unopened stain you have not chosen yet | Choose the product before completing the final sanding pass |
| A veneered shelf with a deep scratch | Do not copy a solid-wood sanding schedule until you know the face can tolerate it |
Solid wood, plywood and previously finished wood
| Surface | Preparation decision |
|---|---|
| New solid wood | Inspect for machining marks and scratches before choosing the starting grit |
| Thin veneer | Check that further sanding is suitable; do not chase a deep mark through the face |
| Previously finished wood | Establish whether the stain requires removal of the existing coating |
| Glue beside a joint | Remove the glue barrier without hollowing the surrounding wood |
| Rough exterior timber | Use the exterior coating’s preparation requirements |
Inspect with light falling across the surface at a low angle so ridges and cross-grain scratches stand out
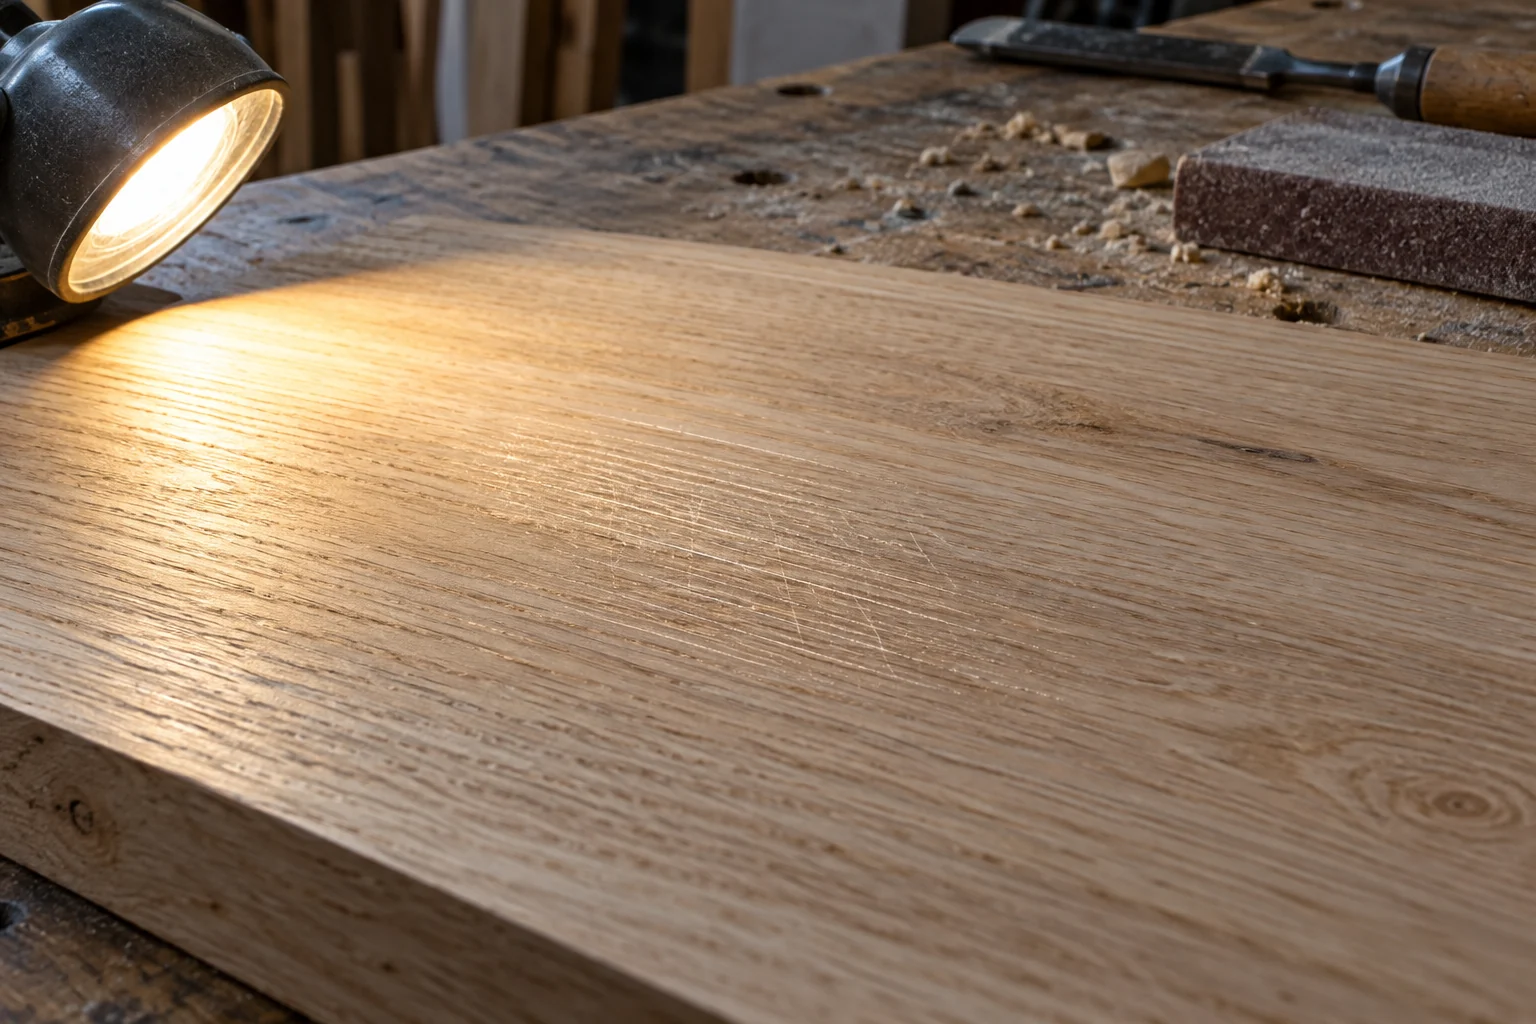
How to sand without leaving coarse scratches
- Remove the defects
Use a starting abrasive that removes the marks present without unnecessarily cutting away sound wood
- Remove the previous scratches
Inspect between stages; fine paper should not be expected to erase a deep scratch left behind
- Keep matching parts consistent
Use the same sequence on corresponding rails, legs and panels, with a suitable sanding block where flatness matters
- Stop at the specified grit
Remove dust as the finish instructions require, then stain a sample before treating the project
Compare stain colour on matching offcuts
Use an offcut from the actual timber supply, including end grain if it will be visible on the project
To compare two permitted sanding schedules, prepare separate samples and keep the stain, wiping time and topcoat the same; changing several things at once hides which change helped
Label the back with the sanding sequence and finish products, and keep the dry sample beside the work as a colour reference
A two-sample comparison you can repeat
Cut two adjacent offcuts from the same board and mark their backs A and B
- Keep the comparison fair
Use the same stain colour, applicator, wiping interval and topcoat on both pieces
- Change only an allowed preparation choice
If the product allows either 150 or 180 as the final grit, compare those; do not include an out-of-spec grit just to create a contrast
- Judge the dry, topcoated samples
Compare colour, scratches and end grain in the light where the project will be used
If both show a pale mark at a glued seam, a finer final grit is not the next experiment: remove the glue barrier first
Find scratches, glue marks and dark end grain
A narrow dark line may be a scratch highlighted by stain; a pale patch beside a joint may be glue blocking absorption; a broad patch following the grain needs a different investigation
Include the ends in the test because end grain can colour differently from the face, and remember that pre-stain preparation includes cleaning and any compatible conditioner as well as sanding
Troubleshoot the stained sample
| Result | What to change or check |
|---|---|
| Dark scratch lines | Correct the scratches on a fresh sample before choosing a darker stain |
| Pale patches near joints | Check for glue or remaining old finish |
| Different colour on matching boards | Compare wood selection, sanding and application |
| Roughness after water-based stain | Check that product’s grain-raising procedure |
| Sticky residue | Resolve sticky stain before applying a topcoat |
Common sanding questions
Is 220 grit always best before staining?
No; the table above shows why some systems stop at 150 or 180, so choosing 220 simply because it feels smoother can miss the preparation the stain requires
Do I need every grit?
No; progress through a suitable sequence and inspect for scratches between stages
Can I use the same sequence on plywood?
Only if it suits the face veneer and stain; reduce damage before sanding by cutting the plywood cleanly