Best Finish for Outdoor Wood Furniture: Oil, Stain or Paint?
The best outdoor furniture finish is one that suits the wood, the exposure and the maintenance you are willing to do. A shaded chair and a table left in rain all winter do not ask the same thing of a coating.
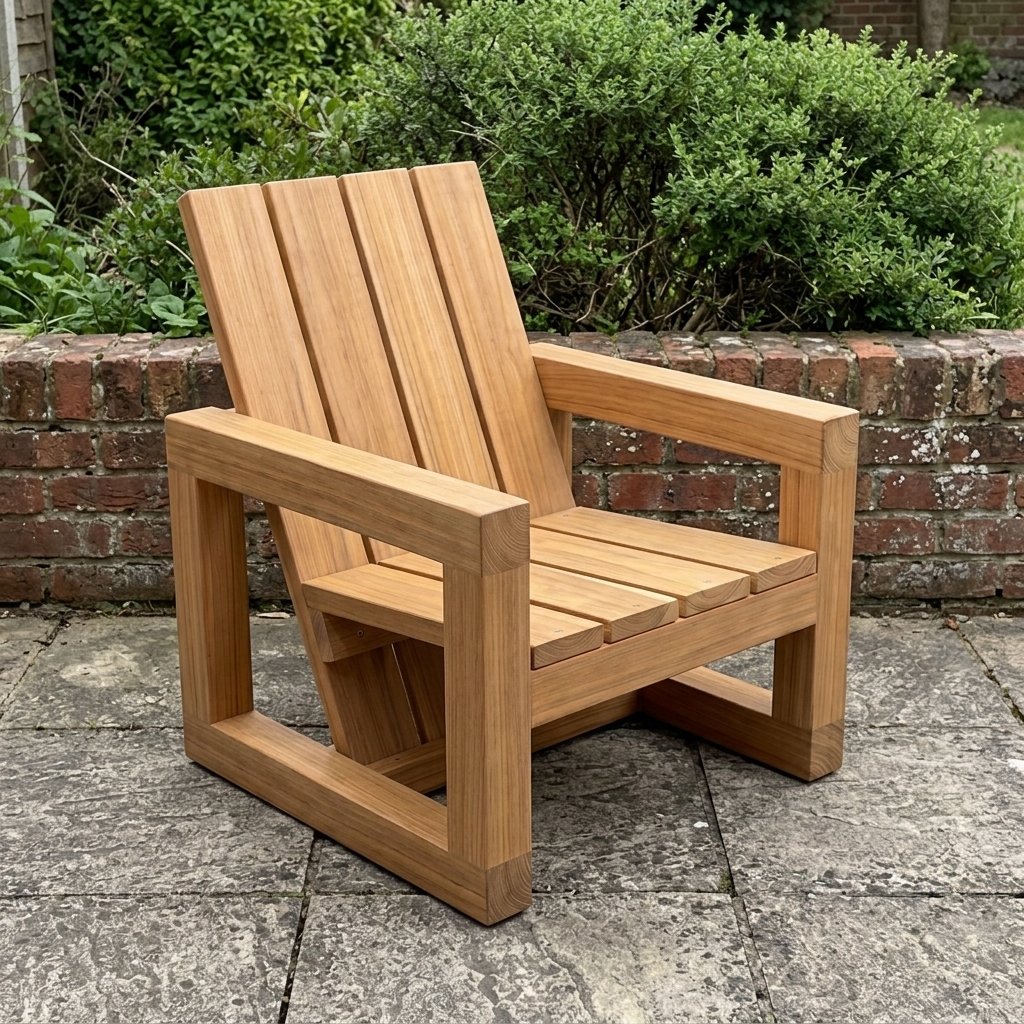
For visible grain and straightforward maintenance, start by considering a lightly pigmented penetrating finish specifically approved for exterior furniture and your wood species. For solid colour, consider a compatible exterior primer and paint system approved for the surfaces involved. Choose clear exterior varnish only if its appearance is worth the preparation and upkeep. Interior polyurethane is not a substitute for an exterior coating.
Compare the finish by how you want to maintain it
| Finish type | Appearance | What to check before buying |
|---|---|---|
| Exterior furniture oil | Grain visible; usually a richer tone | Suitable species, pigmentation and whether it needs bare wood |
| Semi-transparent exterior stain | Grain visible with added colour | Furniture and horizontal-surface approval; penetrating or film-forming behaviour |
| Exterior paint system | Opaque colour | Correct primer, seating suitability and cure time |
| Exterior clear varnish system | A visible clear film, often with sheen | Explicit exterior/species approval and a realistic maintenance commitment |
| No applied finish | Natural weathering and colour change | Timber suitability, drainage details and acceptance of uneven weathering |
Product names are not precise chemistry labels. An “oil” may contain resins and pigment; a “stain” can penetrate or form a surface film. Read the technical sheet instead of assuming every product in a category behaves alike. Check whether it is intended for furniture, decks, fences or siding: those uses are not interchangeable.
On a chair, the arms and seat receive handling, abrasion and standing water differently from the vertical back boards. On a table, the top gets the hardest exposure. A coating recommended only for vertical cladding is not automatically appropriate for either surface.
When a penetrating finish makes sense
A suitable penetrating system is a practical starting point if you want to see the wood and prefer future cleaning and recoating to maintaining a continuous clear film. Colour still matters: test a sample before committing, because even a product labelled natural can noticeably warm or darken the timber.
Do not assume an almost colourless product will keep new wood looking unchanged indefinitely. Sun, water and wear continue to affect the surface. If retaining colour is your priority, compare the manufacturer’s UV-protection information and maintenance instructions, not just the photograph on the tin.
When paint is the better choice
Paint suits a deliberate colour scheme and can unify boards with different tones. It also hides much of the grain. Choose the whole system together: substrate preparation, any specified primer, topcoat and allowed recoat intervals. Ask explicitly about seats and tabletops if the label is unclear.
For western red cedar, the Western Red Cedar Lumber Association’s finishing guidance discusses stain-blocking primers and exterior acrylic paint systems. It also cautions against transparent, non-flexible films outdoors on cedar. That cedar-specific advice is a reason to check the wood/coating combination rather than treating clear varnish as a universal upgrade.
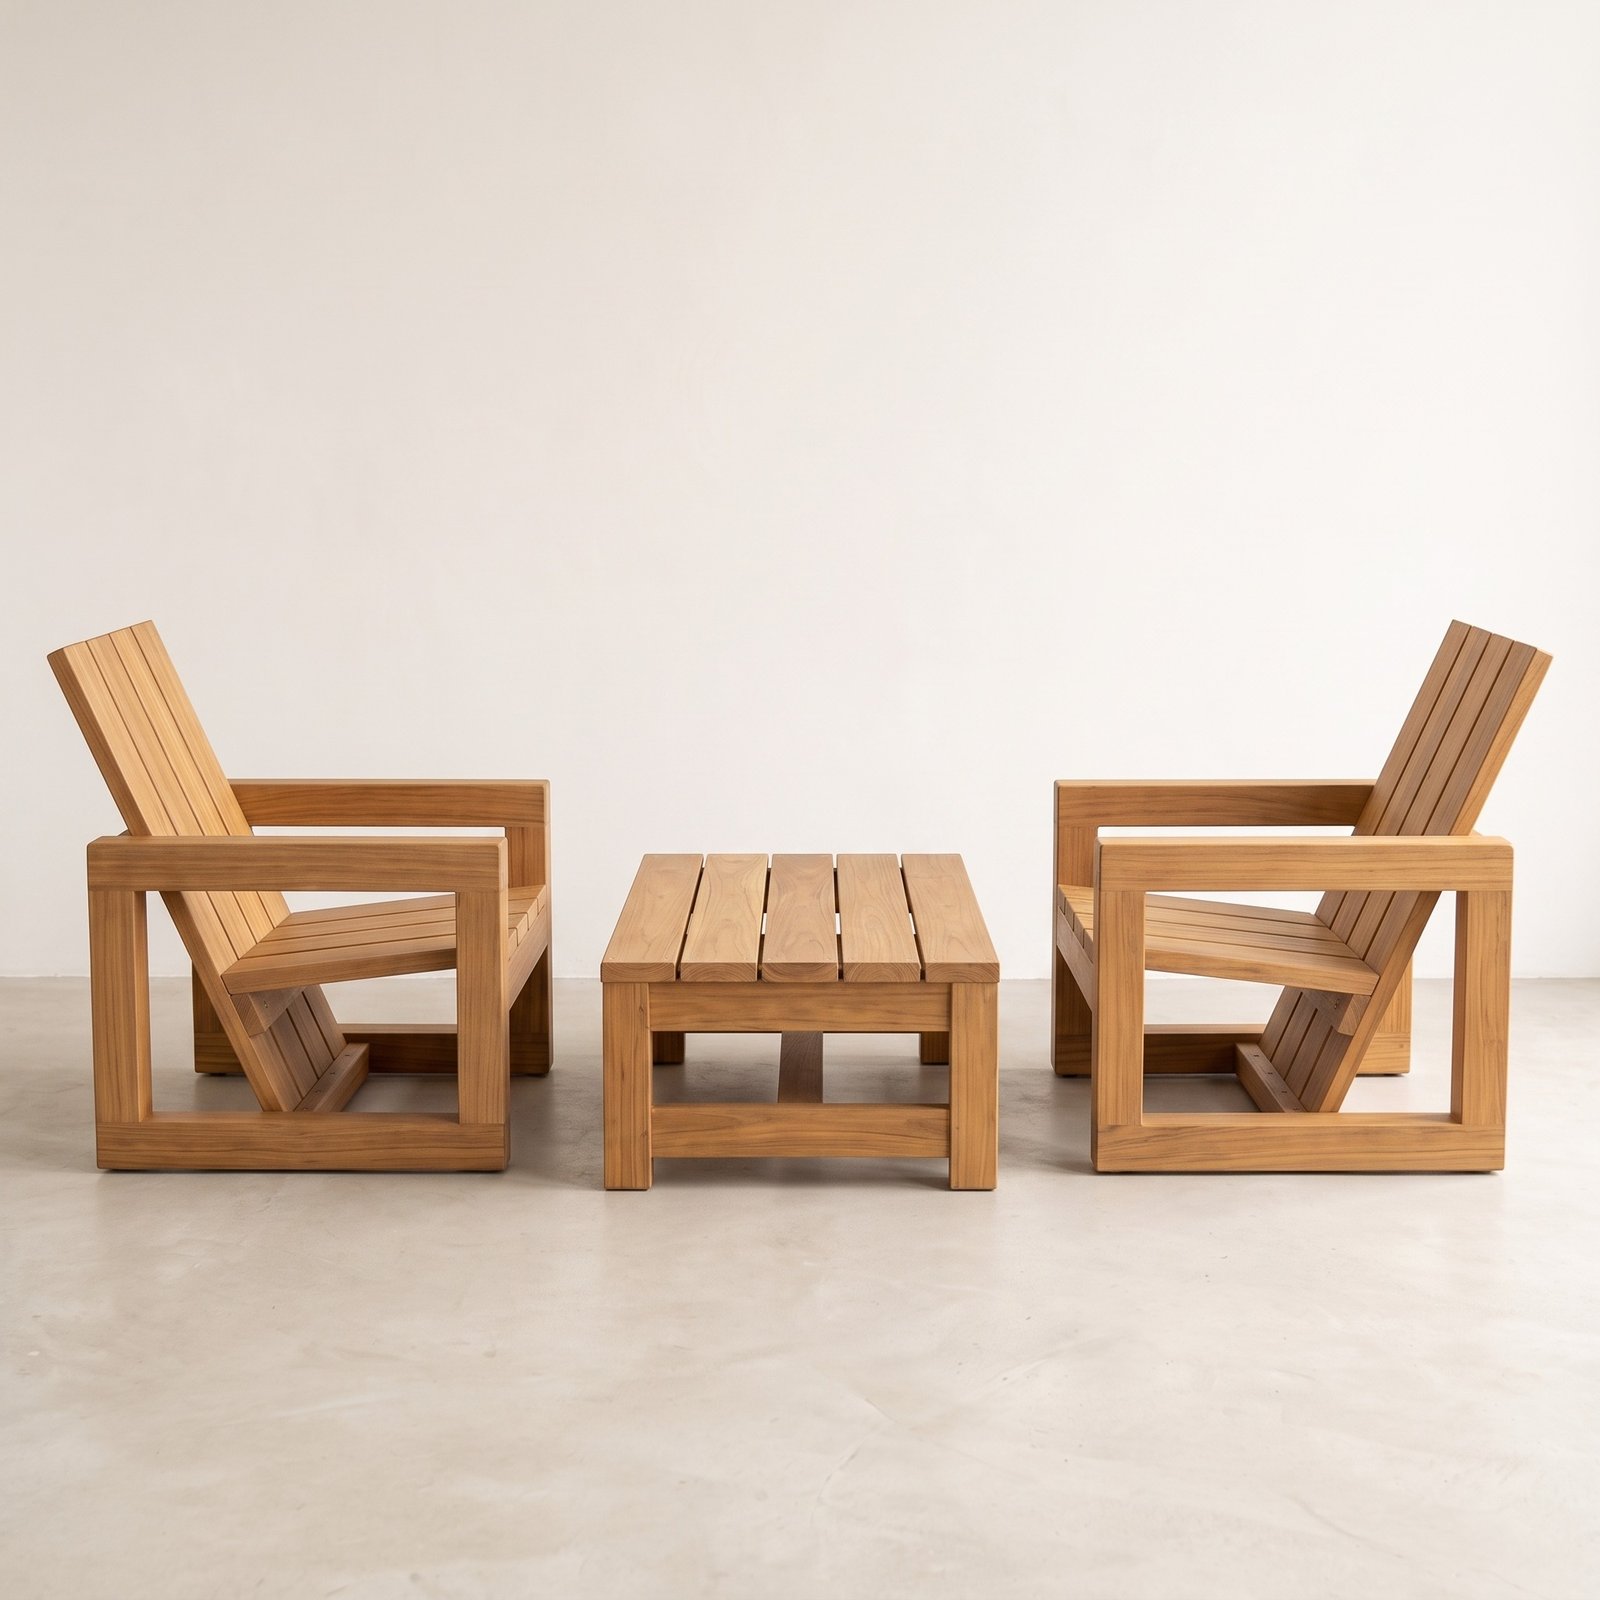
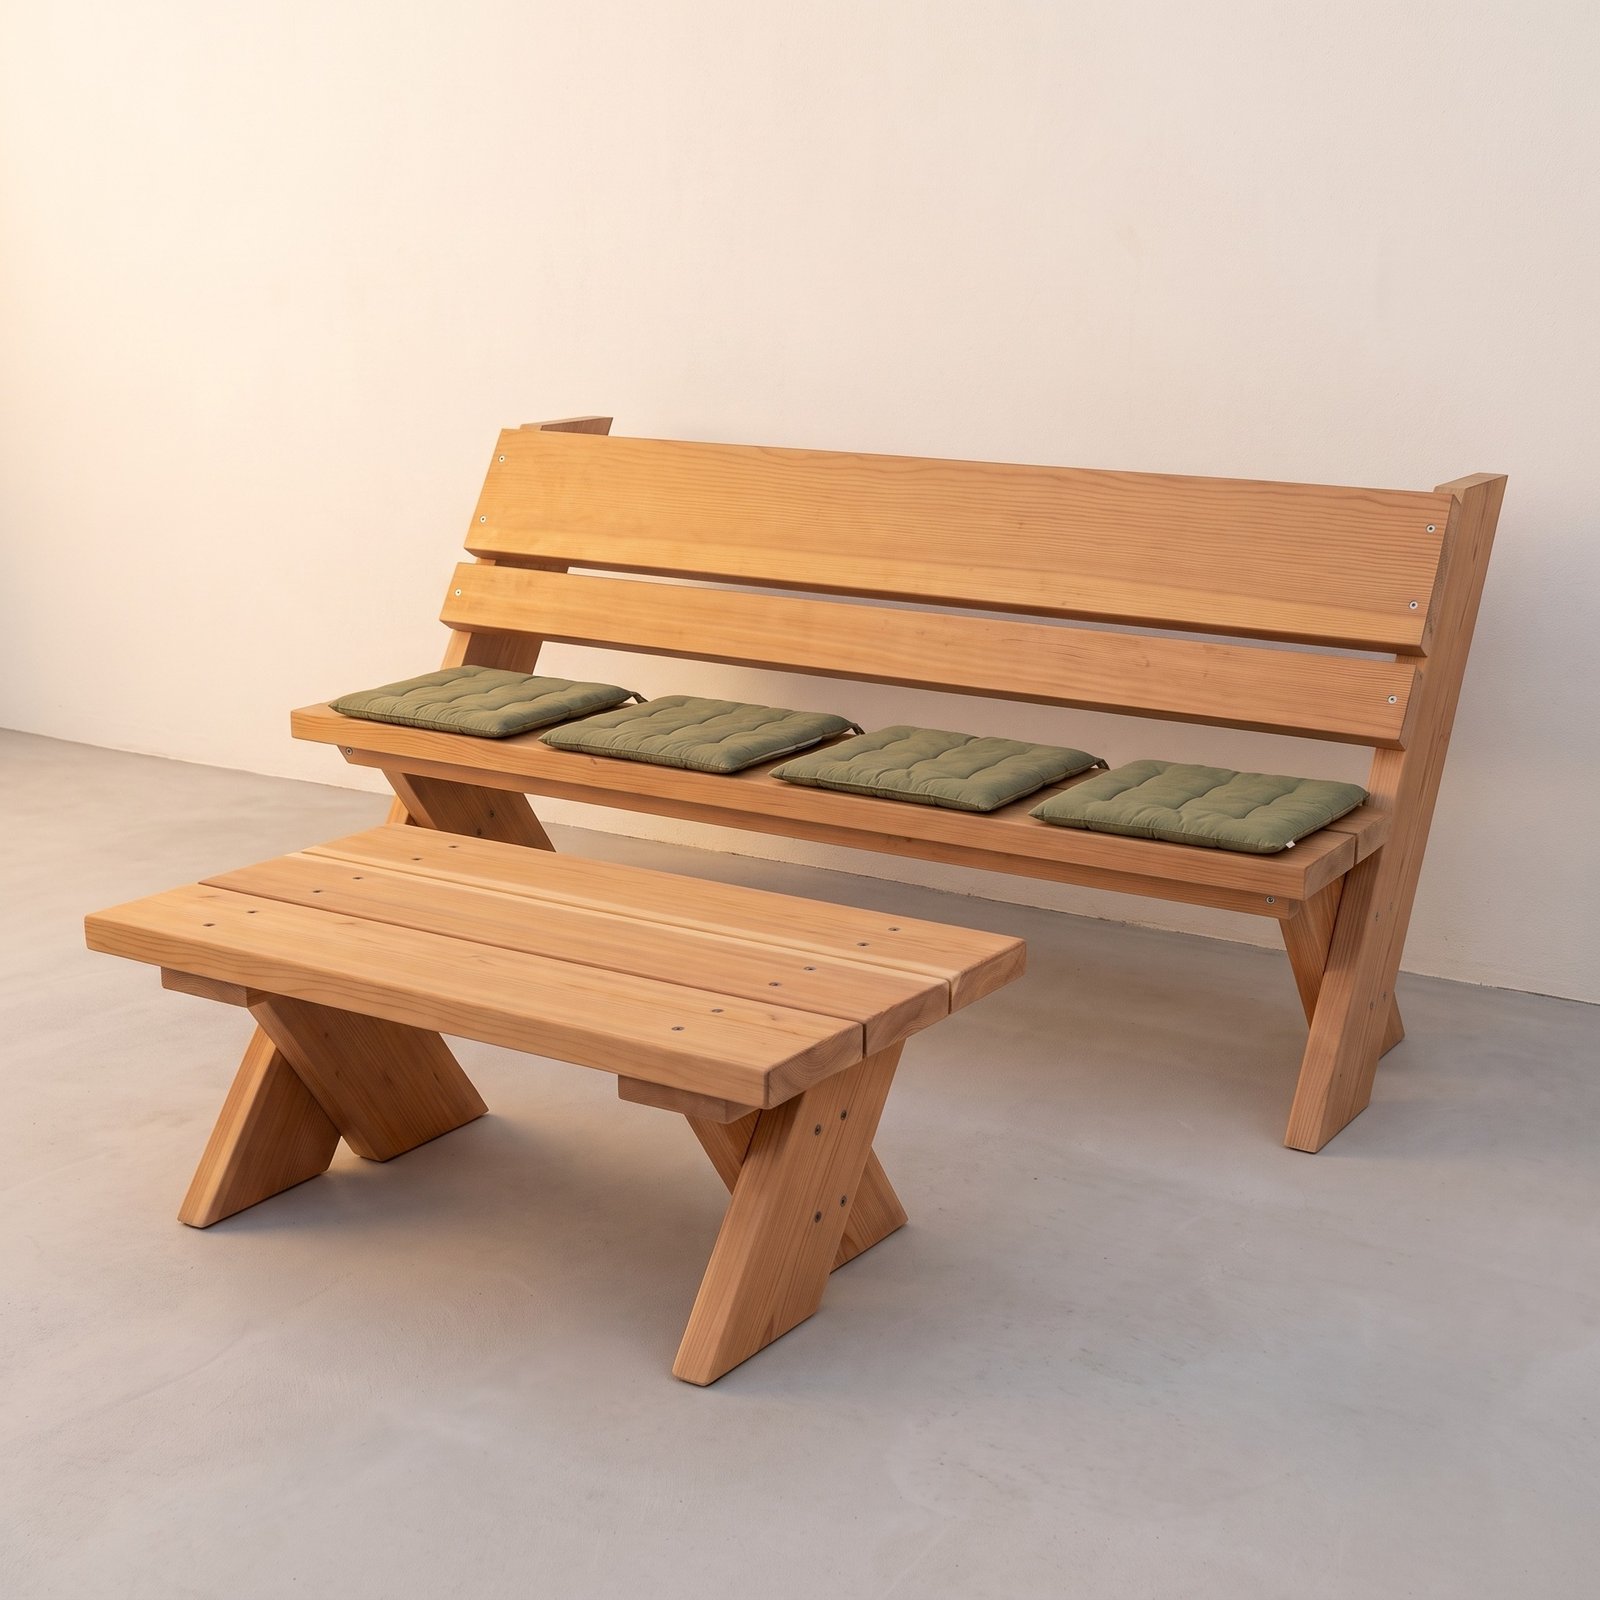
Building the furniture too? The outdoor lounge chair plans and Leopold bench and table plans give you different shapes to work with. Decide on your finish early so inaccessible faces can be prepared before assembly.
Plans for your next build
Choose the furniture you want to build and finish.
Start with the surface you actually have
The previous coating often matters more than your preferred new one. A penetrating finish cannot work as intended through an intact paint or varnish layer. Likewise, painting over a surface contaminated by wax, oil or an incompatible treatment can create adhesion problems.
- Find the previous product: check old tins, receipts or the furniture maker’s care instructions.
- Inspect sheltered and exposed areas: the underside may reveal a film that has already disappeared from the top.
- Look for failure: flaking, cracking, stickiness and loose fibres need different preparation.
- Confirm compatibility: use the new manufacturer’s directions for the identified old coating.
- Make a complete test patch: include cleaning, sanding if specified, the full coating sequence and curing.
For example, Cuprinol’s Ultimate Furniture Oil is described as suitable for bare or previously oiled garden furniture. That is a product-specific restriction, not a promise that any oil can go over any other finish.
If the old finish is unknown and badly deteriorated, removing it to a sound, compatible surface may be the clearer route. Do not sand through randomly and expect differently coated patches to absorb a new transparent finish evenly.
Prepare the wood before opening the tin
First make the furniture sound. Tighten or repair loose joints, replace damaged components and resolve spots where water collects. A new finish will not restore a rotten leg or stop a loose joint moving. Where hardware needs replacing, use our outdoor fastener guide to check corrosion compatibility.
Clean away dirt, grease and surface growth using products suitable for the timber and coating. Rinse as directed and let the wood dry. Avoid guessing a universal drying period: weather, board thickness and the finish manufacturer’s moisture limit all matter. Newly purchased pressure-treated timber may need time to become suitable for coating.
Sand only as the selected coating requires. Excessively fine sanding can be unsuitable for some penetrating products, while skipping rough fibres leaves an uncomfortable seat. Use the specified abrasive sequence and remove dust carefully, including from gaps and screw recesses.
Plan the hidden faces
On a new build, lay out parts before final assembly and identify the surfaces that will become hard to reach: the undersides of arms, the backs of rails and the narrow edges beside neighbouring boards. Follow the chosen system’s instructions for coating these faces and fresh cut ends.
Keep finish off glue surfaces until the joint is made unless the adhesive and coating manufacturers explicitly permit the combination. Do not fill drainage spaces with paint, glue or sealant. Wood still needs the movement allowances specified by the plan. Our timber comparison explains why the starting material affects finishing decisions.
How much finish do you need?
Estimate surface area rather than the furniture’s footprint. A slatted seat has top faces, undersides, long edges and ends; counting only its width multiplied by depth misses much of the coating work.
For a rectangular board, the total area is 2 × (length × width + length × thickness + width × thickness). Use consistent units, subtract faces you will deliberately leave uncoated and multiply by the number of pieces.
For example, a board measuring 48 × 5½ × 1½ in (121.9 × 14.0 × 3.8 cm) has 688.5 square inches of surface, or about 4.78 ft² (0.444 m²). Six such boards have about 28.69 ft² (2.665 m²), before adding legs, rails or arms. This is an estimating example, not a cut list.
Next use the product’s stated coverage and number of coats. If a hypothetical finish covers 100 ft² per US quart per coat, those six boards would require about 0.57 US quart (0.54 L) for two coats before an allowance for losses. Use the actual tin’s coverage; rough, absorbent timber and application method can change consumption.
Buy enough of the same colour and batch for the project where possible. Save the product name, colour code and application date with the building plan so a later touch-up does not become a guessing exercise.
Apply the finish in a workable sequence
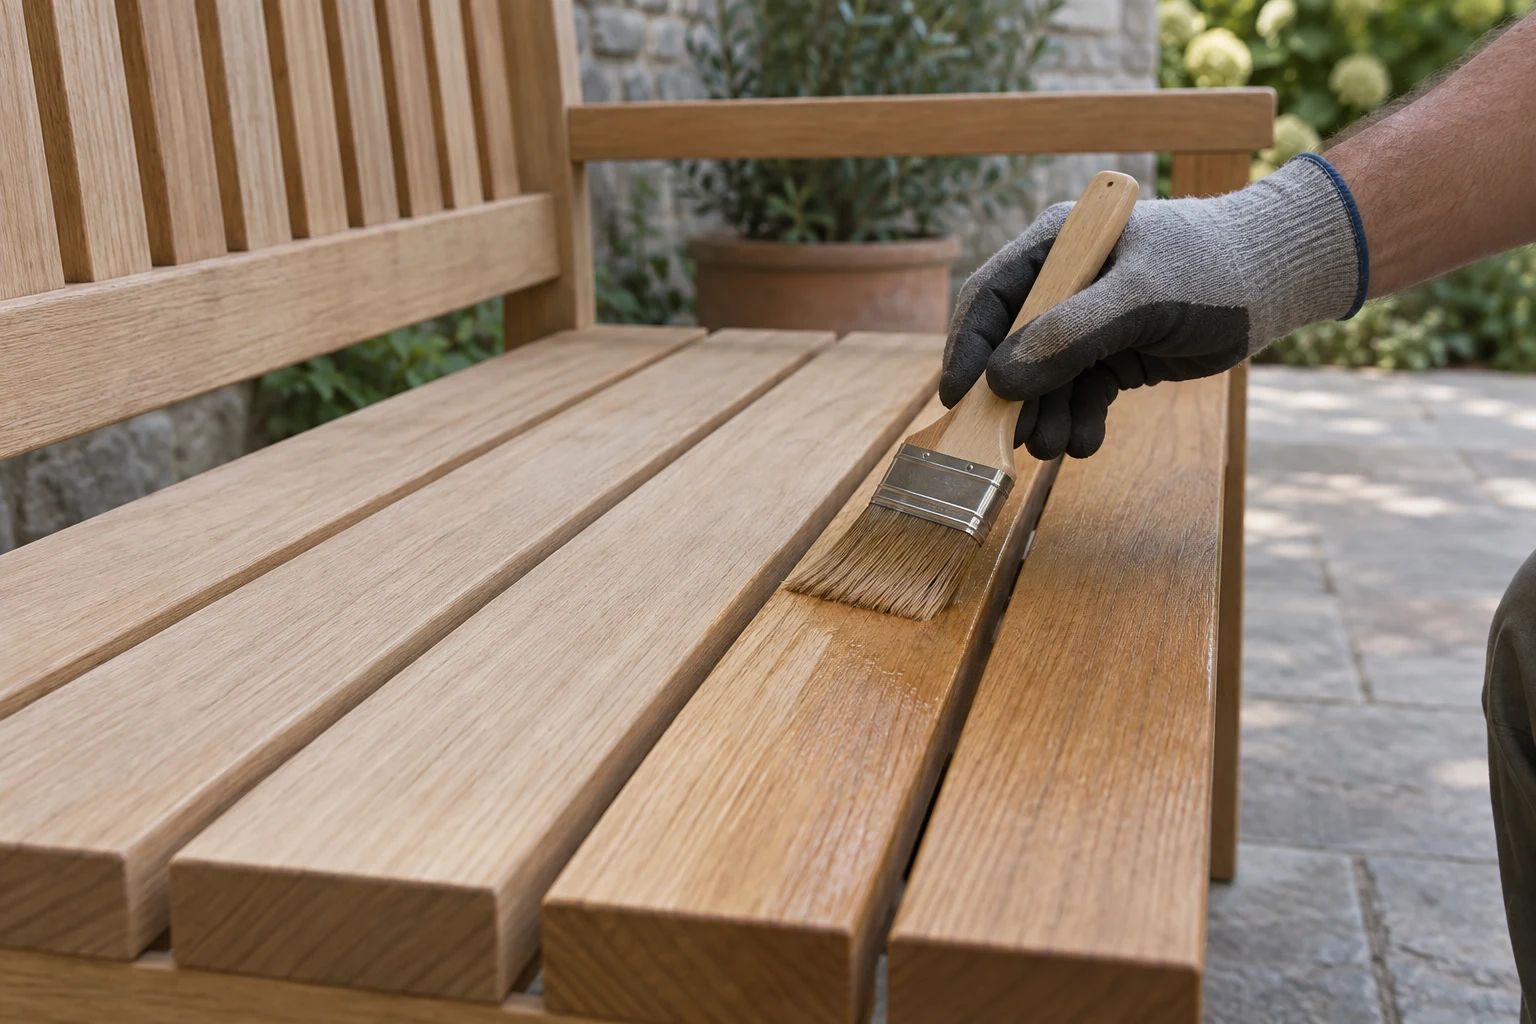
- Check the forecast and surface: satisfy the product’s temperature, moisture and rain-free requirements, including overnight conditions.
- Protect the work area: raise pieces on stable supports so you can reach edges without placing wet surfaces on the ground.
- Stir as directed: colour should remain consistent through the job.
- Work to natural stopping points: complete a board or a defined part rather than leaving a wet edge halfway across a visible surface.
- Inspect underneath: deal with drips, pooling and excess material using the manufacturer’s method.
- Respect the recoat and cure periods: touch-dry does not necessarily mean ready for cushions, rain or use.
Do not add extra coats simply because finish remains in the tin. Some systems need a specified build; others fail to cure properly if over-applied. Handle used cloths according to the product’s fire-safety and disposal instructions, particularly with drying oils.
Maintain the exposed areas before the finish fails
Inspect the furniture at the start and end of the outdoor season and after prolonged wet weather. Compare the arms, seat and tabletop with the underside. Look for loss of colour, worn edges, coating cracks, persistent damp patches and dirt trapped at joints.
Use the coating manufacturer’s maintenance procedure while the existing surface is still sound. If the film is already peeling, simply covering the loose material will not give a sound base. Keep cushions dry, clear leaves and use covers that do not hold wet fabric against the wood.
Common questions
Can I put polyurethane on outdoor furniture?
Only consider a product explicitly approved for exterior use, the timber and the surface. Interior polyurethane is not designed for outdoor exposure. Exterior clear systems still require careful preparation and maintenance.
Does cedar need a finish?
A finish is a choice about colour, surface protection and upkeep; it does not make unsuitable construction durable. Cedar can weather without an applied coating, but expect colour changes and inspect the furniture regularly.
Can I use decking oil on a garden chair?
Check the specific product. Some manufacturers approve multiple applications; others do not. Verify suitability for furniture, skin contact during normal use and the necessary cure time before applying it to seats or arms.
How often should I recoat?
There is no reliable universal interval. Exposure, preparation, timber, coating and wear all affect it. Follow the product’s inspection guidance and address wear before a larger stripping job becomes necessary.