How to Fix a Sagging Wooden Gate
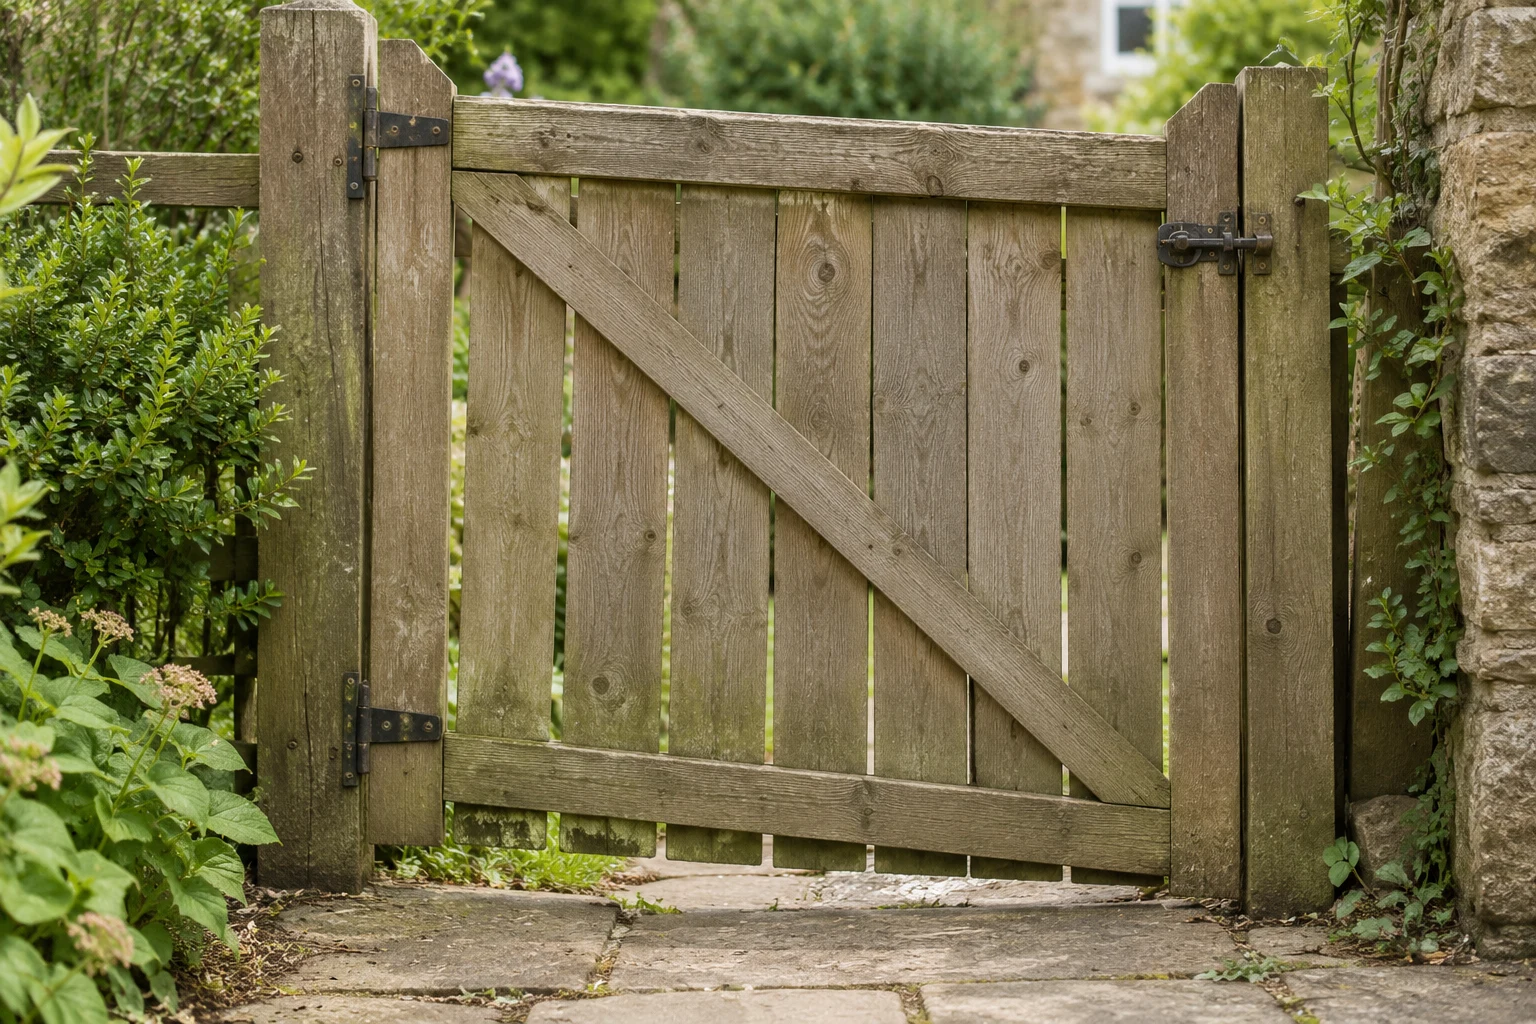
A gate that drags or misses its latch does not always need replacing. The useful question is what moved: the post, the hinges, the frame or the ground beneath it. Find that first, and you can repair the cause instead of repeatedly shaving the bottom off the gate.
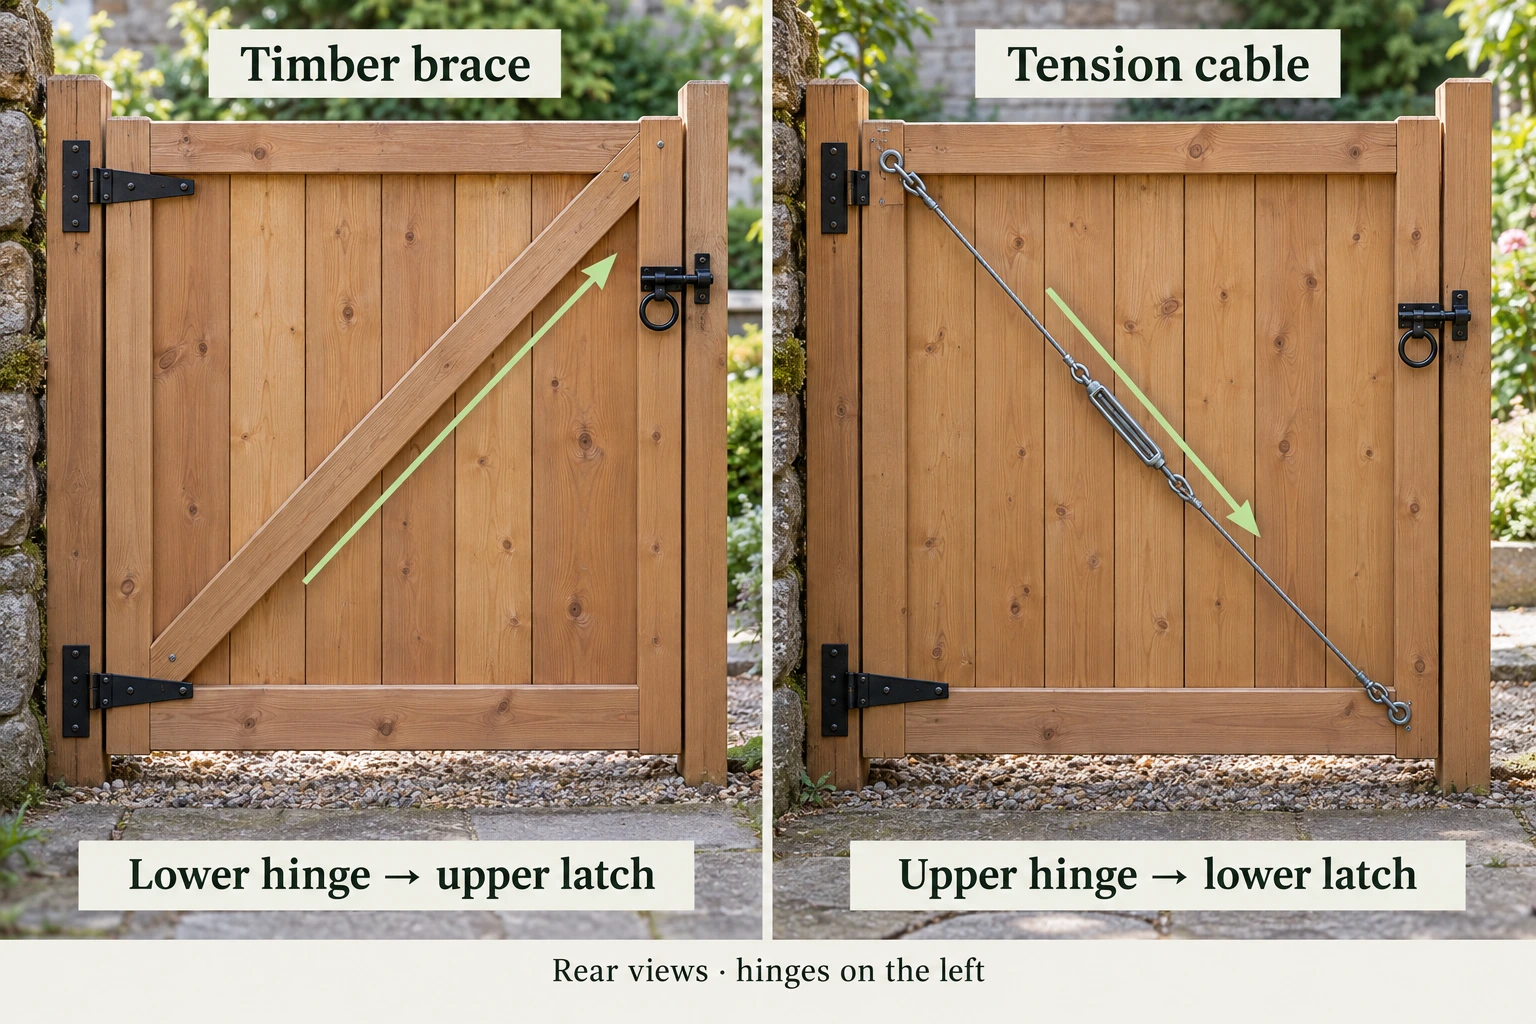
Support the gate, check the hinge post for movement, inspect the hinges and compare the frame’s diagonals. Repair loose or damaged supports before squaring the frame. A timber compression brace runs from the lower hinge corner to the upper latch corner; a tension cable runs from the upper hinge corner to the lower latch corner. Adjust the latch after the gate hangs correctly.
Find out why the gate is sagging
Close the gate without forcing the latch. Look at the gaps along both sides and underneath, then open it slowly. Note whether it catches immediately, only near the latch, or at one high spot in the path. Those are different faults.
Next, support the free end on stable blocks or wedges. Keep fingers and feet clear, and get help with a heavy leaf. Lift only enough to remove the dropped position, not enough to lever the post out of the ground. Watch each connection while the weight comes off it.
| What you observe | What to check next | Likely repair route |
|---|---|---|
| The hinge post rocks as the gate moves | Post base, ground and neighbouring fence connections | Repair the support before adjusting the gate |
| A hinge plate lifts away from the wood | Loose screws, enlarged holes, splits or soft timber | Restore a sound hardware connection |
| Hinge plates stay still, but the pin has obvious play | Hinge wear, deformation and suitability for the leaf | Replace worn or unsuitable hinges |
| The frame changes shape when you lift the latch corner | Corner joints, diagonal brace and frame diagonals | Square the frame and restore its bracing |
| A square gate catches at one point in its swing | Raised paving, roots, a slope or a leaning hinge axis | Resolve the clearance or alignment problem |
| The latch binds mainly in wet weather | Timber swelling and available side clearance | Check moisture-related movement before cutting |
Several problems can coexist. Loose top-hinge screws may have allowed the frame to rack, for example. A new diagonal alone will leave the loose hinge carrying the same load.
Measure the frame, not the decorative top
Measure between matching points at opposite corners of the structural rectangle. Use the same reference on both diagonals: outside corner to outside corner, or matching pencil marks. Do not compare the tops of uneven pickets or the ends of an arched decorative rail.
For a rectangular frame with sound, straight members, unequal diagonals indicate that it is out of square. Equal diagonals are a useful check, but they do not prove a twisted frame is flat or that a loose post can support it. Check the joints and sight along the gate as well.
Write down both diagonal measurements, the latch-side ground gap and where the latch meets its receiver. A quick photograph gives you a reference if one adjustment improves the bottom clearance but makes the latch worse.
Repair loose hinges and damaged fixings first
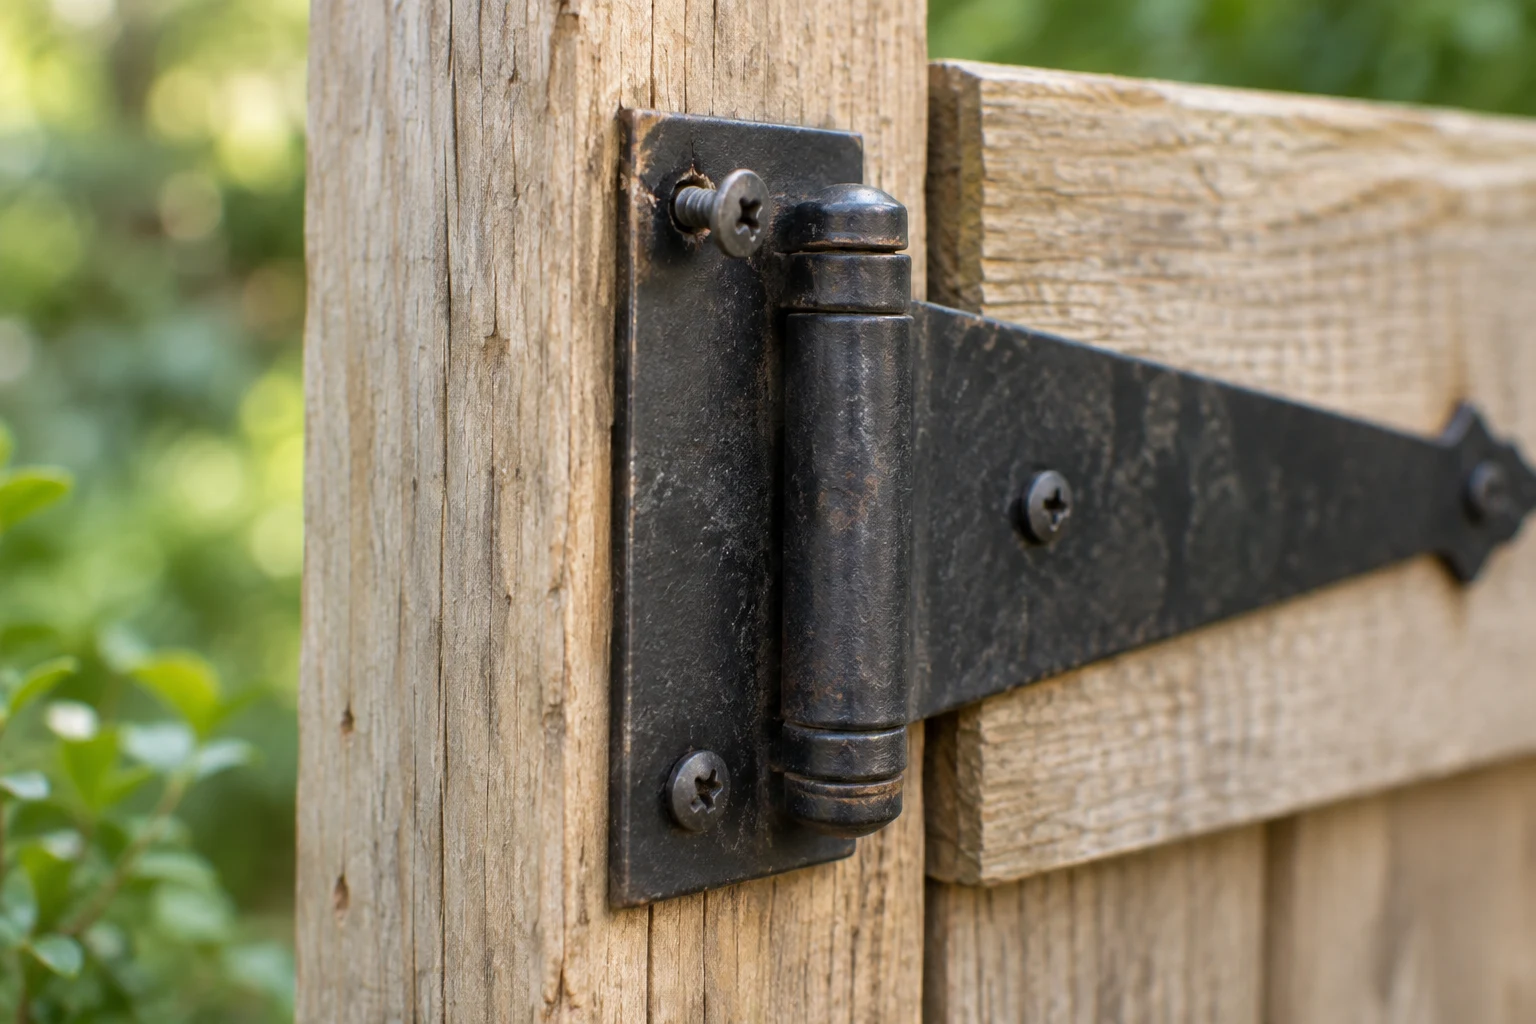
With the gate supported, inspect the hinge leaves on both the post and the gate. The gate-side fixings should engage the structural frame or the hardware’s intended support, rather than relying on thin facing boards alone.
- Check the timber. Look for splits, crumbling fibres and persistent softness around the fixing points. A screw that tightens into decayed wood is not a reliable repair.
- Check the hardware. Bent straps, cracked welds or worn pins call for replacement. Read the hinge maker’s limits for leaf weight, width and installation arrangement.
- Check the fixing specification. Use the fastener type, diameter, length and head shape approved for the hinge and substrate. “Longer” is not a complete specification.
- Restore the connection. Tighten sound loose fixings carefully. For damaged holes, establish an approved repair into sound timber or replace the affected member; do not simply drive a larger screw into a split.
- Remove the support and reassess. If the gate now holds its position, you may not need to alter the frame at all.
A through-bolt can be appropriate for hardware designed for one, provided the timber is sound and the specified washers, edge distances and access are available. It is not a cure for rotten wood. Similarly, stuffing a heavily loaded outdoor hinge hole with toothpicks is not a substitute for restoring the connection.
Match the replacement fixings to both the wood treatment and exposure. Our outdoor wood screw guide explains corrosion resistance, head styles and the difference between general-purpose and specified hardware screws.
Square the gate before fitting a brace
A diagonal locks in a shape. If you attach it to a gate that is already racked, it can preserve the problem. Where practical, remove the supported leaf and work on a flat surface. Otherwise, securely support it in the opening while adjusting it.
Inspect the frame joints before applying force. Loose but sound joints may be reset and refastened according to their construction. Broken joints or severely twisted members need repair or replacement. Do not try to winch a damaged frame straight by tightening a cable harder.
Which way should the diagonal go?
A timber brace resists shortening. Seat it between the lower hinge-side corner and the upper latch-side corner so it supports the free side through compression. A cable resists stretching, so its useful diagonal goes the other way: upper hinge side to lower latch side. Mirror both arrangements when the hinges are on the right.
Option 1: repair or replace a timber brace
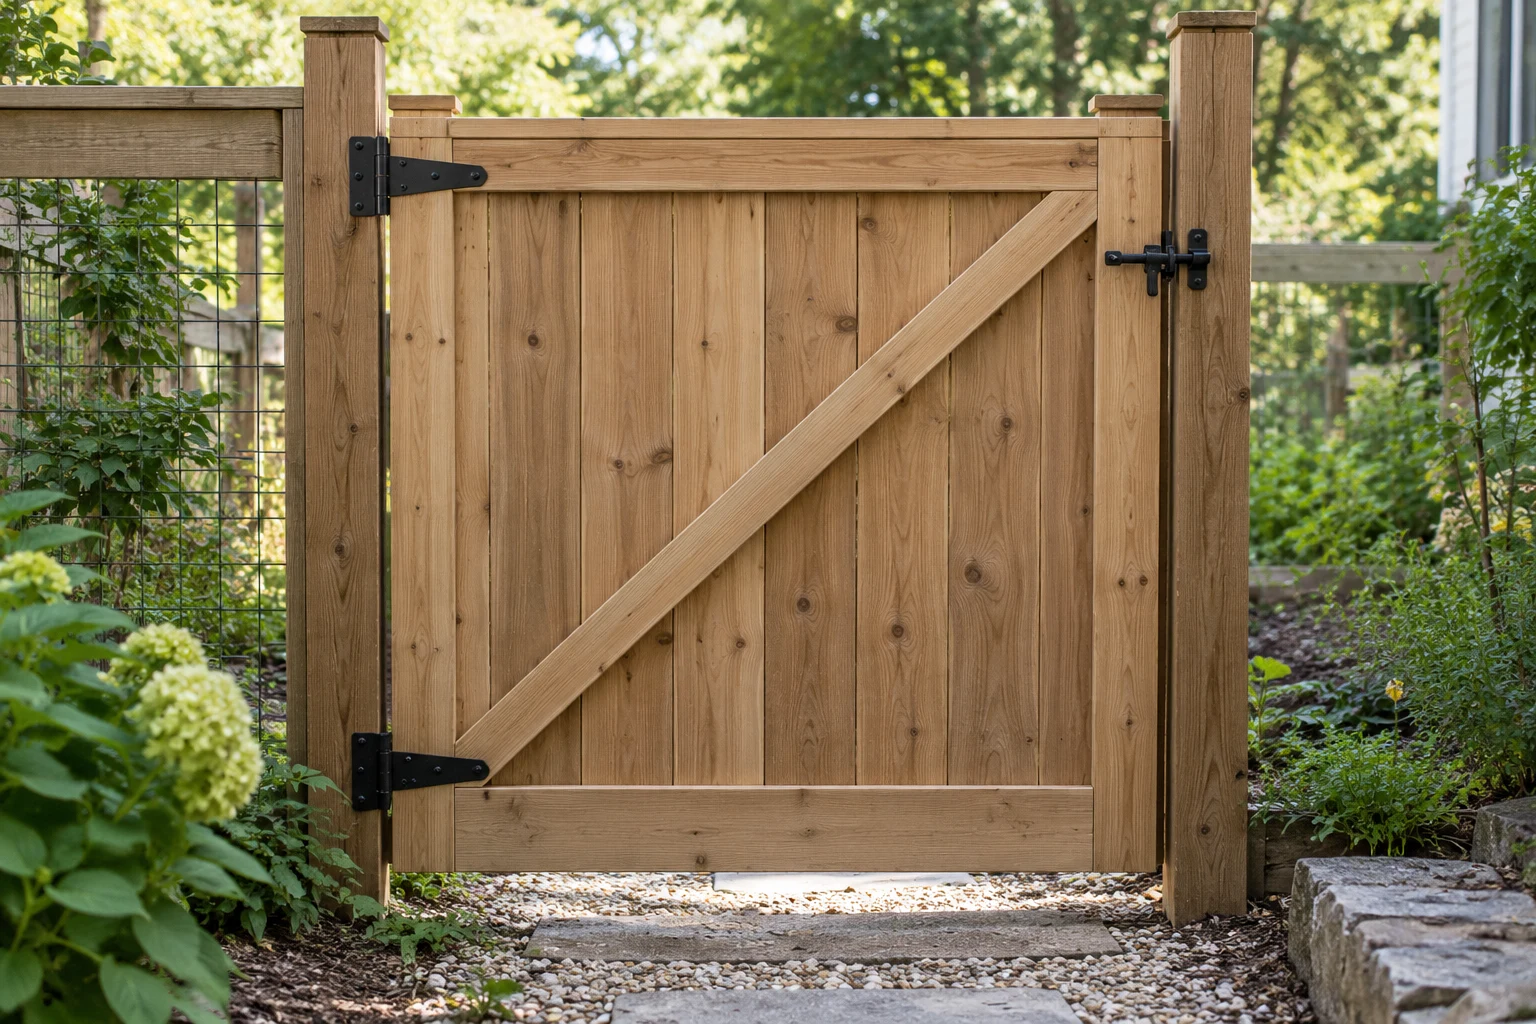
Check whether the existing brace bears firmly against the frame. A gap at an end prevents the brace from doing its intended job until the gate moves enough to close that gap. Screwing a short diagonal somewhere across the facing boards does not create the same supported load path.
Bring the frame back into square, clamp it without twisting it and lay the replacement stock against the actual opening. Mark the contact surfaces directly. Cut, test-fit and adjust until both ends seat properly. Fasten it using the gate design’s connection detail, then recheck the diagonals before removing the clamps. Avoid forcing an oversized brace into place, which can spread the joints.
If you need a complete frame layout rather than a repair, use our wooden gate building guide. It includes a worked example, cut list and joint diagrams.
Option 2: fit an anti-sag cable kit
A cable kit can help a sound rectangular frame resist racking and provides adjustment later. Choose one whose stated application and dimensions suit your gate. It cannot compensate for a moving post, rotten attachment points or broken joints.
Follow the particular kit’s mounting and cable-clamp instructions. National Hardware’s N166-004 guide, for example, shows pilot drilling, corner brackets, cable clamps and a turnbuckle used to level the gate. The included fasteners and drilling details apply to that product, not every kit. See its installation instructions.
Support and square the leaf before fitting the system. Keep usable adjustment available in the turnbuckle and maintain the manufacturer’s required thread engagement. Take up slack gradually, checking the frame and latch position between adjustments. Stop if a bracket starts moving in the timber, a joint opens or the gate twists.
A measurement example
A true 36 × 48 in (91.44 × 121.92 cm) rectangle has a 60 in (152.4 cm) diagonal, calculated from √(36² + 48²). That is a geometry check for those exact outside dimensions, not a cable cutting length: brackets sit in from the corners and the turnbuckle takes up part of the span.
If your diagonals differ by ½ in (1.27 cm), that does not mean the latch corner must rise by ½ in. The relationship depends on the frame geometry. Adjust against the measured diagonals and the real clearances, rather than treating diagonal difference as lift distance.
Before buying replacement timber and hardware, compare outdoor timber choices and screws for outdoor connections. For a full rebuild, follow the gate building guide.
Plans for your next build
If repair is no longer practical, choose the replacement design before rebuilding.
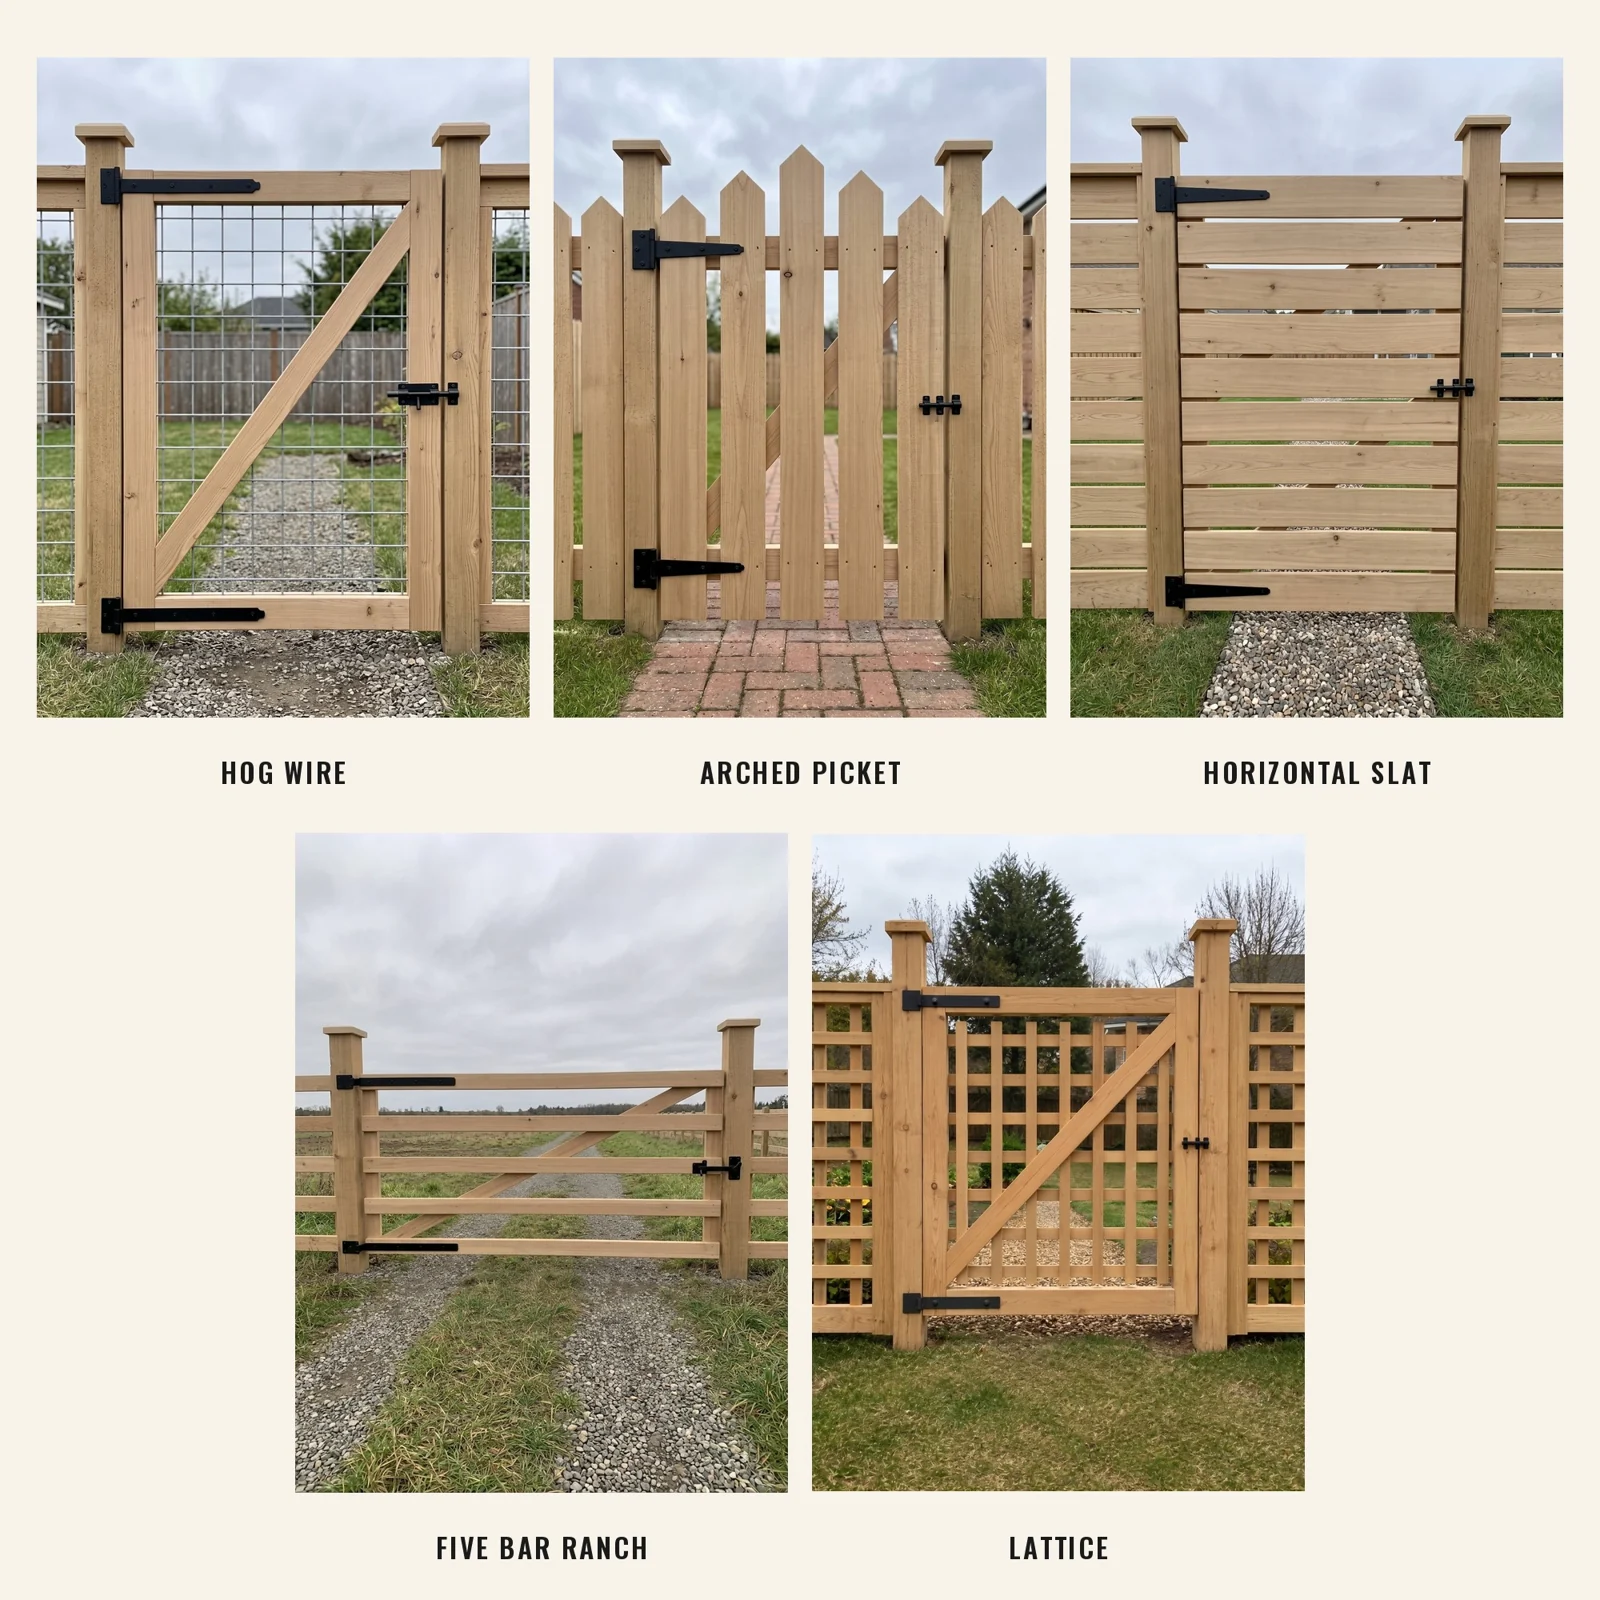
What if the gate post is leaning or moving?
Check the hinge post for plumb on two faces. Watch its base while a helper gently moves the supported gate. A post can be tilted but firm, or upright at rest and loose under load. Either condition can affect the swing.
If the post is soft or fractured at ground level, a frame brace will not repair it. If the entire footing moves, the foundation and ground conditions need attention. A new post or properly designed reinforcement may be necessary. Locate buried services before digging.
Post sizing and installation depend on gate width, weight, wind exposure, soil and local frost conditions. There is no single hole depth that suits every gate. Snug Cottage Hardware’s gate and post installation notes discuss these support issues, including the need for adequately sized hinge posts.
For a heavy, automated, driveway or safety-critical gate, use a suitable installer to assess the support and hardware. This article’s troubleshooting sequence is intended for ordinary manually operated wooden garden gates.
Check the full swing before moving the latch
Once the gate supports itself, move it through its intended opening arc. A bottom gap that looks sufficient when closed can disappear over a rising path. Check that hinges turn freely and the gate does not twist against a stop.
Adjust the latch only after those checks. Set the receiver so the mechanism operates freely without lifting the leaf. If you move it first, you may disguise sag while leaving the actual fault to worsen.
A gate that rubs only during damp weather deserves a moisture and clearance check. If trimming is justified, remove only what is needed, preserve sound joints and hardware clearances, and treat or finish newly exposed timber according to the product instructions. Record what you changed so you can distinguish seasonal movement from renewed structural sag.
When is replacement the better option?
| Repair is usually worth considering | A replacement leaf may make more sense |
|---|---|
| Sound frame with loose hardware | Widespread decay at joints and fixing points |
| A missing or poorly fitted brace | Multiple broken or badly distorted frame members |
| A serviceable leaf on worn hinges | Repeated failure caused by an unsuitable design |
| A small alignment change after a support repair | A gate too heavy or wide for the available installation |
Separate the leaf decision from the post decision. A new gate on a failed post may quickly develop the same problem. Equally, replacing a post does not require throwing away a sound leaf.
Common questions
Can I fix the gate without taking it off?
Often, if the problem is an accessible adjustment and the leaf can be supported safely. Removing it makes joint repairs, squaring and flatness checks easier. Heavy or unstable gates need appropriate help and support.
Will adding a wheel stop sagging?
A wheel introduces support from the ground, so its usefulness depends on a suitable surface and gate design. It will follow bumps and changes in level. It does not repair loose hinges, a failed post or rotten joints.
Why does my gate sag again after tightening the cable?
Recheck the whole assembly. The post may be moving, brackets may be slipping, hinge fixings may be loosening or the frame may be damaged. More tension is not the next step until you know which part is changing.