You can stain pressure-treated wood when the timber and the weather meet the chosen stain’s requirements
There is no reliable waiting period that applies to every board; check the treatment, moisture condition, surface preparation and forecast instead of assuming that six weeks or six months guarantees readiness
Why a calendar date is not enough
Pressure treatment and drying are separate processes; freshly treated timber may carry considerable moisture, while timber sold as kiln dried after treatment has already had a drying stage
Board thickness, storage, shade, airflow and recent rain all affect what happens after purchase; a stack under a cover and an installed fence exposed to weather may be ready at different times even if the timber came from the same delivery
YellaWood rejects a universal six-month wait in its staining guidance and describes readiness in terms of sufficiently dry wood; its advice should not be converted into a fixed date for another timber treatment or stain system
Record the product name and treatment information when you buy the timber; these details are more useful than trying to infer readiness from whether a board looks green, brown or silver
Identify ordinary treated, KDAT and water-repellent timber
| Timber condition | What it suggests | What still needs checking |
|---|---|---|
| Freshly treated and visibly wet | Further drying may be necessary | The stain’s moisture and preparation requirements |
| Kiln dried after treatment, or KDAT | It has been dried after the treatment process | Whether storage or rain has wetted it again |
| Treated timber with a factory water repellent | Water behaviour may differ from ordinary treated wood | Compatibility and any stated weathering or preparation period |
| Previously stained or weathered wood | The surface needs assessing as a refinishing job | Old coating, contamination, loose fibres and compatibility |
YellaWood describes its KDAT products as ready for finishing without the usual post-treatment drying delay; that does not make a board ready while rainwater is on it, or override the finish manufacturer’s conditions
For material selection before a build, the cedar and pressure-treated wood comparison covers a different question from deciding when an already purchased board can be coated
Use a water test as one surface check
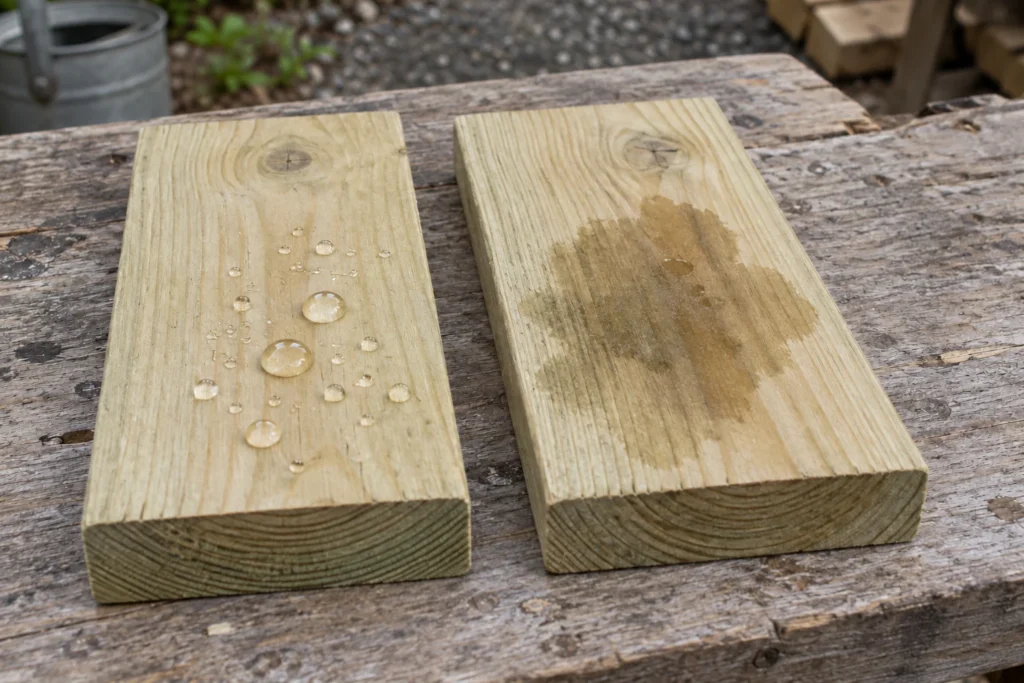
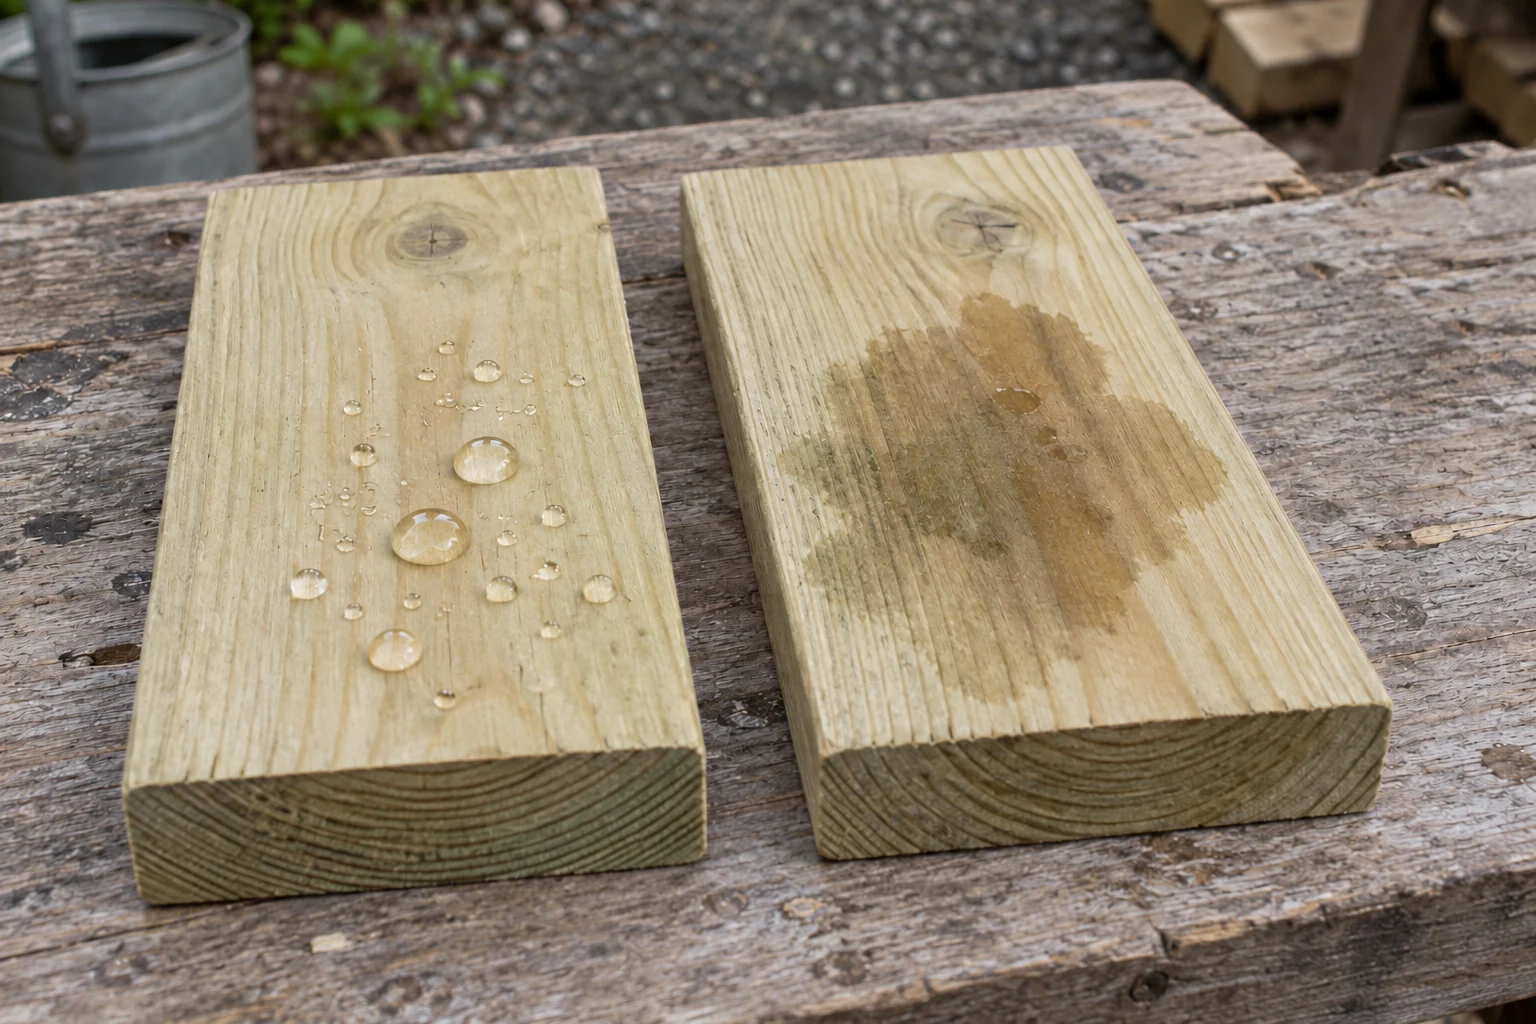
On a clean, representative area, observe what happens to a small amount of water using the timber or stain manufacturer’s test procedure; absorption and darkening can indicate a receptive surface, while persistent beading calls for further investigation
Beading is not a diagnosis by itself; a water repellent or an existing coating can also resist wetting, so it does not automatically mean that the timber is too wet internally
Likewise, absorption is not a measured moisture content; a surface test cannot prove that every board, end or shaded section meets a coating’s stated limit
Test more than the sunniest board, allow any wetted test area to dry again, and investigate inconsistent results before treating the whole project as ready
Use the stain’s moisture limit when one is specified
If the stain gives a maximum moisture content, use a meter and method appropriate for the wood and treatment; follow the meter manufacturer’s instructions for species settings, temperature and any treatment-related limitations
Measure several representative places and note the wetter readings rather than selecting the lowest number; sheltered undersides and areas near joints may behave differently from a warm exposed face
For a hypothetical example, if a coating requires no more than 15% moisture and your readings are 12%, 14% and 18%, the 18% area still needs attention; the average of those readings does not make that location comply
The 15% figure in that example is not a universal staining threshold; use the limit actually supplied with your finish and resolve doubtful meter readings before coating
Prepare the surface without resetting the problem
Remove dirt, biological growth, loose material and incompatible old coating using the stain manufacturer’s preparation process; new timber is not automatically clean enough to finish straight from the stack
Washing adds moisture, so reassess readiness after the cleaning and rinsing stage; a board that was ready beforehand may need to dry again before stain is applied
If sanding is required, use the specified preparation grit and remove dust; avoid polishing the surface more finely simply because it feels smoother, since the coating still needs the substrate described in its instructions
Deal with cut ends according to the timber supplier’s treatment guidance; an end-cut preservative and a decorative stain have different roles, and one should not be assumed to replace the other
Choose a finishing window, then make a sample
Check the permitted air and surface temperatures, direct-sun restrictions, humidity guidance and time needed before rain or dew; an afternoon forecast alone may not describe the conditions while the finish dries overnight
A board can be much warmer than the surrounding air in direct sun; move the work or choose a suitable time rather than assuming that a comfortable working temperature means the surface is within the coating’s range
Apply the planned stain to a representative offcut or an inconspicuous area using the specified coat schedule; confirm the colour and absorption before committing to every face
Do not add a second coat automatically; some products call for one coat, some for another application within a particular interval, and some require excess material to be removed
For gates, fences and garden furniture, choose a product explicitly suited to that service; our outdoor finishing guide helps separate penetrating finishes from film-forming coatings
If stain has already been applied too soon
Stop adding coats and identify whether the problem is poor absorption, excess product, incompatible preparation or incomplete drying; a sticky patch is not proof of one particular cause
Use the stain maker’s correction procedure and test it on a small area first; covering a weak or sticky layer can leave the new coat attached to the same underlying problem
The sticky wood stain guide explains those checks in more detail, including why simply leaving a thick excess coat longer may not produce an even finish
Sources and product instructions
Plan the whole outdoor finish
Match the preparation, finish and maintenance schedule to the timber and the job it will do outdoors