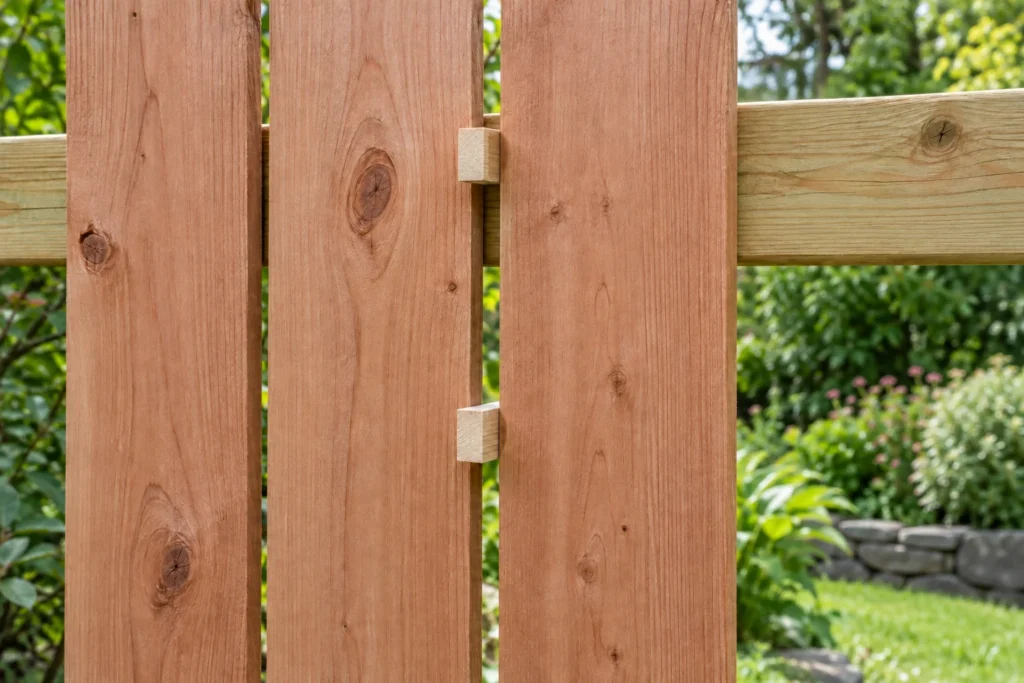
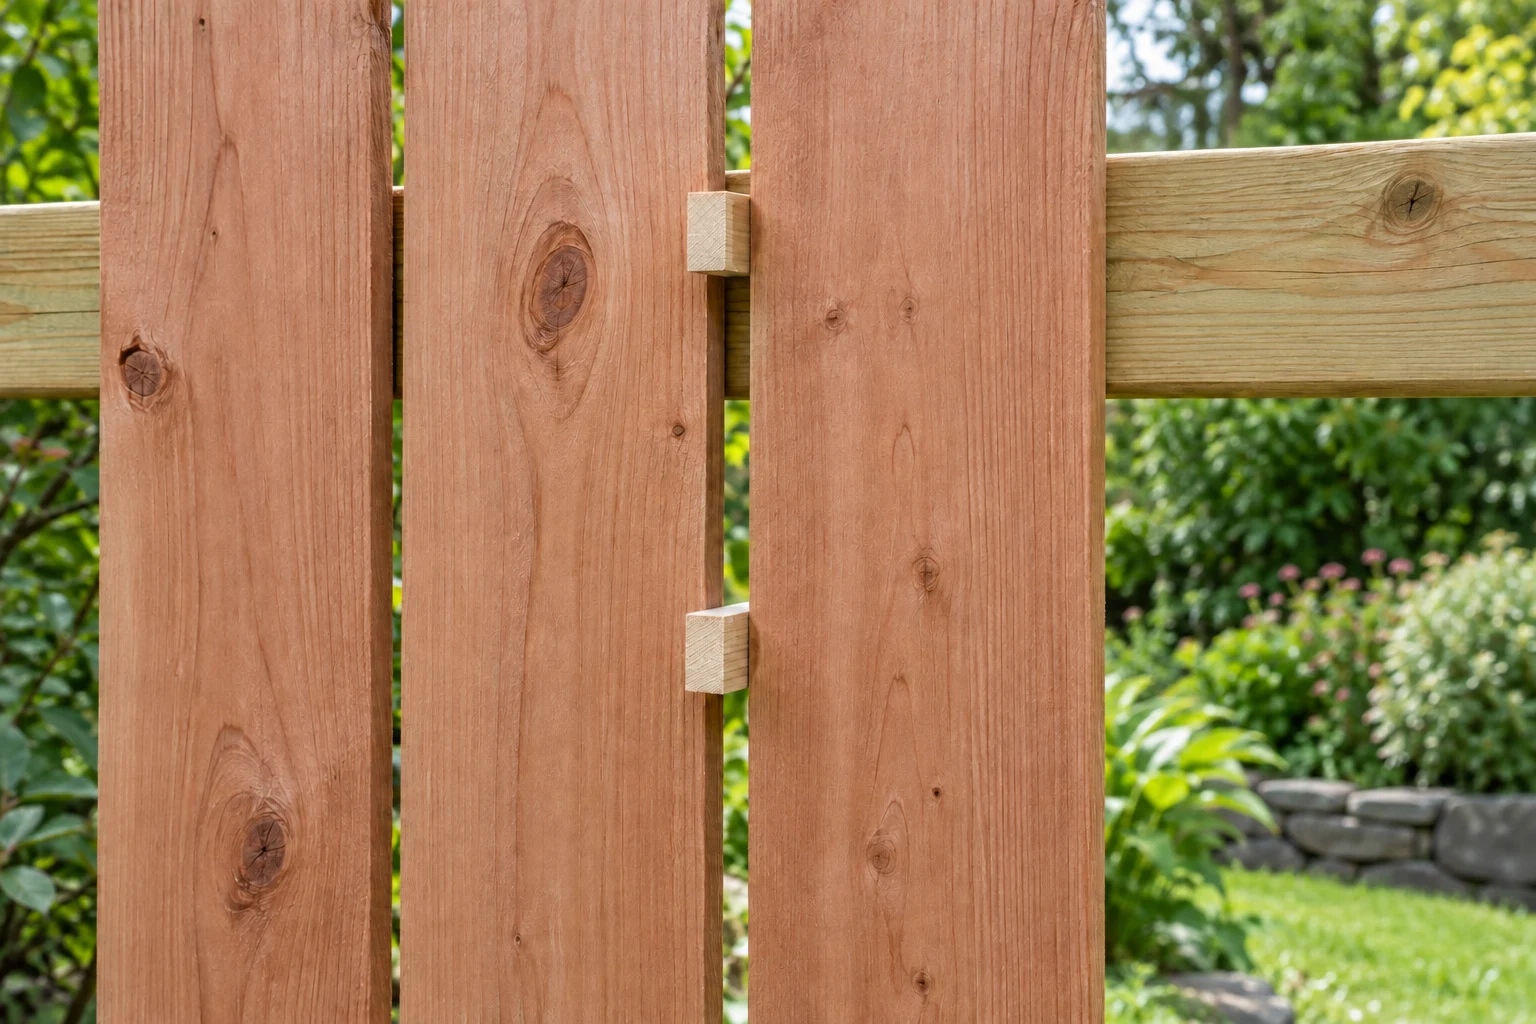
Set out the full bay first
- Measure
Check the clear bay and actual board widths
- Plan the gaps
Set both end clearances, then calculate the internal gaps
- Mark the positions
Mark every board from one fixed starting point
Use spacers to hold each gap and recheck against your marks
Measure each bay and the boards you will use
Measure between the finished boundaries that the infill must fit · Those may be post faces, frame members or trim · Check the width at the top, middle and bottom so you can spot a bay that narrows before installing a full run
Measure the actual face width of several boards, then sort the pieces for the bay · Nominal timber sizes are unsuitable for exact layout · For overlapping, rebated or interlocking boards, use the profile’s installed coverage and fixing instructions rather than treating it as a plain open-gap fence
Make a separate decision about ground clearance and top alignment · The gap between neighbouring boards does not set either of those dimensions · Follow the fence design, including any local boundary or height requirements
Decide whether the end gaps match the internal gaps
For N equal-width boards of width B in an opening W, subtract the total board width from the opening · Divide the remaining space by the number of gaps you want · The board spacing calculator handles no end gaps, matching end gaps or a fixed clearance at each end
| Layout | Number of gaps | Example: 1,800 mm opening, twelve 140 mm boards |
|---|---|---|
| No end gaps | N − 1 | 120 ÷ 11 = about 10.909 mm |
| All gaps match, including ends | N + 1 | 120 ÷ 13 = about 9.231 mm |
| 5 mm clearance at each end | N − 1 internal gaps | (120 − 10) ÷ 11 = 10 mm |
These are layout examples, not universal fence-gap recommendations · Choose an installed gap appropriate for the timber, its moisture condition and the intended appearance · Timber changes width as moisture conditions change, so an evenly installed fence need not retain precisely the same gaps all year
If the boards already occupy more than the opening, a negative gap cannot solve the layout · Reduce the board count or revise the design · Avoid hiding the problem in one conspicuously narrow end board unless that is a deliberate detail
Mark the board positions from one fixed datum
Dry-lay the selected boards if space allows · Use a straight story stick, or mark the rails from a single starting point · Mark the same side of every board, such as the left edge, and use a small cross on the board side of each mark to avoid confusion
With twelve 140 mm boards, 10 mm internal gaps and 5 mm end clearances, the board pitch is 150 mm · The left edge of board k is 5 + (k − 1) × 150 mm from the left boundary
| Board | Left edge | Right edge |
|---|---|---|
| 1 | 5 mm | 145 mm |
| 2 | 155 mm | 295 mm |
| 6 | 755 mm | 895 mm |
| 12 | 1,655 mm | 1,795 mm |
The last board leaves the planned 5 mm clearance in the 1,800 mm bay
Do not repeatedly step off a rounded number if the calculated gap is fractional · Rounding eleven gaps from 10.909 mm to 11 mm adds about 1 mm across the bay · Mark cumulative positions with sensible precision and check the far end before fixing
Use two spacers and check the full run
- Set the first board accurately
Check its edge clearance, vertical alignment and height before fastening it
- Make two matching spacers
Check their thickness with the same measuring tool · Keep the bearing faces clean and parallel
- Position the next board
Place one spacer near each fixing rail so the gap stays consistent along the board
- Check the layout marks
The spacer controls the local gap while the datum marks confirm the overall position
- Fasten according to the design
Use fixings compatible with the timber and exposure, with the specified edge distances and predrilling where needed
- Remove the spacers and recheck
Inspect the first few boards and then regular checkpoints · Correct drift while the work is still easy to adjust
Western Red Cedar Lumber Association’s published landscape example uses spacer blocks for regular fence openings and corrosion-resistant fixings · Its example gap belongs to that particular design · It should not be copied into every fence
What if the boards vary in width or are bowed?
For mixed widths, calculate the gap from the sum of the actual board widths · If twelve selected boards total 1,674 mm, with 5 mm reserved at each end of a 1,800 mm opening, the eleven gaps share 116 mm, or about 10.545 mm each · A single nominal width would give the wrong answer
Mark each subsequent board from the cumulative width of the pieces already selected, plus the planned gaps · Keep the pieces in that order · Change the layout if a badly bowed board would need excessive force to reach both spacers
For several bays, repeat the measurements for each opening · The fence planner helps with overall quantities, while the gap layout belongs to each individual bay · Before choosing fixings, see wood screws for outdoor projects
Plans for your next build
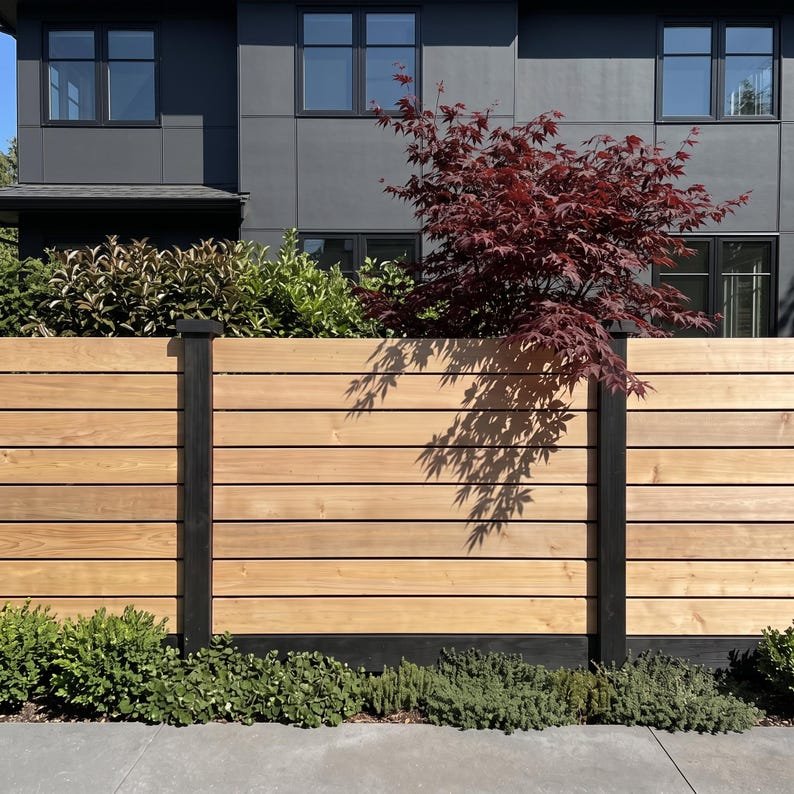
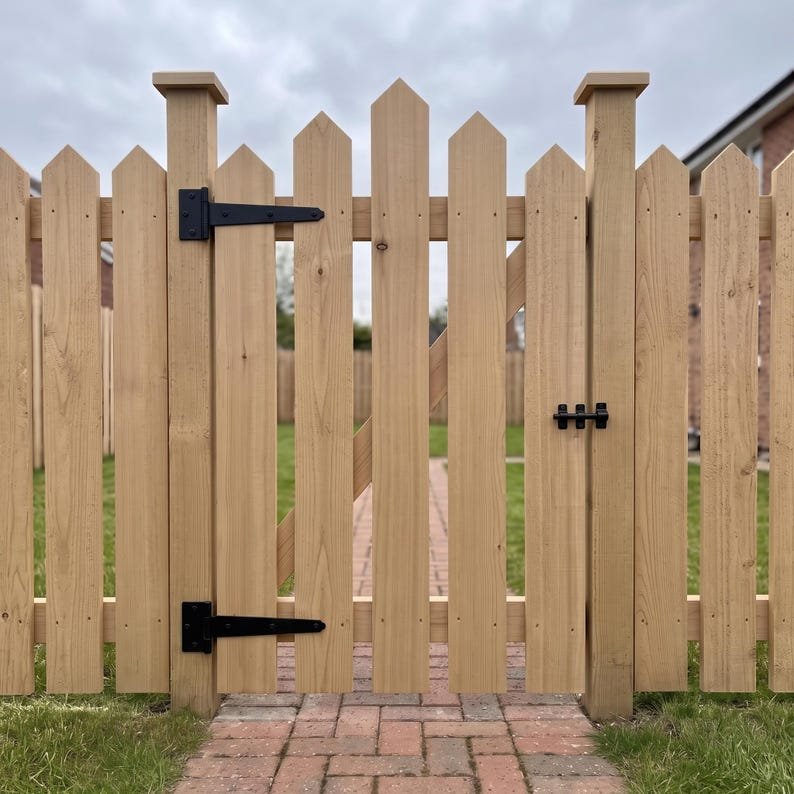
Choose a fence or gate design, then check its board layout and fixing details
Sources and technical checks
Check the current instructions for the particular panel, finish, fence design or moisture meter you use