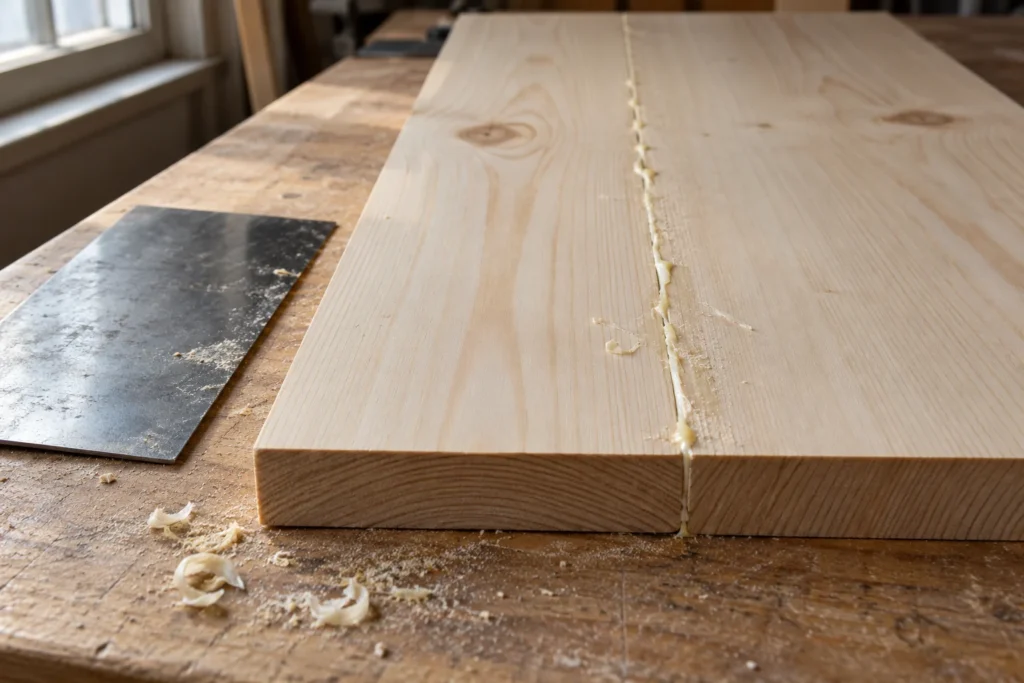
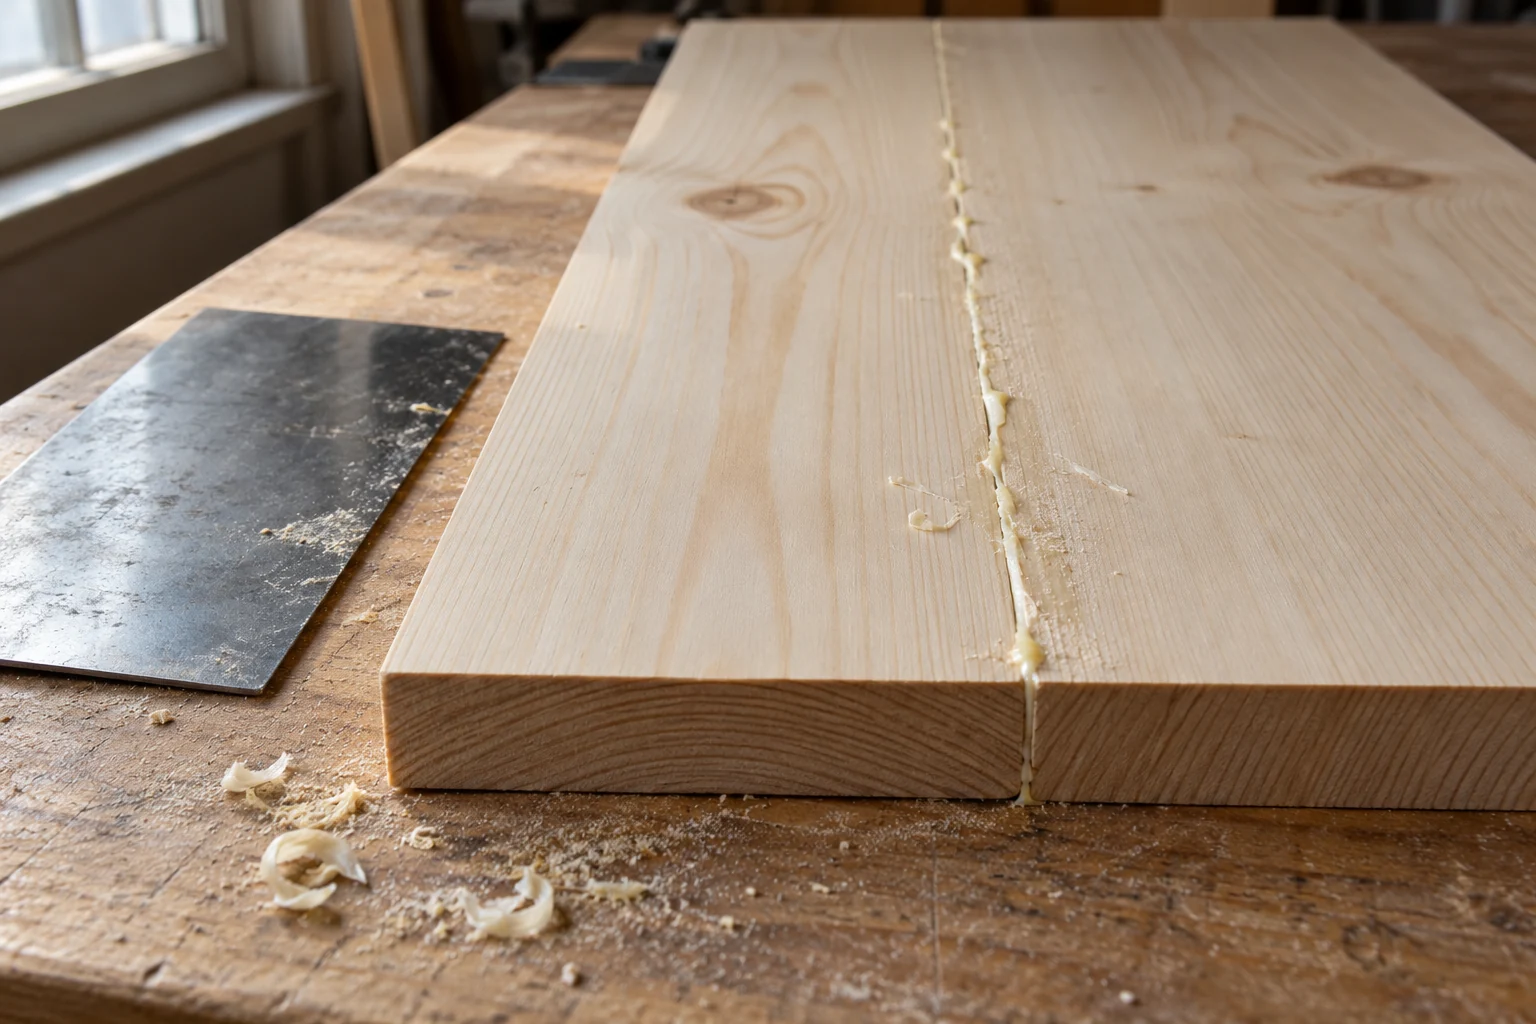
Remove wood glue before staining by cleaning up wet adhesive appropriately, then scraping or sanding away any dried residue
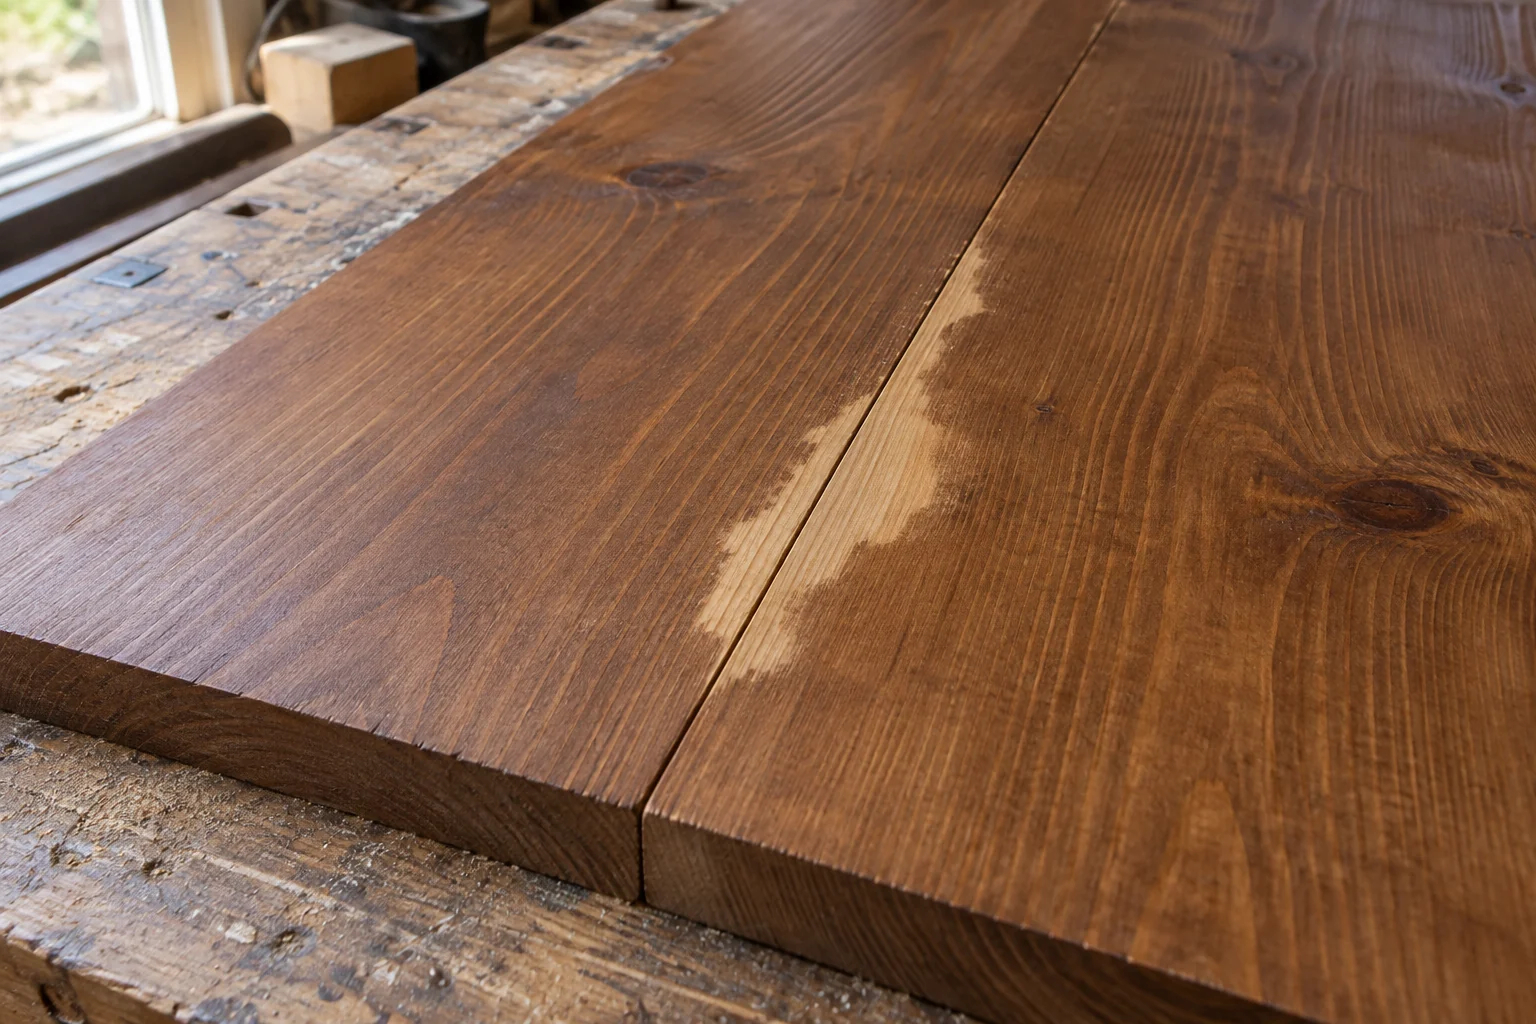
The surface must absorb the finish consistently; a glue film can look almost invisible on bare wood and still leave a pale patch after stain
Identify the adhesive and the surface
Start with the glue bottle or the product used in assembly; the familiar white and yellow water-based woodworking glues do not share one removal method with epoxy, polyurethane adhesive or cyanoacrylate superglue
Titebond recommends a damp cloth for excess wet water-based wood glue and scraping or sanding after it dries; its separate acetone advice concerns its Instant Bond adhesives, so it should not be read as a universal solvent treatment for every glue mark
Also identify the timber surface; solid wood usually offers more room for careful correction than a thin decorative veneer, where aggressive sanding can expose the core before the mark disappears
If the piece already has a coating, test any cleaning method in an inconspicuous place first; a solvent or scraper that removes glue can also damage the finish around it
Treat wet glue and hardened glue differently
| Condition | Useful approach | Avoid |
|---|---|---|
| Fresh squeeze-out from water-based wood glue | Lift away the excess and clean with a fresh damp cloth as the manufacturer directs | Spreading a large bead into a broad, thin smear |
| A raised dried bead | Remove the bulk with a controlled scraper or suitable sharp tool | Grinding through the bead with a coarse sander |
| A thin dried film on bare solid wood | Careful scraping followed by even sanding | Stopping as soon as the surface merely feels smooth |
| Residue on veneer or beside a delicate edge | Test a small area and preserve the surface layer | Repeated heavy sanding in one spot |
| Unknown adhesive or an existing finish | Identify the materials and check their instructions | Applying a solvent on guesswork |
Keep changing to a clean part of the cloth when removing wet glue; a cloth already loaded with adhesive can leave a larger contaminated area than the original bead
Do not flood a joint to wash it clean, and do not disturb a newly assembled part before the adhesive has developed the strength its manufacturer requires; our wood glue drying guide explains the difference between clamp time and readiness for loading
Remove the bulk before refining the surface
Secure the workpiece and arrange light across the surface so that raised glue casts a small shadow; work from a position where a slipping tool will not cross your supporting hand
A sharp cabinet scraper can remove a thin film while keeping the surface level; use controlled passes and check frequently instead of digging a hollow that later becomes visible under a clear finish
At an inside corner, use a tool that can reach the glue without rounding the neighbouring edge; protect finished surfaces beside the repair and stop if the tool begins lifting wood fibres
After the glue is gone, sand the whole relevant face through the preparation sequence for your chosen stain; sanding only a tiny patch to a much finer grit can introduce a second source of colour difference
General Finishes gives different raw-wood preparation guidance for different products, so a universal instruction to finish every stained surface at one grit is unreliable; use the sandpaper grit guide to plan a sequence around your actual finish
Check for residue before opening the stain
Vacuum away sanding dust and inspect the joint from more than one direction; a pale or shiny strip, an unusually smooth patch or a sharp boundary beside the seam deserves another look
If the coating instructions permit a damp inspection wipe, use that method lightly and let the wood dry fully before further sanding or finishing; wetting can reveal an uneven area, but the absence of a visible mark is not proof that every pore is clean
Make a small representative glue joint from offcuts when the finished colour matters; clean and sand it using your intended process, then apply the same conditioner, stain and topcoat planned for the project
Label the sample with the sanding grit and products so that a good result can be repeated; testing stain alone can miss colour changes introduced by the final clear coat
Pay extra attention to end grain, inside corners and the ends of panel seams, where residue can be harder to see than on a broad flat face
What if the glue mark appears after staining?
First distinguish glue contamination from natural blotching; a sharply defined light area near a glue joint points toward residue, while irregular colour elsewhere may come from the wood’s absorption or its preparation
The blotchy stain guide helps separate those causes; adding more stain to a glue-sealed patch may simply darken the clean wood around it
Allow the existing product to reach the appropriate stage for correction, then follow its removal or refinishing instructions; removing the residue may expose raw wood that needs to be blended back into the surrounding surface
On an uninterrupted tabletop or panel, working to a natural edge can be easier to blend than repairing a small isolated circle; test the correction before committing to a visible face, especially if veneer limits further sanding
Keep glue off the next stained face
Dry-fit the assembly so you can plan where squeeze-out will appear, then use masking where suitable and remove it at an appropriate stage without pulling at the joint
Titebond’s application guidance suggests masking adjacent wood to simplify cleanup; keep the bonding faces themselves clean and bare, since stain or finish on those faces can interfere with an adhesive intended for raw wood
Use enough glue for the joint and adhesive system, with a cleanup plan ready before clamping; deliberately starving the bond to avoid all squeeze-out trades a finishing problem for a joint problem
Wood conditioner can help manage absorption differences with compatible stains, but it cannot make a remaining glue film behave like bare timber
Sources and product instructions
Finishing an outdoor project?
Carry the same careful surface preparation into an exterior finishing plan suited to the timber and exposure