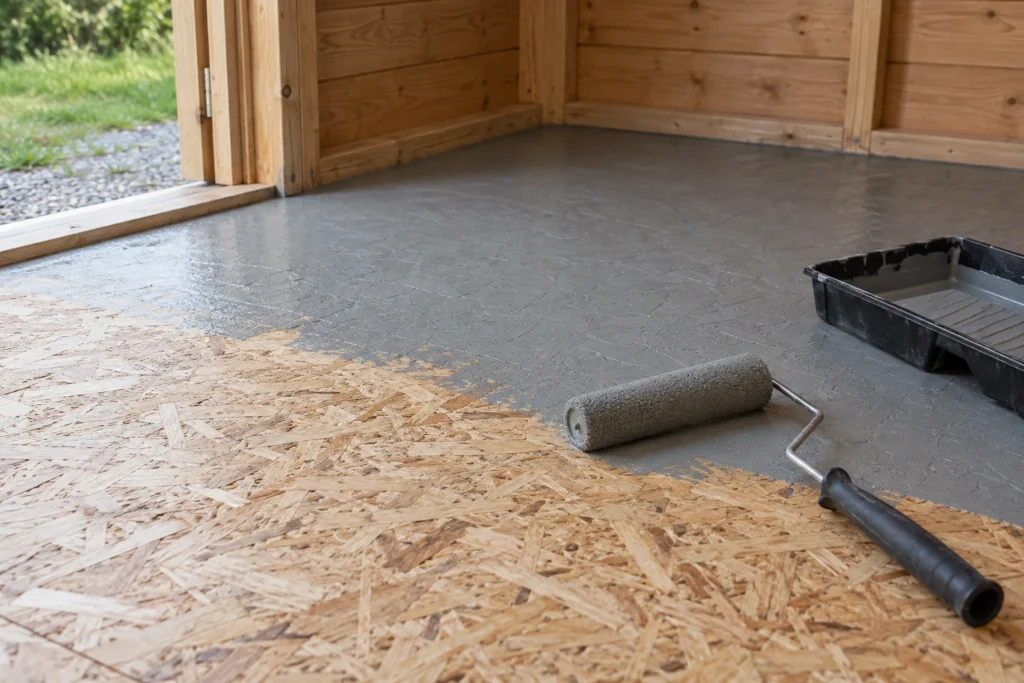
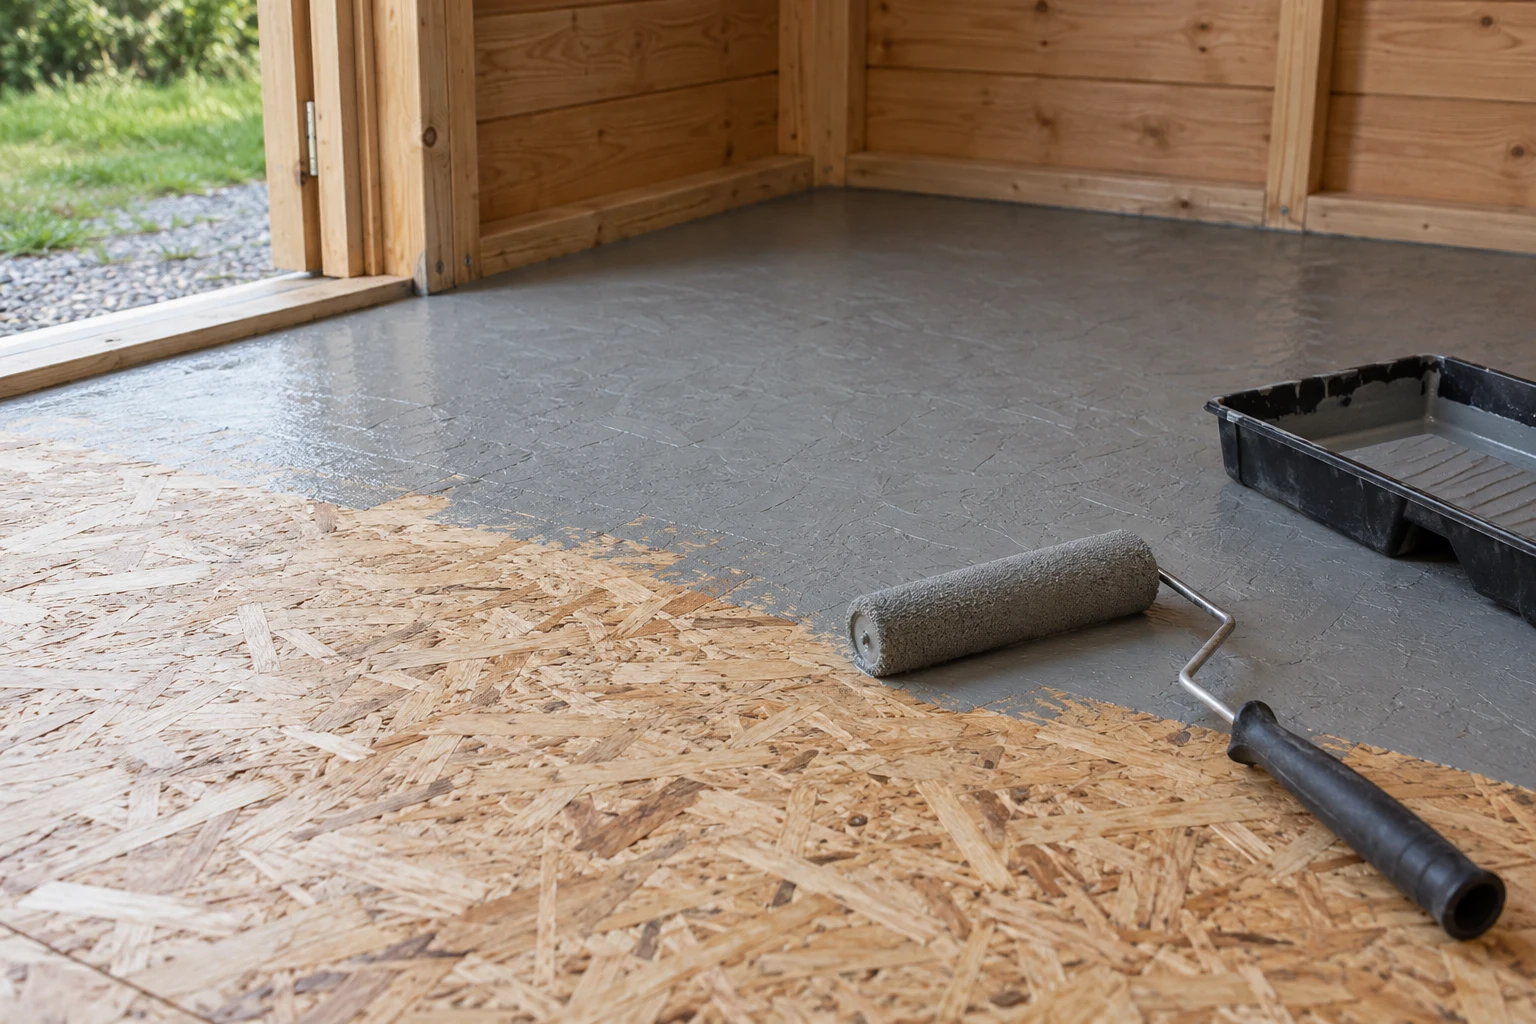
Start with a dry, sound floor
- Stop the water
Fix leaks and keep rain and standing water away from the floor
- Check and dry the panels
Replace soft or damaged panels and let sound panels dry before finishing
- Choose a suitable floor finish
Use a finish specified for OSB floors and follow its preparation and cut-edge instructions
Protect high-wear areas and check underneath removable mats
Check the floor before buying a coating
Clear the shed so you can inspect the doorway, panel joints, wall edges and areas beneath stored equipment · Look underneath the floor where access is possible · A dry-looking top does not tell you whether the underside is damp
Find the panel stamp or original specification · The panel grade, thickness, support spacing and intended service conditions matter as much as the finish · APA explains that structural OSB is used in floor systems, but a product rated for construction moisture is not automatically suitable for continuing exposure to weather
| What you find | What to do next |
|---|---|
| Firm, dry panels with a sound surface | Check finish compatibility, then prepare a small trial area |
| Damp edges or marks that return after rain | Find the water path and dry the floor before covering it |
| Raised joints after an earlier wetting | Assess once dry · Swelling alone does not establish structural failure |
| Soft, crumbling material or unusual movement under load | Investigate the panel and its supports · Replace damaged material before finishing |
Do not sand a badly swollen structural panel thin merely to make it look flat · If the floor needs replacement, compare shed floor materials before choosing the new panel
Stop water reaching the floor from above and below
Inspect the shed after rain · Is water crossing the threshold, dripping from the roof, running down a wall or splashing onto the floor edge? Fix that specific path first · A neat painted surface will still fail if water repeatedly enters behind it
- At the door · Keep the threshold drainage path clear and check that the door and its weather protection shed water outside
- At the base · Keep soil and stored materials from bridging the gap beneath the timber floor · Check that the foundation drains rather than collecting water under the shed
- Inside · Let wet tools, garden machinery and containers drain before storage · Remove puddles promptly
- At the roof · Investigate drips and condensation separately · Use the shed condensation guide if moisture appears without a rain leak
Ground moisture control belongs to the complete base design · Do not add an impermeable layer in an arbitrary position and assume the problem is solved · Check the existing floor construction and the shed foundation options
Choose a finish for the actual use
| Option | Check before choosing it |
|---|---|
| Painted floor | The coating must list the substrate and floor use, with the required primer, preparation and moisture limits |
| Clear finish | Look for approval for the panel and foot traffic · A decorative wood finish may not be a floor system |
| Sheet flooring or tiles | Check whether a smooth underlayment is required, how joints are treated and whether the system tolerates an unheated shed |
| Removable work-area mat | Use on a sound dry floor and lift it regularly to inspect underneath · It is local wear protection |
A masonry-only garage paint is not a safe default for OSB · Read the technical data sheet, including any restrictions for unheated buildings, condensation, oil contamination or wheeled equipment · Get written confirmation from the manufacturer if OSB or the intended floor conditions are unclear
APA distinguishes structural floor panels from underlayment requirements for particular floor coverings · Do not assume a covering can be glued straight onto every textured OSB surface
Prepare, test and apply the chosen system
- Dry and clean the floor
Follow the coating’s moisture, temperature and humidity limits · Remove dirt and contamination using its specified preparation method
- Make the floor sound
Resolve loose fixings or unsupported joints · Keep required movement gaps functional rather than filling every joint rigidly
- Prepare the surface only as directed
Remove loose material and vacuum thoroughly · Do not promise a glass-smooth result from a naturally textured panel
- Test a discreet area
Use the complete primer-and-topcoat system and allow it to cure · Check appearance and adhesion as the manufacturer specifies
- Coat the accessible edges and face as specified
Follow coverage, coat count and recoat windows · Do not block drainage or ventilation openings
- Wait for the correct return-to-use time
Touch-dry, recoatable, light foot traffic and full cure can be different stages
A 2.4 × 1.8 m floor has 4.32 m² of face area · If a chosen product’s data sheet states 8 m² per litre per coat and requires two coats, the face-area calculation is 4.32 × 2 ÷ 8 = 1.08 litres · That is a worked example, not a coverage claim for OSB · Add the actual edge area and the product’s allowance for a porous surface
Protect the finish during everyday use
Use a tray beneath equipment likely to drip, and spread heavy point loads with a suitable base · Lift mats and inspect concealed areas after wet weather · Clean spills promptly and repair worn coating with the same compatible system
If a damp patch returns, trace it before recoating · A glossy new layer over persistent moisture makes inspection harder without fixing the cause
Plans for your next build
Plan the whole structure, including the base, floor and weather protection
Sources and technical checks
- APA: OSB uses and characteristics
- APA: frequently asked questions on structural wood panels
- APA: underlayment and subfloor systems
- APA: reading a panel trademark
Check the current instructions for the particular panel, finish, fence design or moisture meter you use