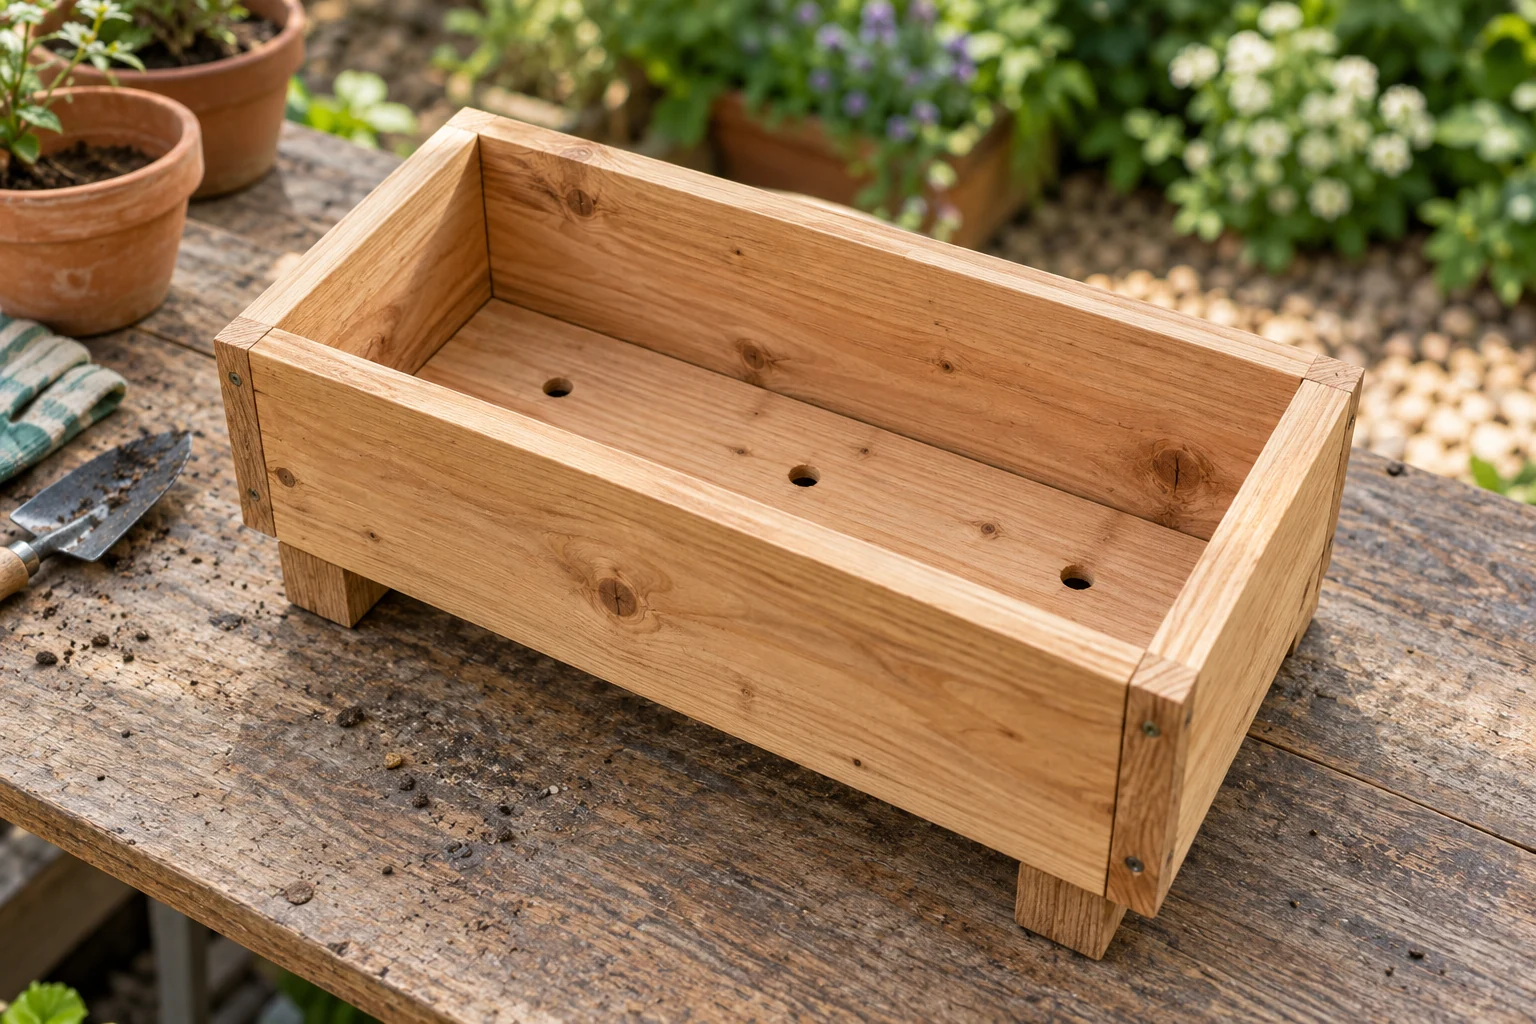
An ordinary closed-bottom planter needs openings through both the liner and base, plus clearance underneath so water can escape
Garden Organic gives 1–2 cm wide holes as a general container example; the number and placement must suit the actual base layout, rather than a fixed rule per litre of compost
Drainage for wooden boxes, pots and raised beds
| Planter type | Drainage requirement |
|---|---|
| Directly planted box | A continuous route through the growing medium, liner and base |
| Decorative box with removable pots | Draining inner pots and a way to remove water from the outer box |
| Open-bottom raised bed | Suitable drainage into the underlying ground |
| Self-watering planter | The designed reservoir, wick and overflow; do not drill it as though it were an ordinary pot |
Align the liner, base holes and supports
- Inspect the empty base
Look for low corners or separate pockets where water could collect
- Align the liner
Keep its openings over the outlets and flatten folds that could form a sealed pocket
- Check underneath
Keep the holes clear of base supports and the ground or paving
- Check the outer container
An inner nursery pot must not remain standing in water collected around it
This follows the drainage principles described by Illinois Extension: an outlet must let excess water leave the container
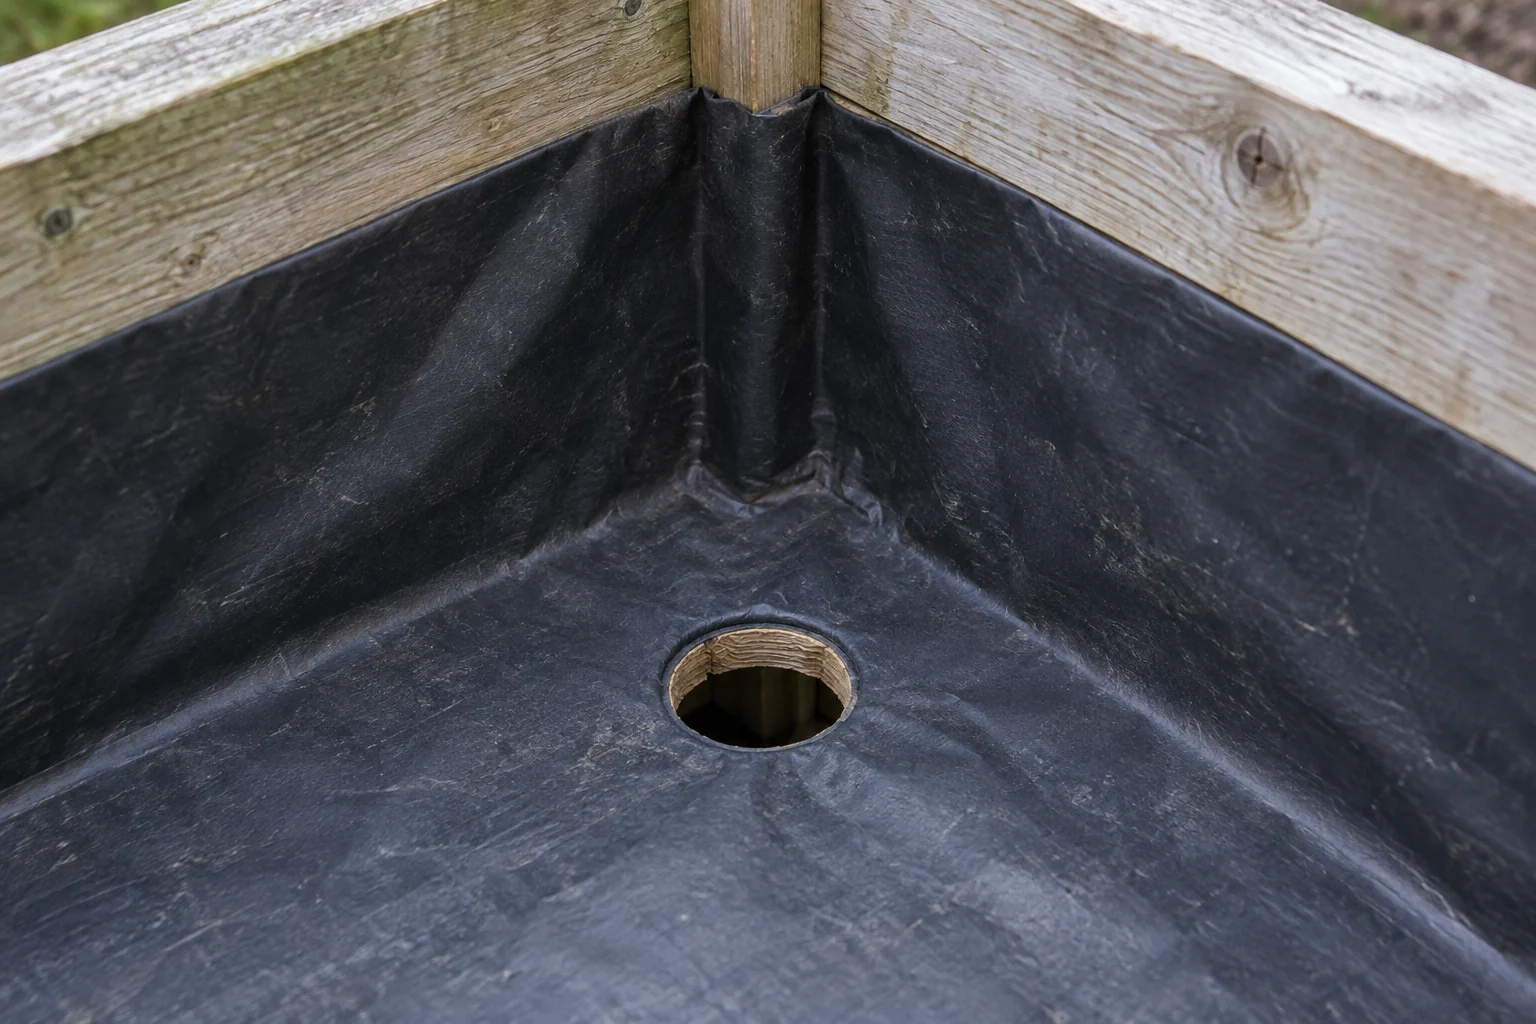
Drainage-hole sizes and a worked base layout
Garden Organic’s container guidance gives holes 1–2 cm wide, equivalent to 10–20 mm or approximately ⅜–¾ inch, for containers that lack drainage
Treat that as a general container example, not permission to drill through a timber support or a specification for every planter
For placement, sketch the base and mark its lowest areas, liner folds, supports and fixings
For example, if a trough has three genuinely separate watertight compartments, an outlet in only one compartment cannot drain the other two; each needs a route out, though that observation alone does not establish how many holes will handle heavy rain
For a single connected base, spread the outlets where water can reach them and check the planter plan before drilling near joints or load-bearing members
Worked layout: two separate low pockets
Imagine a closed-bottom trough with two low pockets separated by a raised liner fold. The base is sound and the proposed drilling areas are clear of its supports, joints and fixings
| Area | Example placement | Check before filling |
|---|---|---|
| Left pocket | Two 12 mm outlets at its low areas | Both openings pass through the liner and base |
| Right pocket | Two 12 mm outlets at its low areas | Water can reach both without crossing the raised fold |
| Under the base | Supports positioned away from all four outlets | No opening is sealed against a bearer or paving |
This four-hole arrangement is a planning example within the sourced hole-size range, not a tested drainage capacity or a rule for every trough. If a flat, connected base has no separate pockets, this particular layout may not be needed
Four clear 12 mm circular holes have a combined opening area of about 452 mm², the same geometric area as one 24 mm hole. They do not necessarily have the same drainage performance: location, blockage, liner contact and the growing medium matter
Use the empty-base water check below to find disconnected pockets. Then check the filled planter during watering and after rain; holes that work in an empty box can become blocked by roots or growing medium
Why gravel does not replace drainage holes
Illinois Extension explains that a gravel layer beneath potting mix does not improve drainage as commonly claimed; water can remain in the finer mix above it
Retaining compost at a large opening is a separate job; the RHS container guide discusses covering large holes, while keeping the route for water open
Test for trapped water before adding compost
- Set it in its final position
Fit the supports and liner before checking the outlets
- Add a little water
Observe each pocket of the empty base and look for trapped water or covered holes
- Fill with suitable growing medium
Calculate the compost volume from the internal growing space, allowing for root balls and watering space
- Check during normal watering
Look at moisture inside the root zone as well as water emerging below; immediate runoff can bypass a dry root ball
An empty-container check finds obvious blockages and trapped pockets; it does not reproduce the behaviour of a filled planter in prolonged rain
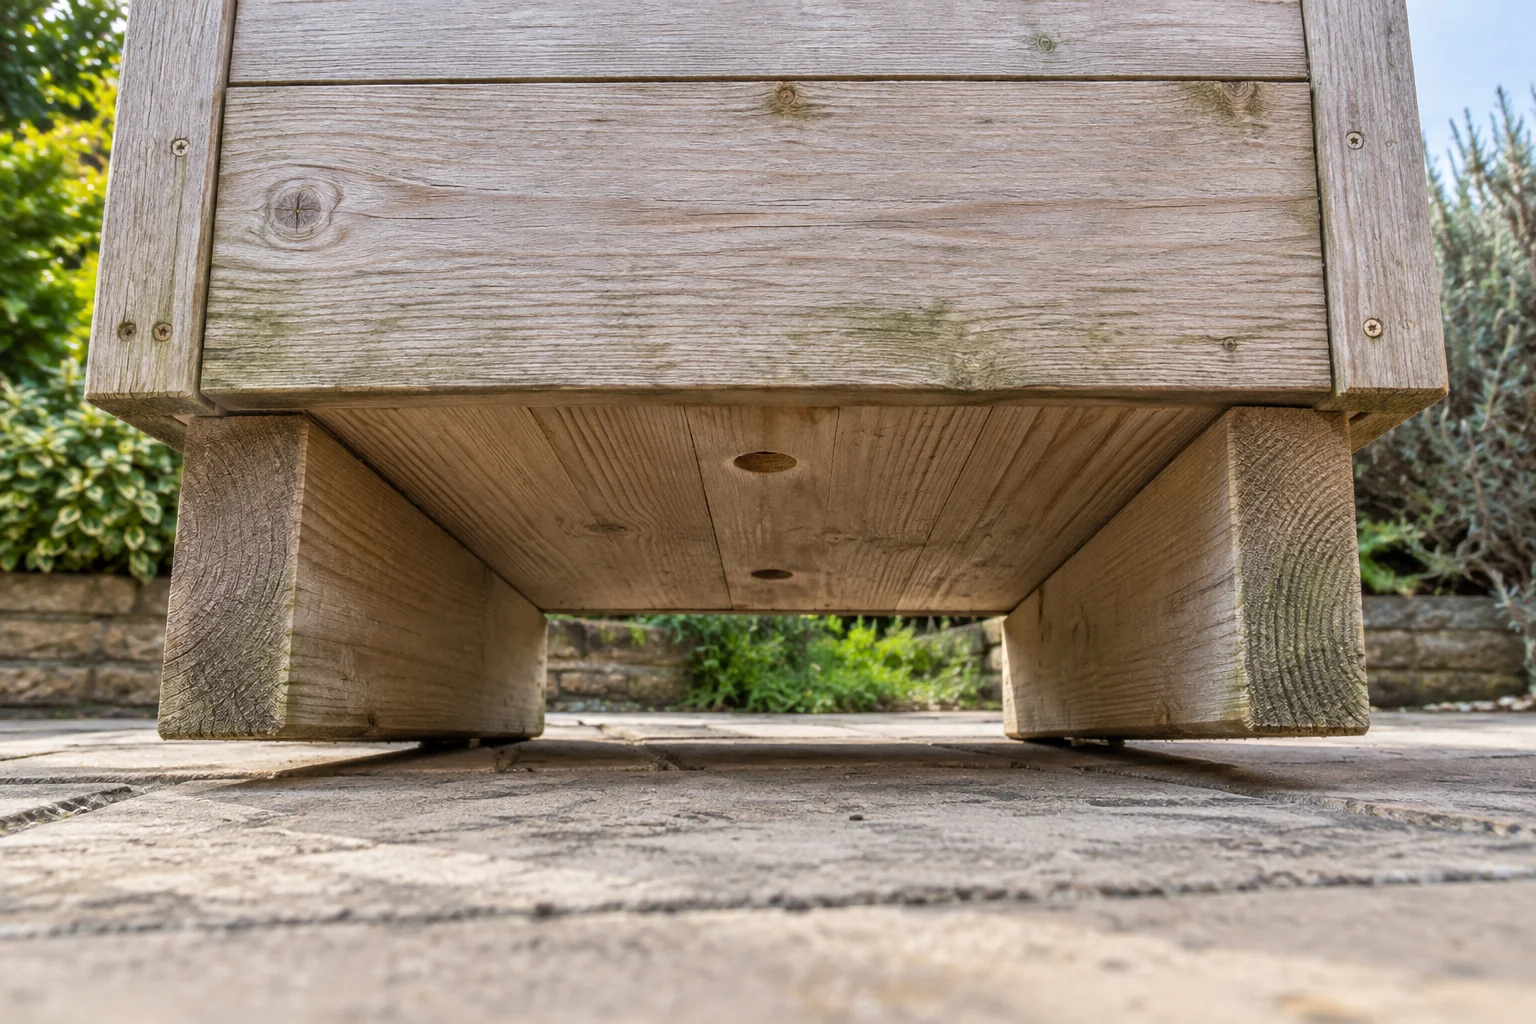
Fix blocked outlets and waterlogged corners
| Observation | Inspect first |
|---|---|
| Very wet compost but no outflow | Blocked holes, a sealed liner or an outlet pressed against paving |
| One corner stays wet | A low point or isolated liner pocket |
| Water gathers around nursery pots | The outer container’s outlet or emptying access |
| Water runs out but the plant wilts | Moisture within the root ball and possible bypass down the sides |
| The problem returns after rain | Outlet blockage, growing-medium suitability and exposure |
The RHS maintenance guide recommends checking for blocked drainage when water does not leave freely
Common planter-drainage questions
Can I water less instead of adding drainage?
That cannot reliably protect an ordinary outdoor planter from rain; use a draining container or an intentionally designed alternative
Should I drill the liner after filling?
Plan and inspect openings while the planter is empty, when the drilling path, timber and liner are visible
Does a raised bed need holes in a wooden bottom?
An open-bottom bed has no timber base to drill; its drainage depends on the ground beneath it