How to Set Wooden Posts in Concrete
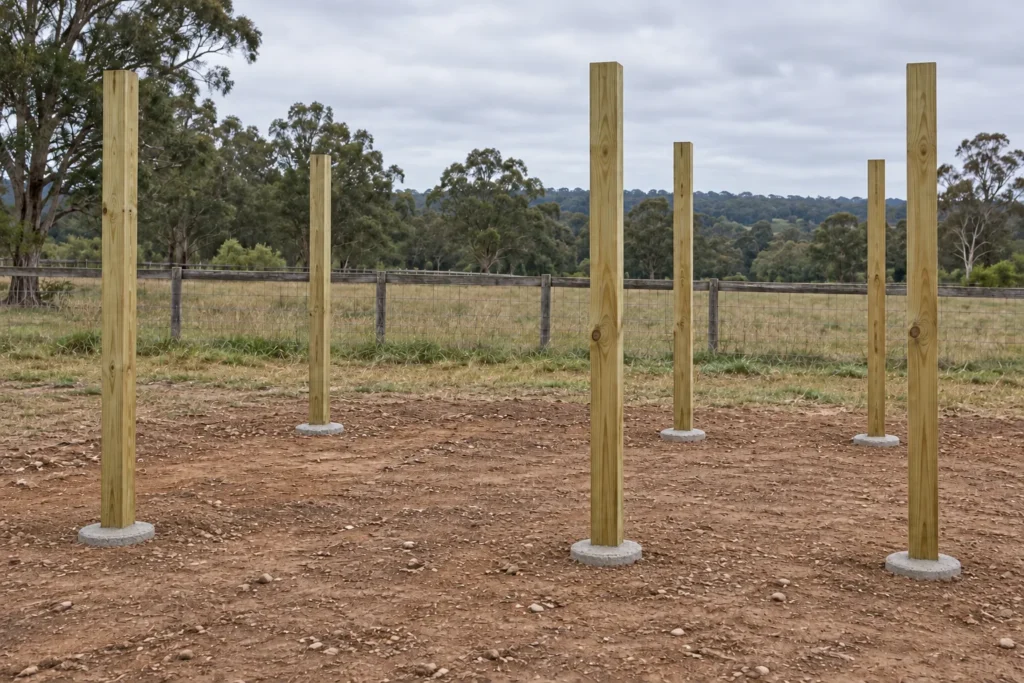
A tidy circle of concrete is the final detail you see. The important work starts below it: suitable timber, the right hole dimensions and posts held steady while the concrete sets. This guide explains the sequence for a design that uses embedded timber posts, with round forms shaping the visible collars.
Mark the layout and dig the holes to the project’s specified dimensions. Add compacted gravel where specified, set each post to height, check plumb on two faces and secure temporary bracing. Place the concrete as its manufacturer directs, slope the exposed top away from the timber and keep the post supported until the concrete is ready for loading.
Start with the foundation detail your project needs
Check whether your plan calls for a timber post embedded in concrete or a post supported above concrete on a specified metal base. These are different connections. Changing between them can alter how the structure resists movement and uplift, so it is not simply a cosmetic choice.
For a shelter, pergola or another roof-bearing structure, use a foundation detail checked for the loads and site. Hole depth, diameter, embedment and any reinforcement must suit the ground and applicable local requirements. A generic fence-post rule cannot establish those dimensions for every building. QUIKRETE also distinguishes ordinary post setting from load-bearing applications in its post-setting guidance.
If you are still choosing the type of support, start with our shed foundation comparison.
Buy timber for the actual exposure
Specify posts suitable for embedded ground-contact use, with the strength grade and treatment required by the design. “Pressure treated” alone does not identify every relevant property. Check the end tag or supplier documentation and follow the treatment supplier’s instructions for cut ends.
In the US, AWPA distinguishes general ground contact from heavier-duty applications. Its homeowner guide explains those categories. Other markets have their own specifications. Our cedar vs pressure-treated wood guide helps separate timber appearance from its suitability for the job.
1. Mark the layout and prepare the holes
Confirm buried services before digging. Mark the post positions from your plan, then check the outside dimensions and diagonals. Establish one level reference for the post heights, especially where the ground slopes.
Keep three measurements separate: the total hole depth, the post’s embedment and any gravel layer below the post. If a specified gravel layer sits beneath the timber, it must be allowed for in the excavation rather than taking space away from the required embedment.
Where the design calls for gravel, compact it at the bottom of the hole before standing the post. Loose stones scattered around the surface do not provide that buried bedding layer. Gravel also does not make a poorly draining site suitable by itself; the foundation and drainage detail still need to fit the conditions.
Posts and specified preservative treatment, form tubes, concrete, measured mixing water, gravel where specified, tape, level, string lines, temporary braces, digging tools and a trowel. Wear the protective equipment required by the concrete and timber suppliers.
Plans for your next build
Choose your project before setting out the posts
2. Set the posts and position the forms
What is a concrete post collar?
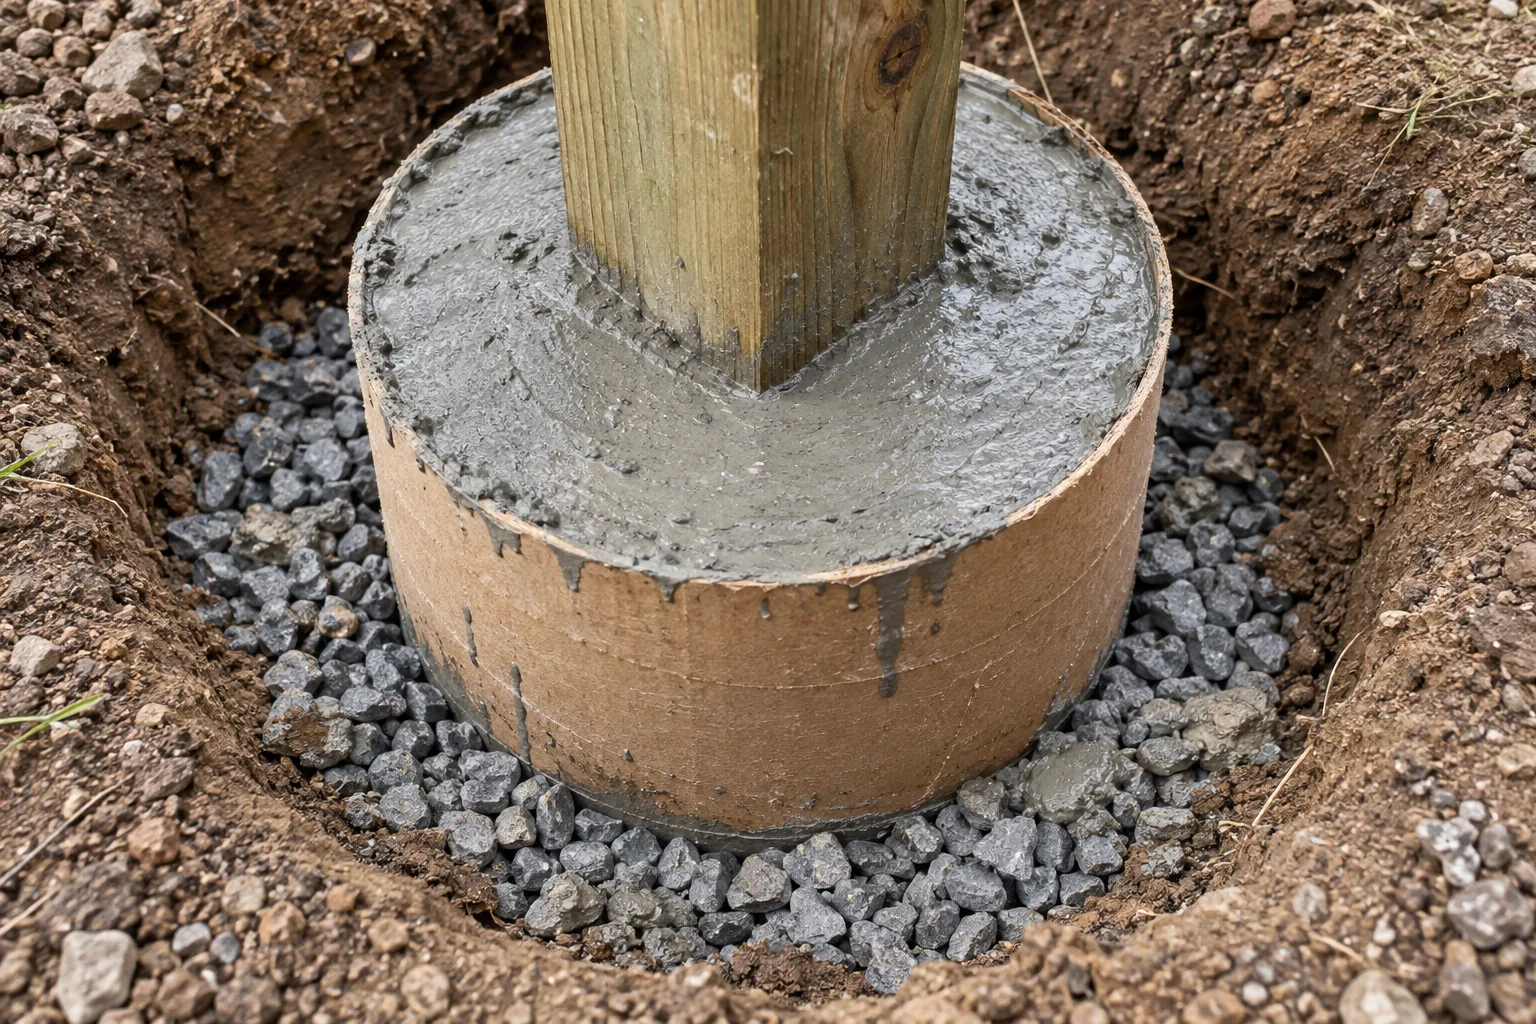
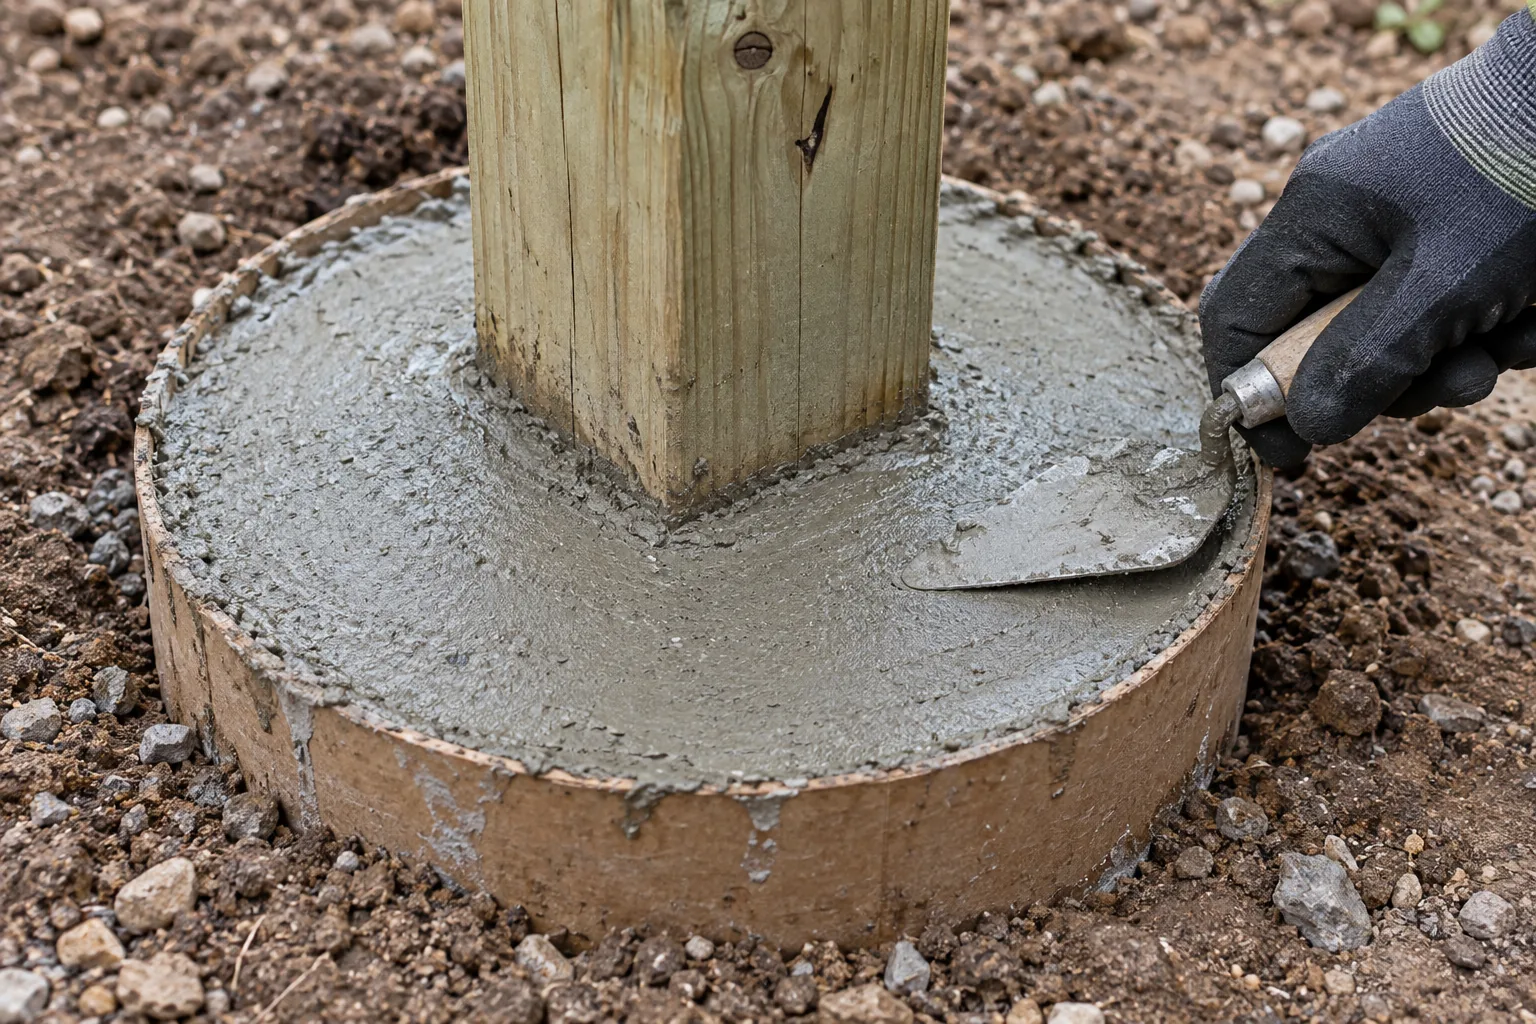
It is the concrete surrounding an embedded post at ground level. A round form gives the exposed edge a clean shape; a gently crowned top directs water away from the timber. The small visible collar is only the top of the installation, not the full depth or size of its below-ground support.
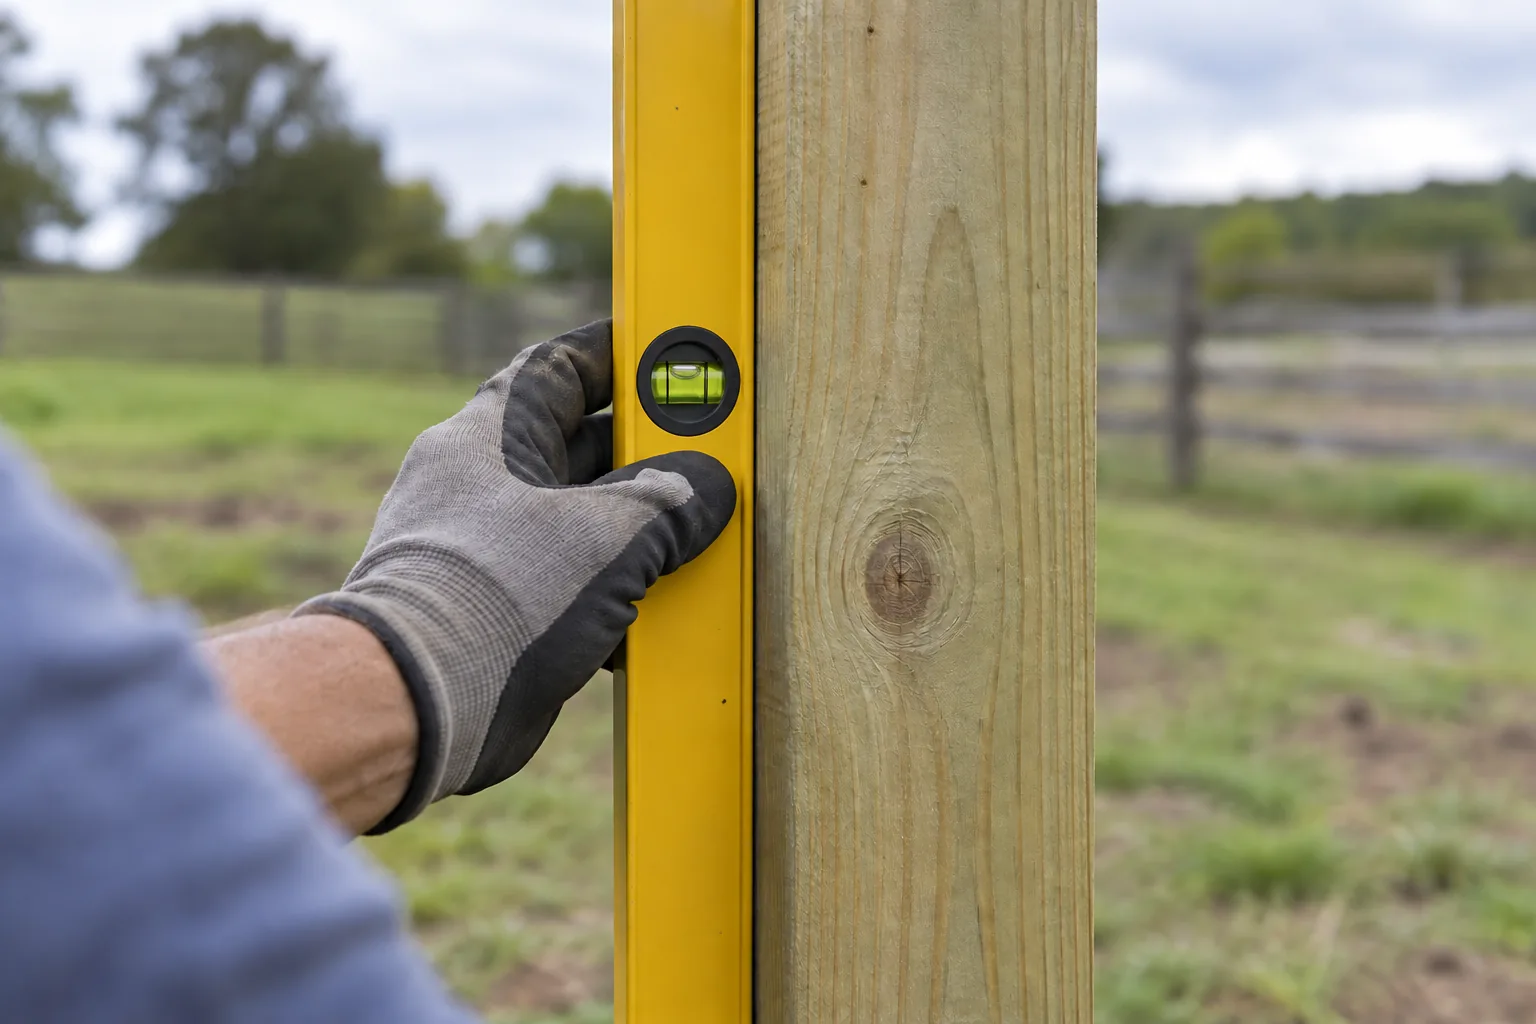
Check each post on two adjacent faces for plumb. Confirm its position and top height against the common reference, then secure temporary bracing so it stays there during placement and curing. Check the layout again after all the posts are standing.
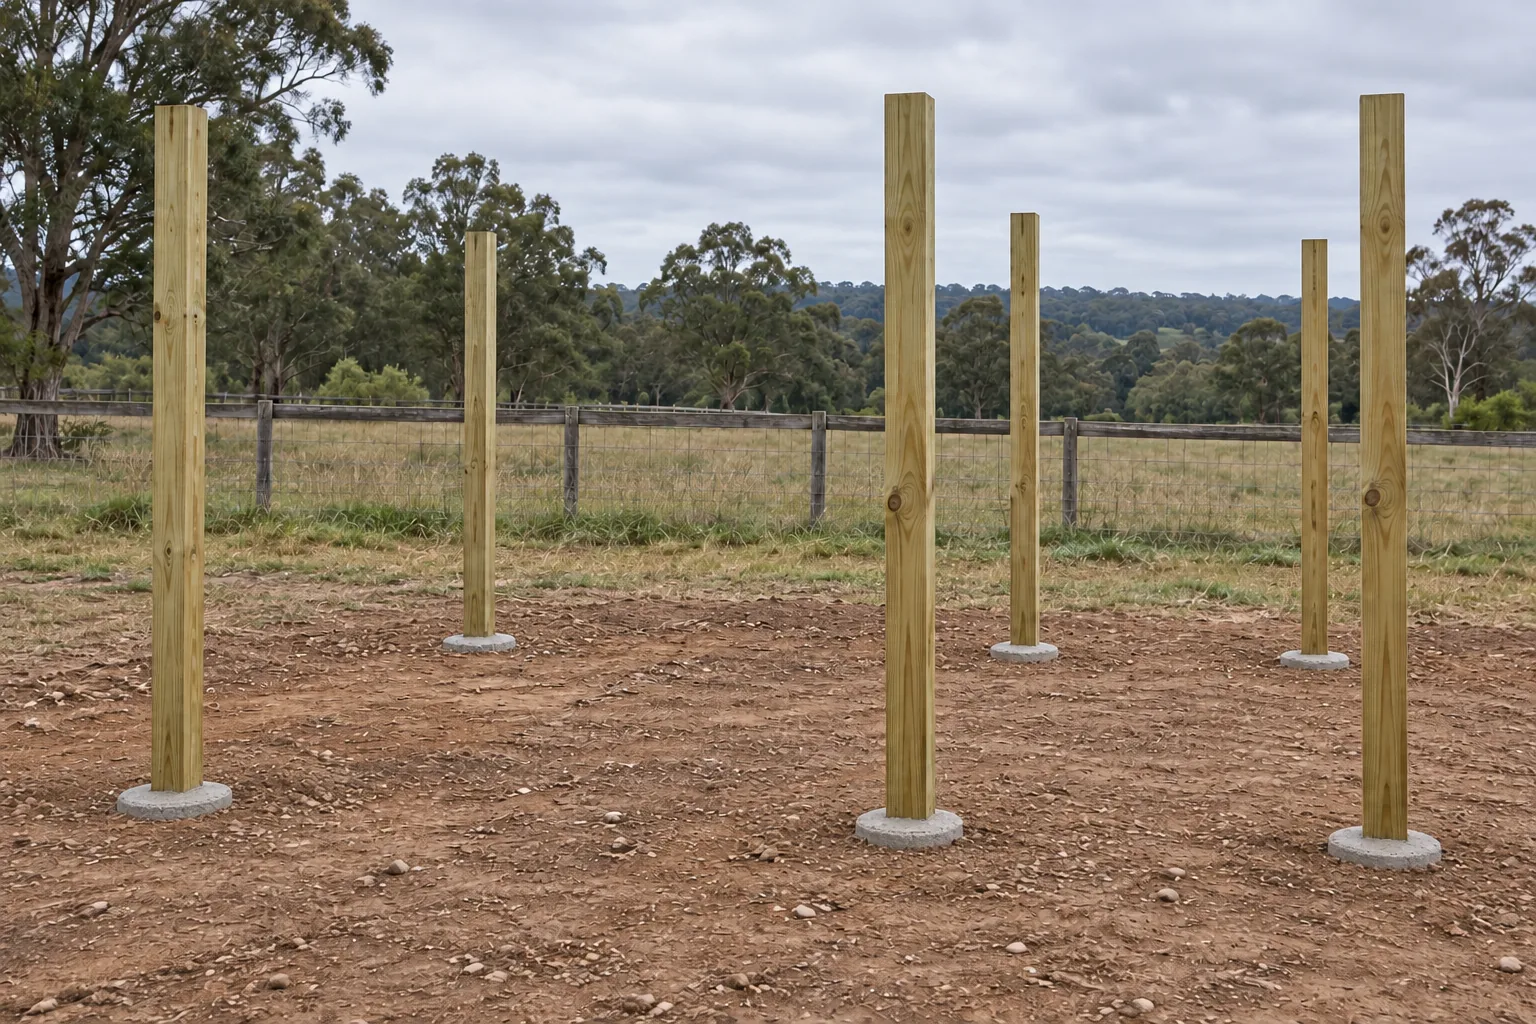
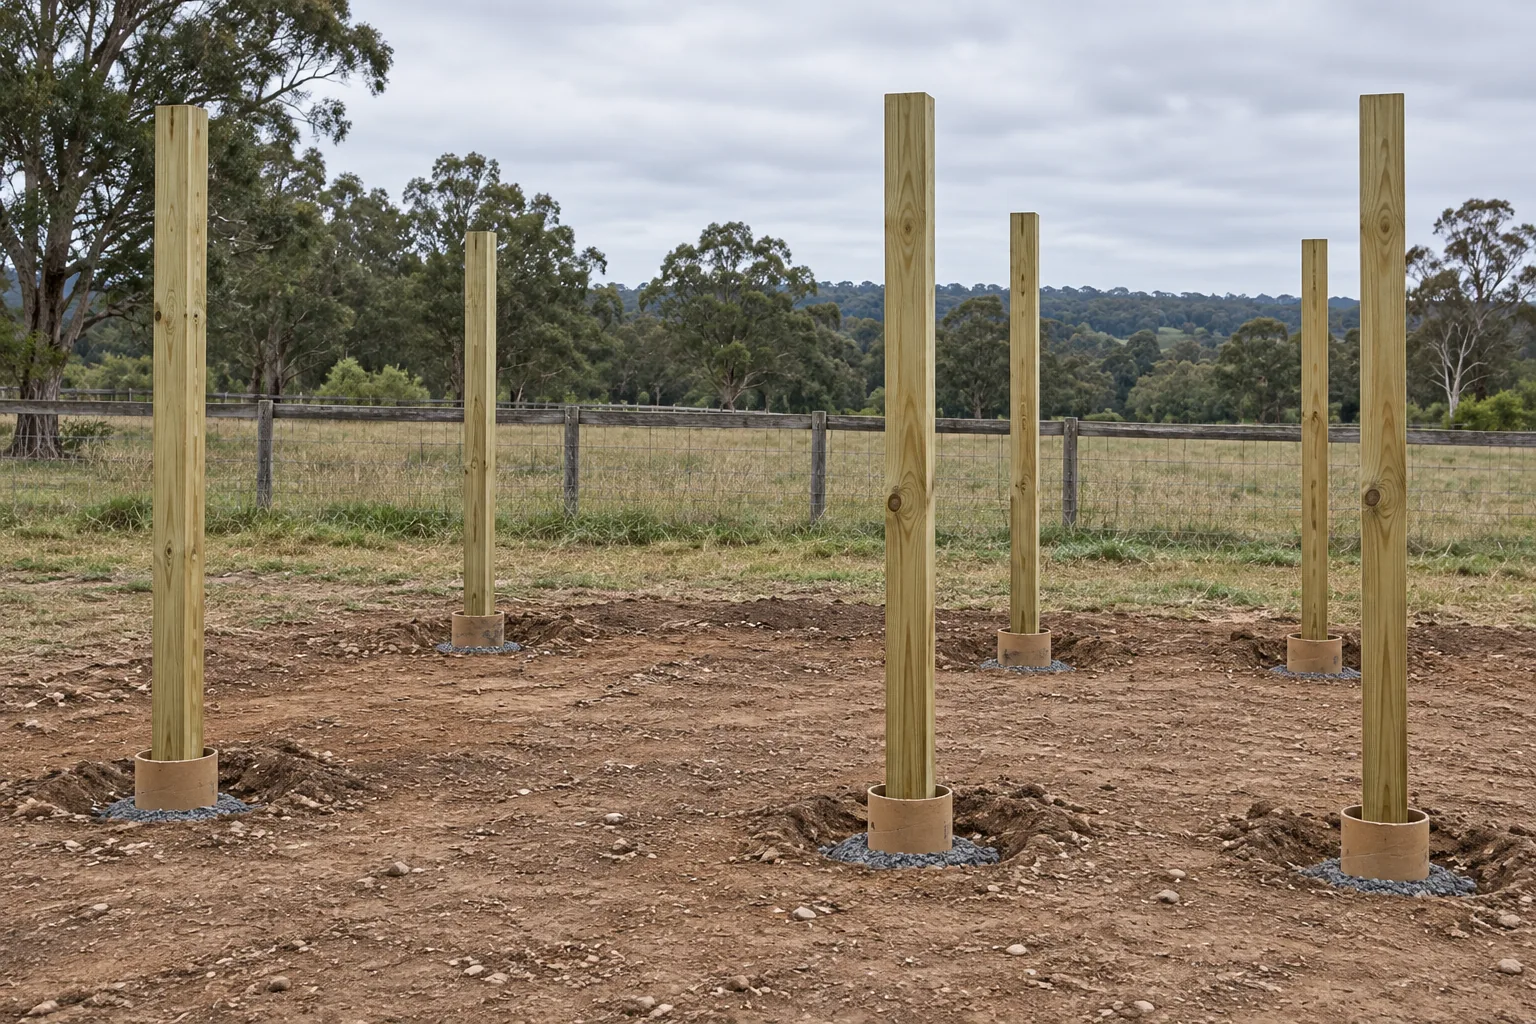
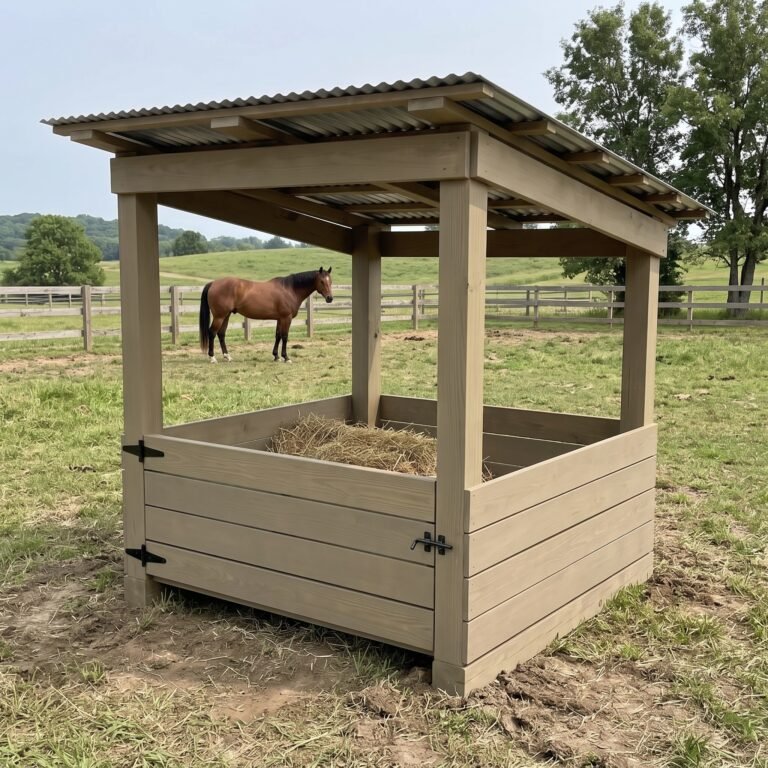
Posts do not always finish at the same height. In the run-in shelter used for these illustrations, the front row is intentionally taller than the rear row to create the roof slope. Match the three tops within each row to that project’s specified height.
A short upper sleeve can shape the exposed collar where the foundation design permits it. A full-depth form controls the buried shape too. Use the type, diameter and support method specified for your installation; the diameter of a decorative-looking surface collar does not establish the footing size below.
Centre and support the form so it cannot shift or lose concrete during the pour. Set its rim relative to the finished soil level. For the shelter detail illustrated here, the intended finished collar projects about 2 in (50 mm) above grade. That is a project detail, not a universal footing dimension.
3. Place the concrete and shape the top
Follow the instructions for the exact concrete product you bought. Bagged mixes differ: a no-mix method approved for one fast-setting product is not permission to use every concrete mix that way. This sequence uses concrete mixed before placement.
Place it evenly around the timber, consolidating it as directed so voids are not left beside the post or form. Avoid pushing a large quantity against one side. Recheck position, plumb and height while adjustment is still possible.
Finish the exposed top with a gentle fall from the timber toward the outside edge. Avoid a depression around the post that can collect water. Do not add extra water simply to make the surface look shiny. Sakrete’s post-setting instructions describe mixing, consolidation, bracing and the sloped finish.
Estimate the whole pour
Count the concrete below grade as well as the collar. If the lower hole is wider than the upper sleeve, calculate the two volumes separately. Allow for the timber occupying part of the space, then divide by the stated yield per bag and include a sensible allowance for irregular holes and waste. Bag weight alone does not tell you its mixed volume.
4. Allow curing time, then remove the exposed form
Keep the posts supported and protect the concrete as its supplier directs. Initial set, safe form removal and readiness for structural loading are separate milestones. Use the product instructions and project requirements for each; a surface that feels hard is not proof that the post is ready to carry the roof.
When removal is permitted, peel away the exposed cardboard without damaging the young concrete or timber. Follow the form manufacturer’s removal method. Backfill any remaining space outside the cured concrete and finish the surrounding soil below the collar, leaving its water-shedding top exposed.
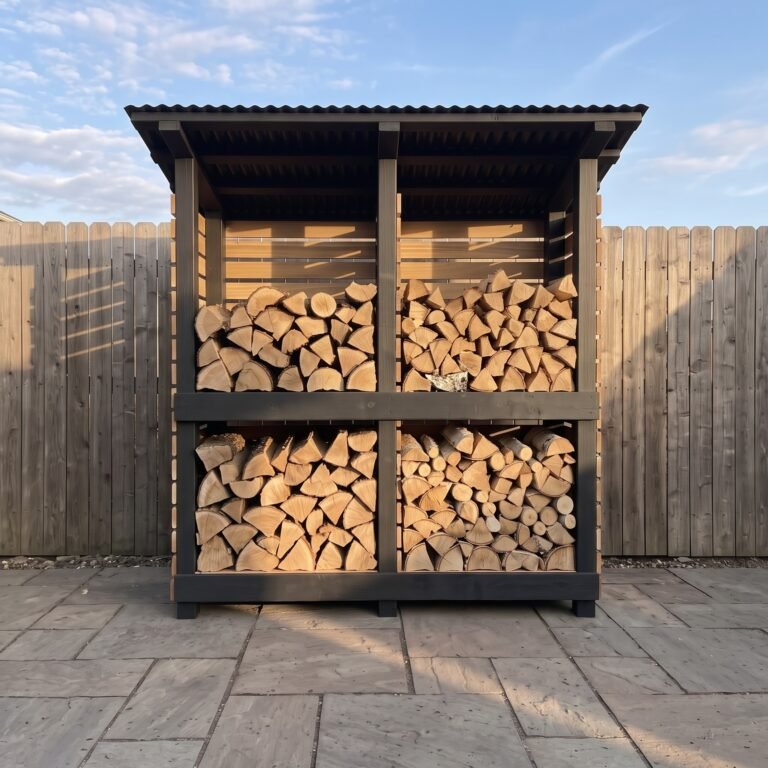
The completed view at the top of this guide shows the intended surface finish. Most of the support remains buried. Keep mulch, bedding and later landscaping from covering the concrete or building up against the timber.
Common mistakes to catch before the concrete sets
| Problem | What to check |
|---|---|
| Posts move during placement | Secure bracing and recheck position and plumb while adjustment is possible |
| Post tops follow uneven ground | Measure from the common level reference and the heights specified in the plan |
| The round collar is treated as the whole footing | Confirm the buried diameter, depth and embedment separately |
| Concrete dips toward the timber | Shape the top to shed water outward |
| Soil is piled over the finished collar | Finish the ground below its exposed top |
| The roof goes on because the surface feels dry | Confirm the required loading time for the product and conditions |
Common questions
Do all posts need cardboard forms?
No. Forms are used where the design, ground conditions or desired exposed finish calls for them. A short collar sleeve and a full-depth footing tube serve different purposes.
Does a concrete collar stop timber from rotting?
It is not a guarantee. Suitable timber treatment, site drainage, a water-shedding detail and maintenance all matter. Keep the base accessible for inspection.
How far above ground should the concrete finish?
Follow the project detail and account for the final soil level. The illustrated shelter uses about 2 in (50 mm); other installations may require a different projection.
Can I copy the hole sizes from the images?
No. These AI-generated illustrations explain the visible stages. They do not establish footing capacity, buried geometry, precise spacing or the requirements for a different site.
Sources and illustration notes
Technical references checked 28 September 2026. The images are AI-generated illustrations, not photographs of a completed customer build. Below-ground details are not shown.
- QUIKRETE · Setting posts in concrete
- QUIKRETE · Tube forms and pillar foundations
- Sakrete · Setting posts and poles
- AWPA · Choosing treated wood for the application
The shelter-specific heights and collar projection are from Firesided’s supplied Run-In Shelter with Storage Bay, Metric v2 plan. This article explains the method and does not independently validate that foundation design.