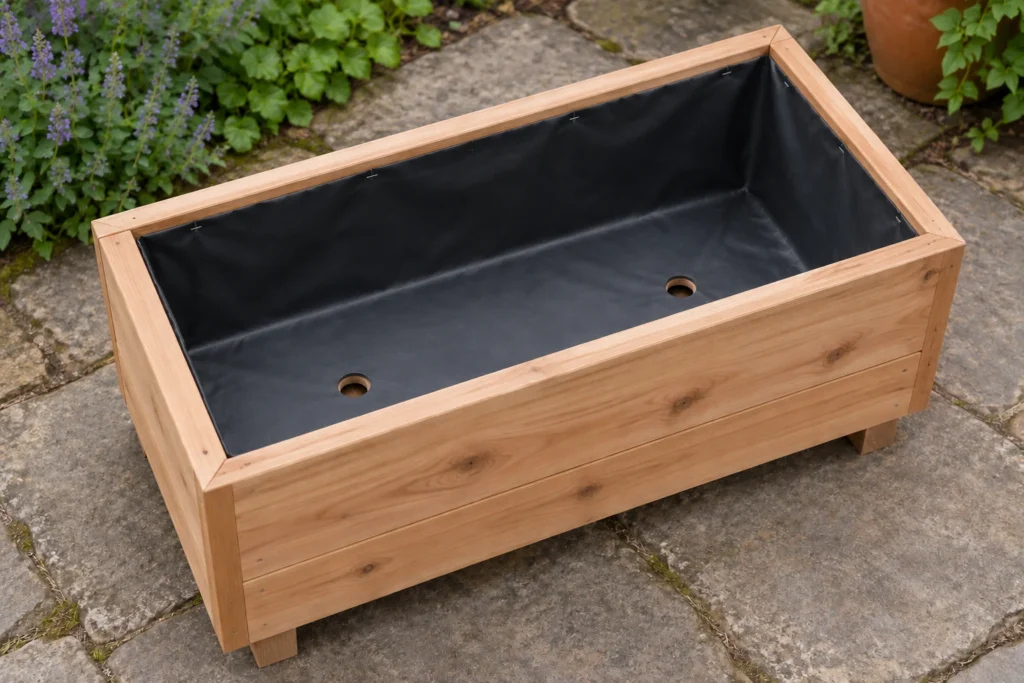
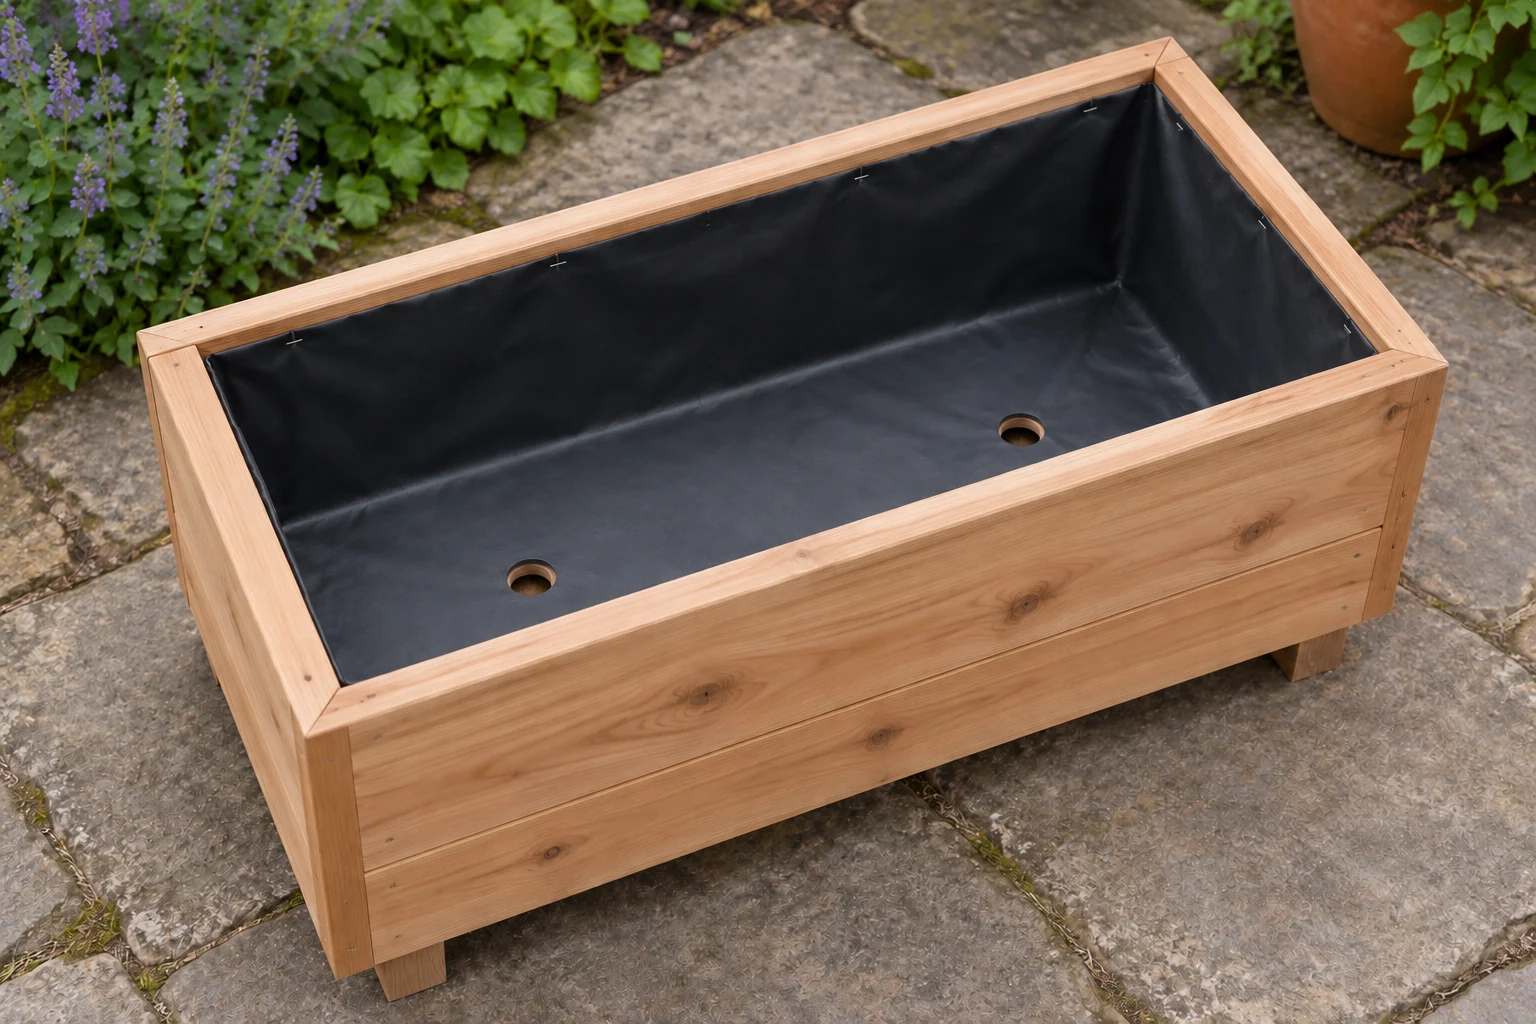
A liner can help separate a wooden planter from damp compost, but it must preserve a clear route for drainage
Use a water-resistant barrier where that separation is needed, a permeable fabric where retaining compost is the aim, or removable pots when the timber box is mainly a decorative surround
Start with the type of planter
A raised bed resting directly on garden soil and a closed-bottom planter standing on a patio need different details; the first can drain into the ground, while the second must release water through its base
Before buying liner, look inside and underneath the box; identify the base supports, drainage openings, feet and any places where a folded liner could form a pocket below the outlets
A liner will not repair rotten boards or an inadequate base; a large volume of wet compost is heavy, so the structure needs to be suitable before it is lined and filled
The RHS recommends lining wooden containers to reduce contact with damp compost while retaining drainage; the useful principle is separation with an outlet, rather than making the planter watertight
Choose between plastic, fabric and removable pots
| Option | Useful purpose | Limitation |
|---|---|---|
| Durable liner suitable for planting use | Separates the sides from direct compost contact | Any lined base needs open, correctly placed outlets |
| Permeable landscape fabric | Retains loose compost across gaps while allowing water through | It is not a waterproof barrier against damp timber |
| Removable nursery pots or a fitted insert | Keeps planting units separate and makes maintenance easier | Water leaving the inner pots must still escape the outer box |
| No liner | Leaves a simple construction with fewer hidden folds | Wood remains directly exposed to damp growing medium |
Choose material described by its supplier as suitable for the intended planting use, especially for edible crops; an unidentified offcut of plastic or roofing material is not automatically an appropriate substitute
University of Maryland Extension discusses a plastic barrier between treated timber and soil while allowing drainage, and advises avoiding older treatments such as CCA and creosote; a liner is not a reason to use unknown reclaimed timber
For an open-bottom raised bed, lining the sides can provide separation without laying an impermeable sheet across the soil; weed control or animal exclusion beneath a bed is a separate design decision
Allow enough liner for the base, sides and folds
Measure the inside of the finished box rather than its outside dimensions; include the depth that the liner must cover and an allowance for fastening or trimming at the upper edge
For a simple rectangular box with vertical sides, a useful starting calculation is liner length = inside length + twice the depth + twice the top allowance, with the same calculation using inside width for the other direction
A box 90 cm long, 40 cm wide and 30 cm deep, with a 5 cm allowance at each upper edge, starts from a sheet about 160 × 110 cm; folds, an uneven base or an unusual rim may require more
For a separate imperial example, a 36 × 16 in box, 12 in deep, with 2 in allowed at each upper edge starts from 64 × 44 in; these are sizing examples, not a prescription for every planter construction
Dry-fit an oversized sheet before trimming it; cutting exactly to an optimistic calculation can leave too little material once the corners are folded and the liner settles against the base
Fit the liner without hanging the compost from it
- Prepare the inside
Remove sharp splinters and protruding fasteners that could puncture the liner, and confirm that the base and its supports are sound
- Set the liner onto the base
Let it rest against the timber with enough slack to reach the corners; it should not bridge a gap and carry the compost’s weight from its upper fastenings
- Fold the corners neatly
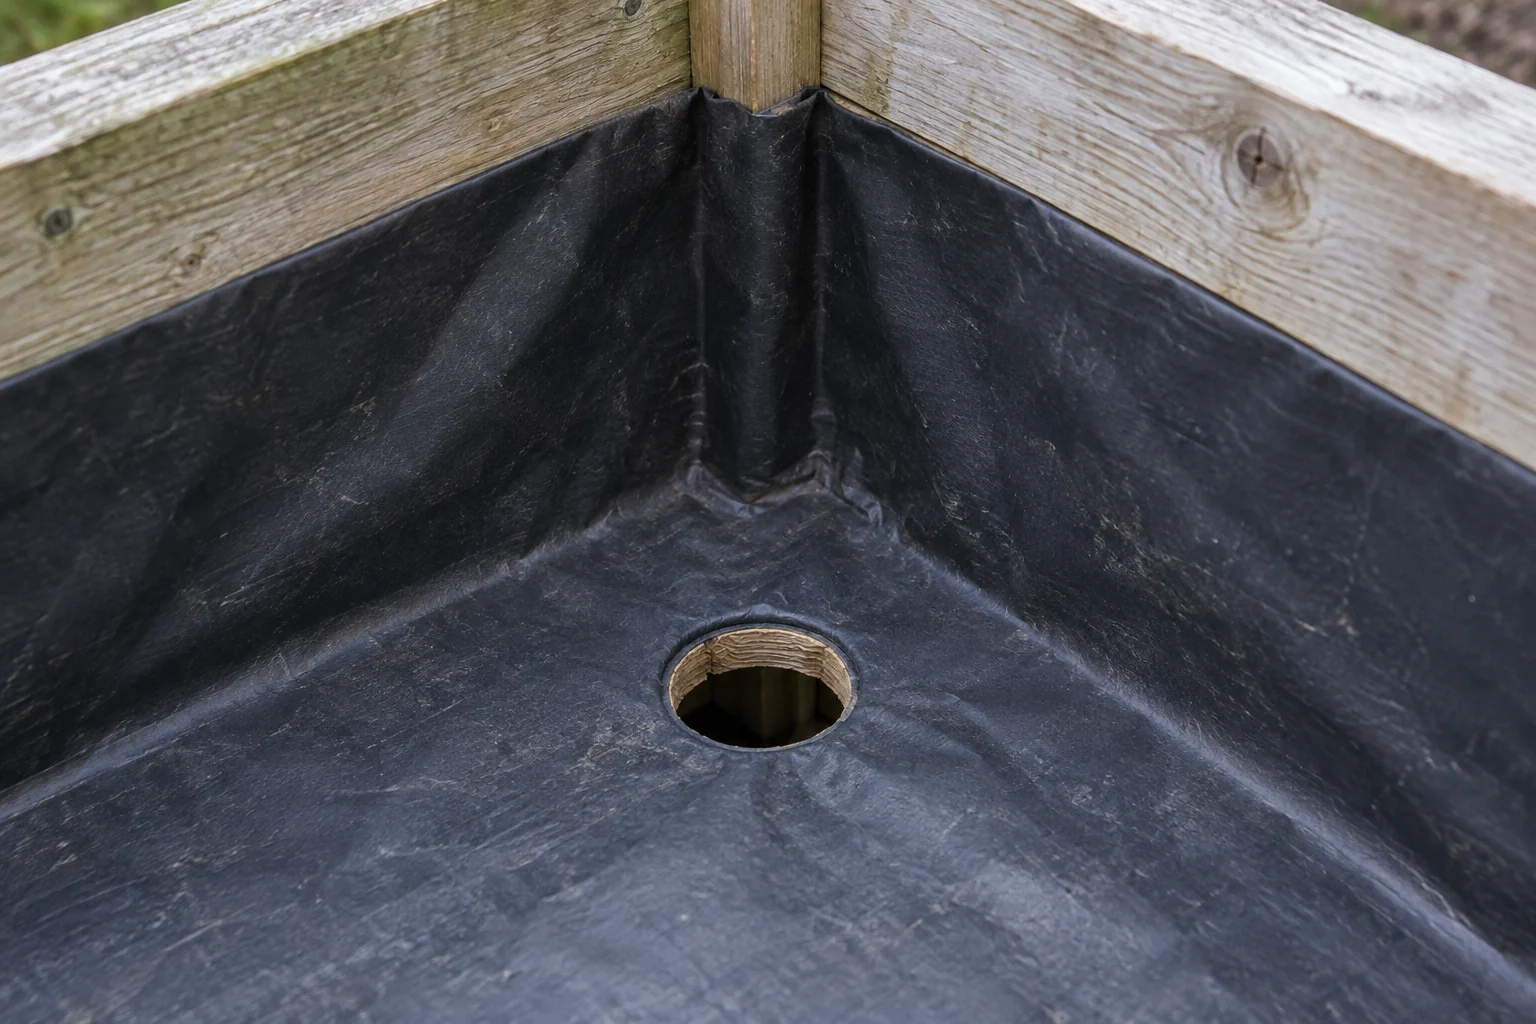
Arrange folds against the sides where practical, keeping bulky overlaps away from drainage openings; do not stretch the sheet tightly across an unsupported corner
- Secure the upper edge
Use a suitable fastening detail above the intended compost level, keeping the liner below the visible rim if that suits the design; avoid unnecessary punctures through the lower walls
- Open the drainage route
Locate each existing base outlet and make a corresponding clear opening through the liner; a small slit that closes against the wood is not a dependable open outlet
Test the outlets before adding compost
With the empty planter in its final position, add water in several places and watch where it leaves; look for standing pockets in the liner and for feet or paving that block the underside of an opening
The test checks the route through the empty construction, not the drainage performance of the eventual growing mix; recheck after filling and watering, and keep accessible outlets clear as the planter is used
The planter drainage guide covers hole placement and blockage checks; a layer of stones cannot replace an outlet through an otherwise closed base
If you use removable pots, leave a route for water between and below them, and empty any unintended reservoir in the outer box; a decorative surround can otherwise become a hidden water bath
Fill and maintain the lined planter
Choose a growing medium suitable for containers and the plants you intend to grow; ordinary garden soil can behave very differently in a confined box, as explained in garden soil in pots
Leave watering headroom below the rim and estimate the volume from the usable internal space; the planter compost calculator can help account for that space before you buy bags
Inspect the rim, folds and accessible drain openings when changing plants; replace a torn or brittle liner when the planter is empty enough to do the job properly, and check the timber behind it at the same time
A liner protects only the surfaces it separates from compost; rain, splashback and contact with the ground still affect the outside and base, so sound construction and a suitable exterior maintenance plan remain useful
Sources and product instructions
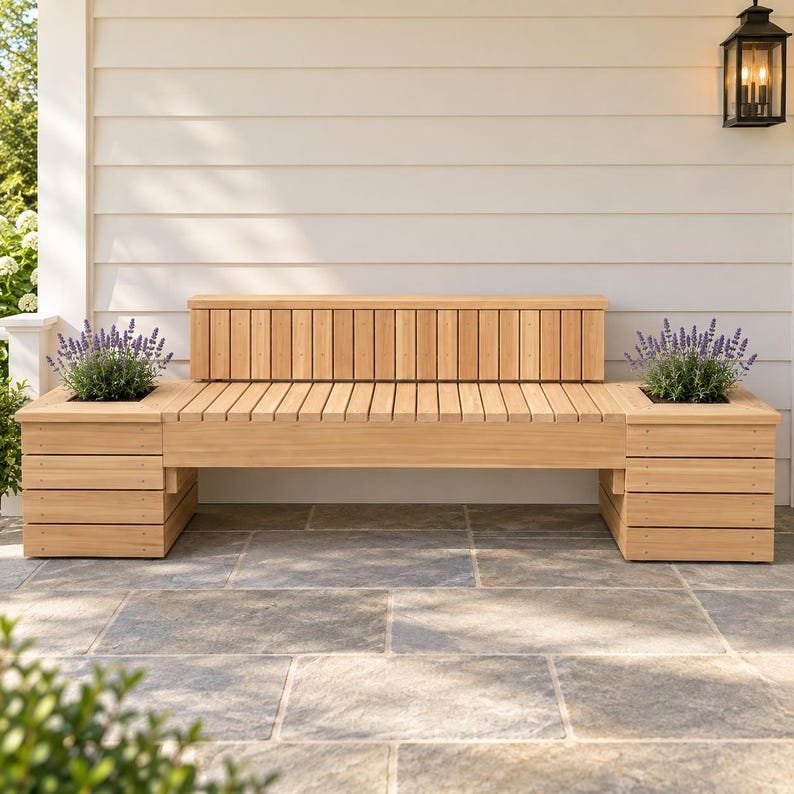
Build a planter with seating
Plan the timber structure, planting space and drainage together before cutting the liner or adding compost