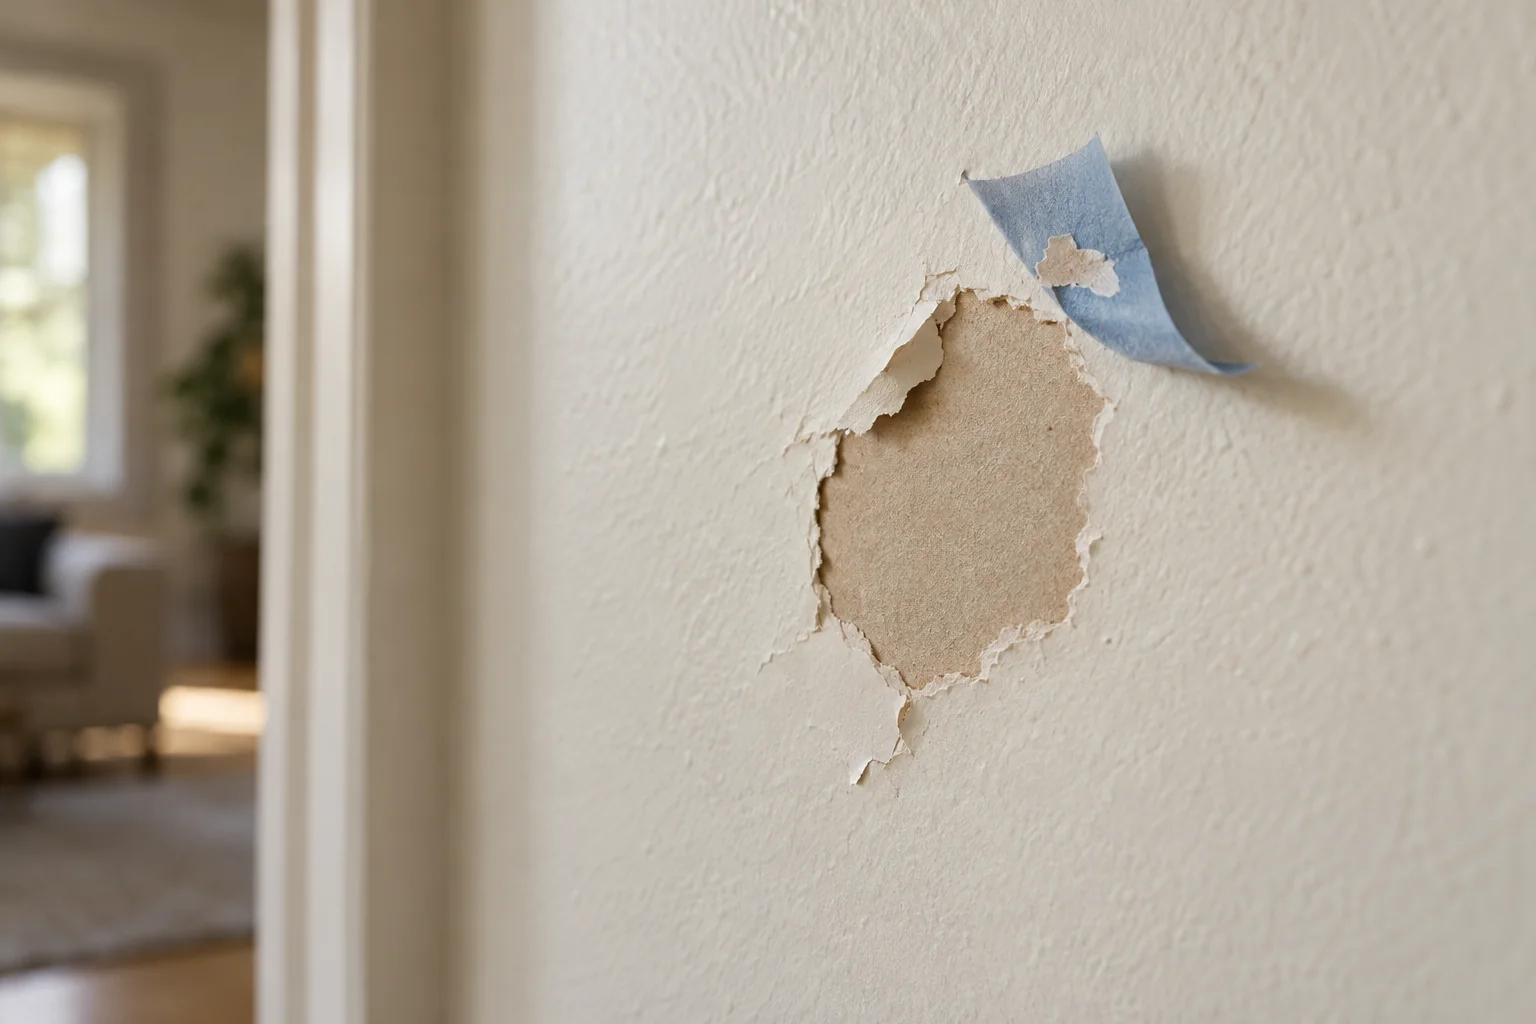
Paint pulled off by tape can leave a shallow paint chip, torn drywall paper or a deeper dent, and each needs a different repair sequence
Illustrative imageTape damage exposing the drywall facing paper
How do you fix paint ripped off a wall by tape?
Remove detached material, identify the exposed surface, stabilise torn drywall paper if present, fill any remaining depression and prepare the patch for matching paint
A sound, level paint chip may need very little filling; fuzzy brown drywall paper needs an approved paper sealer before wet filler touches it
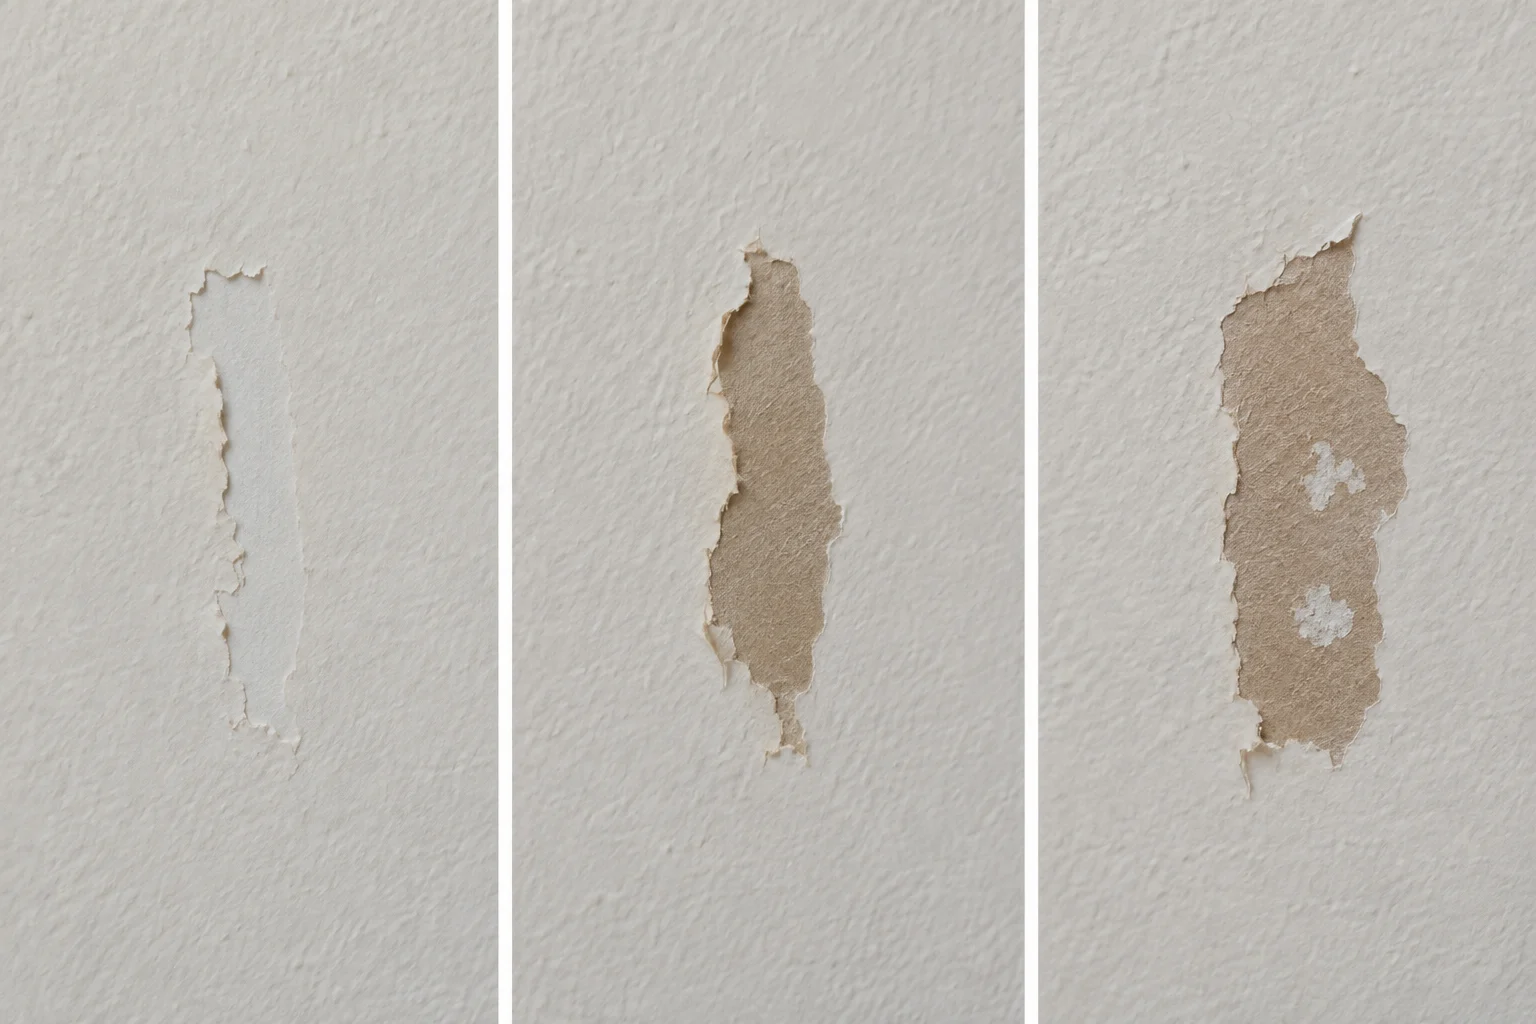
Paint missing
A shallow edge with smooth, intact paper underneath
Paper torn
Fuzzy fibres or exposed brown backing that needs stabilising
Core damaged
A dent, gouge or hole extending into the chalky board
Schematic cross-sections of painted drywall · Paint is green, facing paper is tan and the gypsum core is pale grey
Check the surface before choosing a repair
Illustrative image
Paint onlyTorn facing paperDamaged gypsum core
Compare the layer that has failed: paint only, facing paper or the gypsum core
Look at the edge of the damage in light falling across the wall, as well as straight on; colour alone cannot tell you which layer came away
What you find
Repair path
What changes the plan
Missing paint over a smooth, firm surface
Remove loose edges, level the transition and fill only a depression that remains
More paint lifting beyond the tear points to a wider adhesion problem
Brown or fuzzy drywall facing paper
Remove detached paper, seal the exposed facing, let it become ready for recoating, then skim as needed
Wet filler directly over loose paper can produce bubbles
Missing gypsum or a hole
Check whether the repair is within the filler’s size and depth limits
A through-hole or unsupported opening needs an appropriate patch system
Bare plaster with no paper facing
Use a plaster-compatible repair and priming system on a firm, dry surface
Loose, powdery or damp plaster needs attention before decoration
Drywall and plasterboard have a paper facing over a gypsum core; plaster applied over a wall does not have that facing layer, so the brown-paper instructions do not automatically apply to every wall
If the surface is damp, soft or continuing to crumble, pause the cosmetic repair and investigate the cause; covering an unstable patch makes it harder to see what is happening underneath
Gather the materials for your wall
Choose the products for the exposed substrate and the depth of the repair, then check that they can be used together
Material
Its job
When to use it
Damaged-paper sealer
Stabilises exposed drywall facing before the repair
Where paper is torn or fuzzy and the product approves that use
Filler or spackling
Rebuilds the missing surface level
Where a dent or low area remains after preparation
Joint compound
Allows spreading and feathering over a broader repair
When approved for the repair and used within its thickness limits
Primer or finishing sealer
Prepares the repaired surface for the chosen paint
Where required by the filler, substrate or paint system
Matching topcoat
Restores the visible colour and finish
After the patch is sound, level, clean and ready to coat
These are different jobs, although one product may cover more than one; “ready to paint” on a filler does not mean it repairs loose paper beneath it
Have a small flexible filling knife, a suitable sanding block, dust removal materials and the original type of paint applicator ready; protect the floor and use the protective equipment required by the products
DAP’s preparation guide distinguishes small shallow repairs from larger repairs and explains the different working characteristics of spackling and joint compound
Check old coatings before sanding
If the existing paint could contain lead, avoid dry sanding or scraping until you have established an appropriate lead-safe preparation method
Repair the patch in the right order
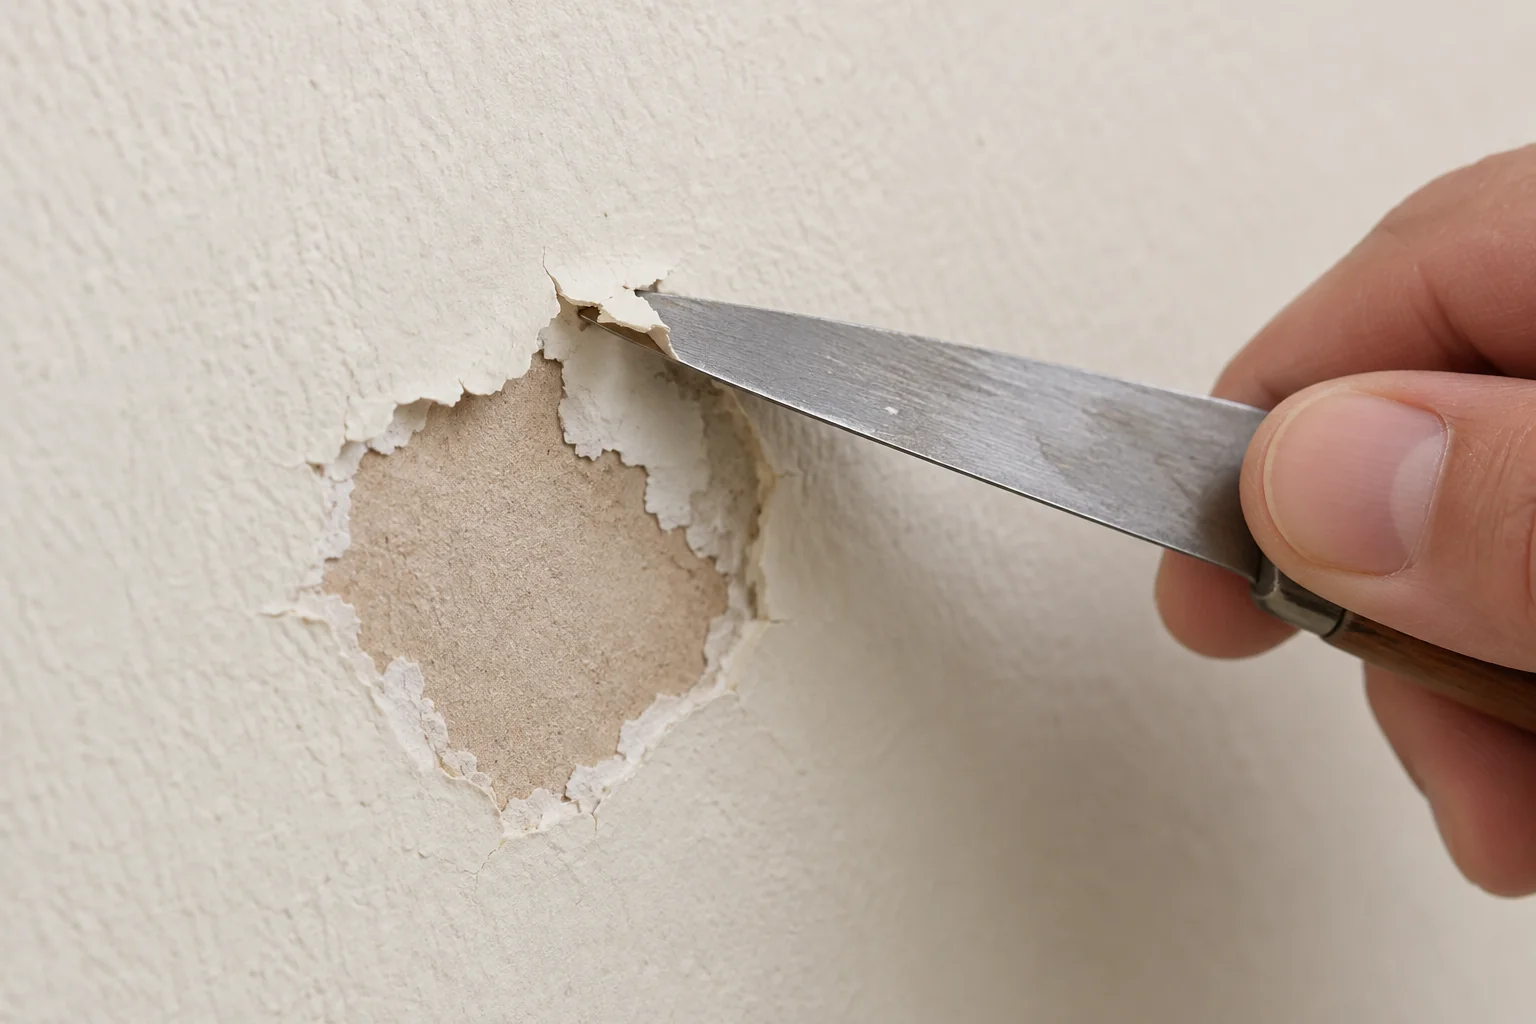
Make the edges stable
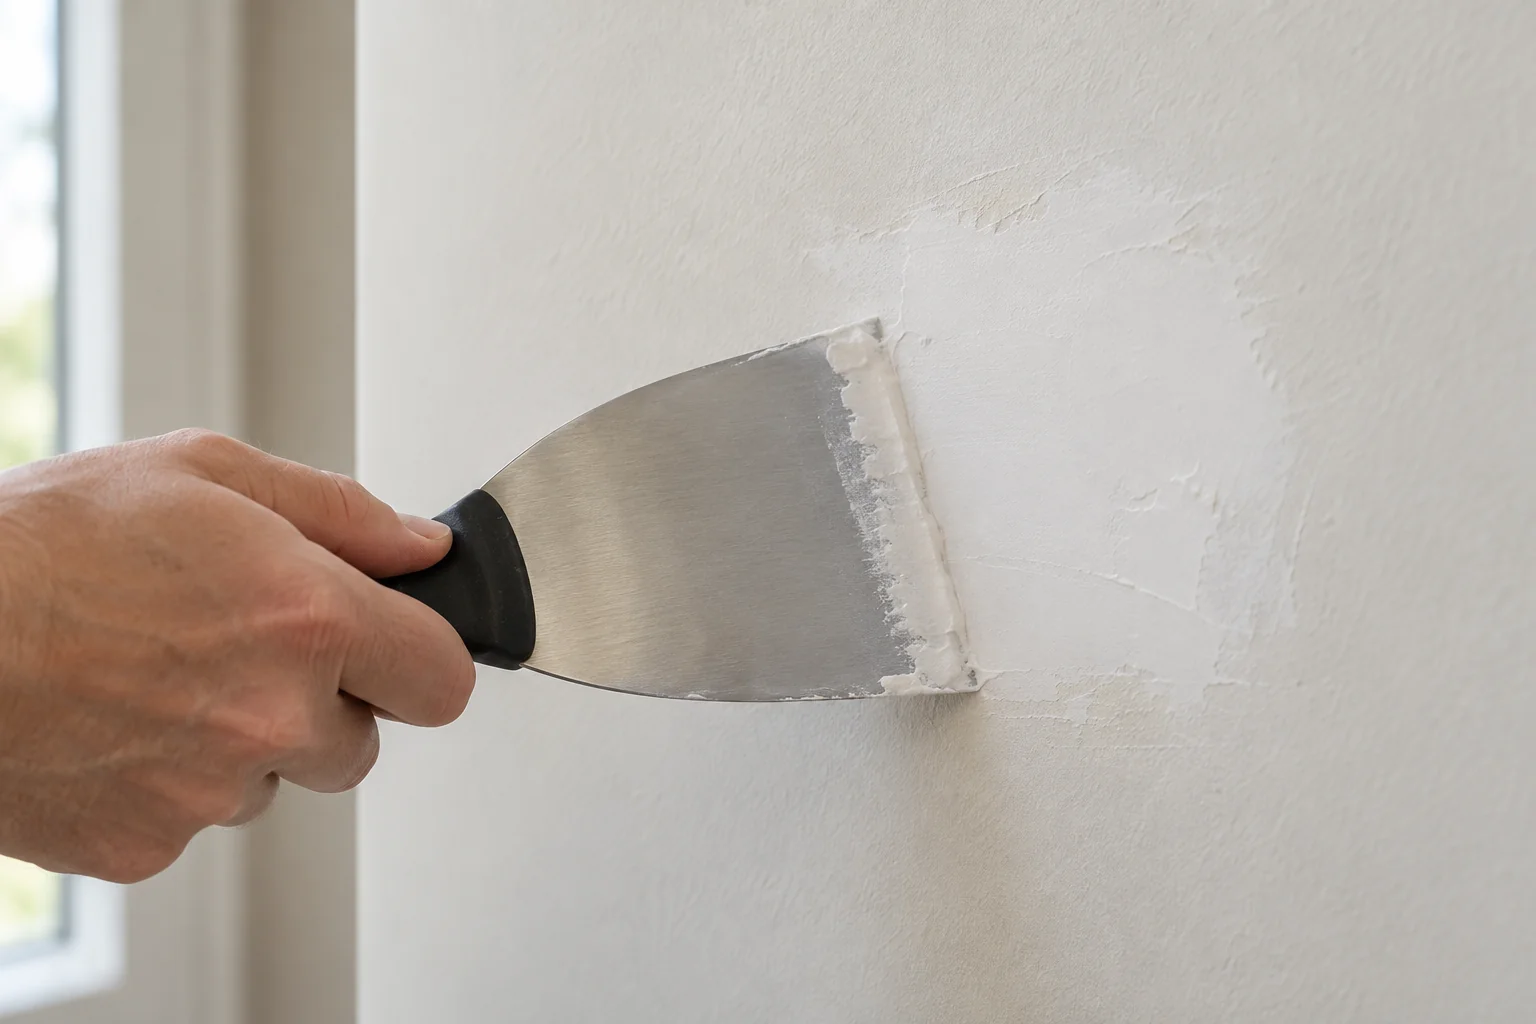
Lift away only material that is already detached, working gently at the boundary rather than digging into the sound wall
Keep checking the edge as you work; if each removed flake exposes another loose layer, the original tape mark is no longer the whole repair area
Ready to continue The remaining edge is firm, with no loose flaps waiting to lift into the filler
Illustrative imageRemove detached material while keeping the firm surrounding edge intact
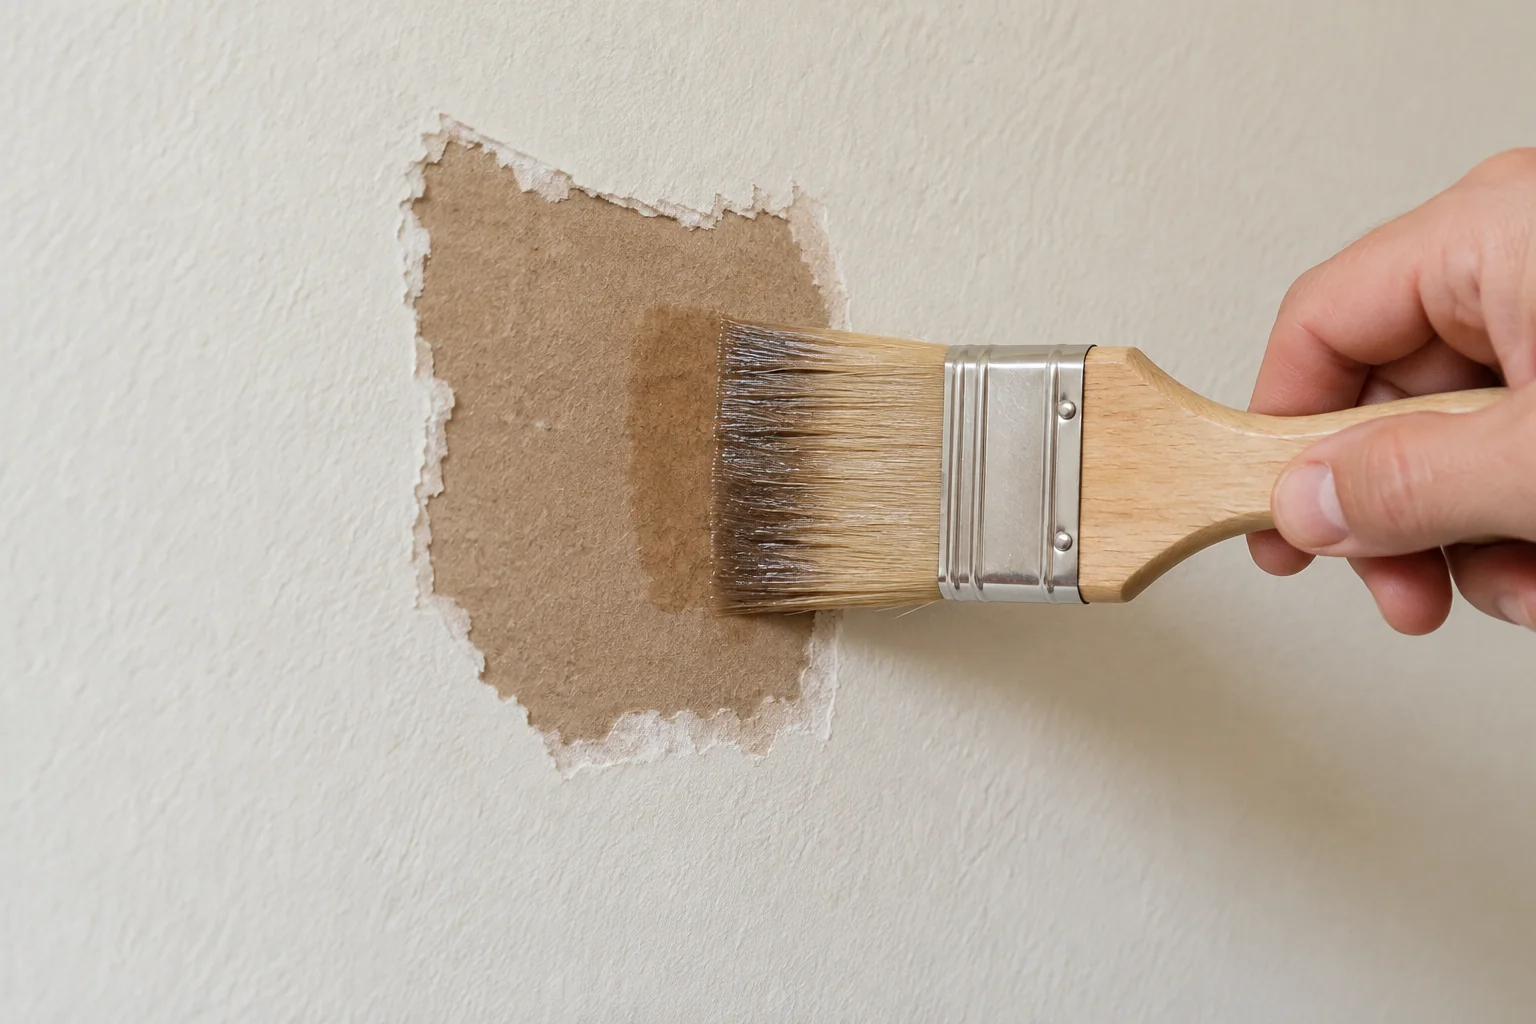
Seal exposed paper if needed
Use a product specifically approved for damaged drywall paper, such as Zinsser Gardz, over the prepared exposed facing
Apply it as directed and allow the required interval before filling; the UK Gardz page lists 30 minutes to touch-dry and 3 hours before recoating, illustrating why those two stages must not be confused
The instructions on your local product take precedence over an example from another market
Ready to continue The sealer has reached its specified recoat stage and the facing is stable, rather than merely feeling dry at the surface
Illustrative imageSeal damaged paper with a suitable product before applying wet filler
Fill the low area
Spread a controlled skim across the depression with the knife, then draw the edges out onto the surrounding sound surface
Feathering means reducing the thickness towards the outside so that the repair has no abrupt ridge; do not leave a thick ring around an otherwise flat centre
For a deeper area, use the number of layers and maximum thickness allowed by the filler, with the required drying between applications
Ready to continue The area is filled within the product’s limits and has dried sufficiently for sanding; add another permitted layer if it has shrunk below the wall
Illustrative imageFeather a thin repair beyond the damaged edge
Level and clean the repair
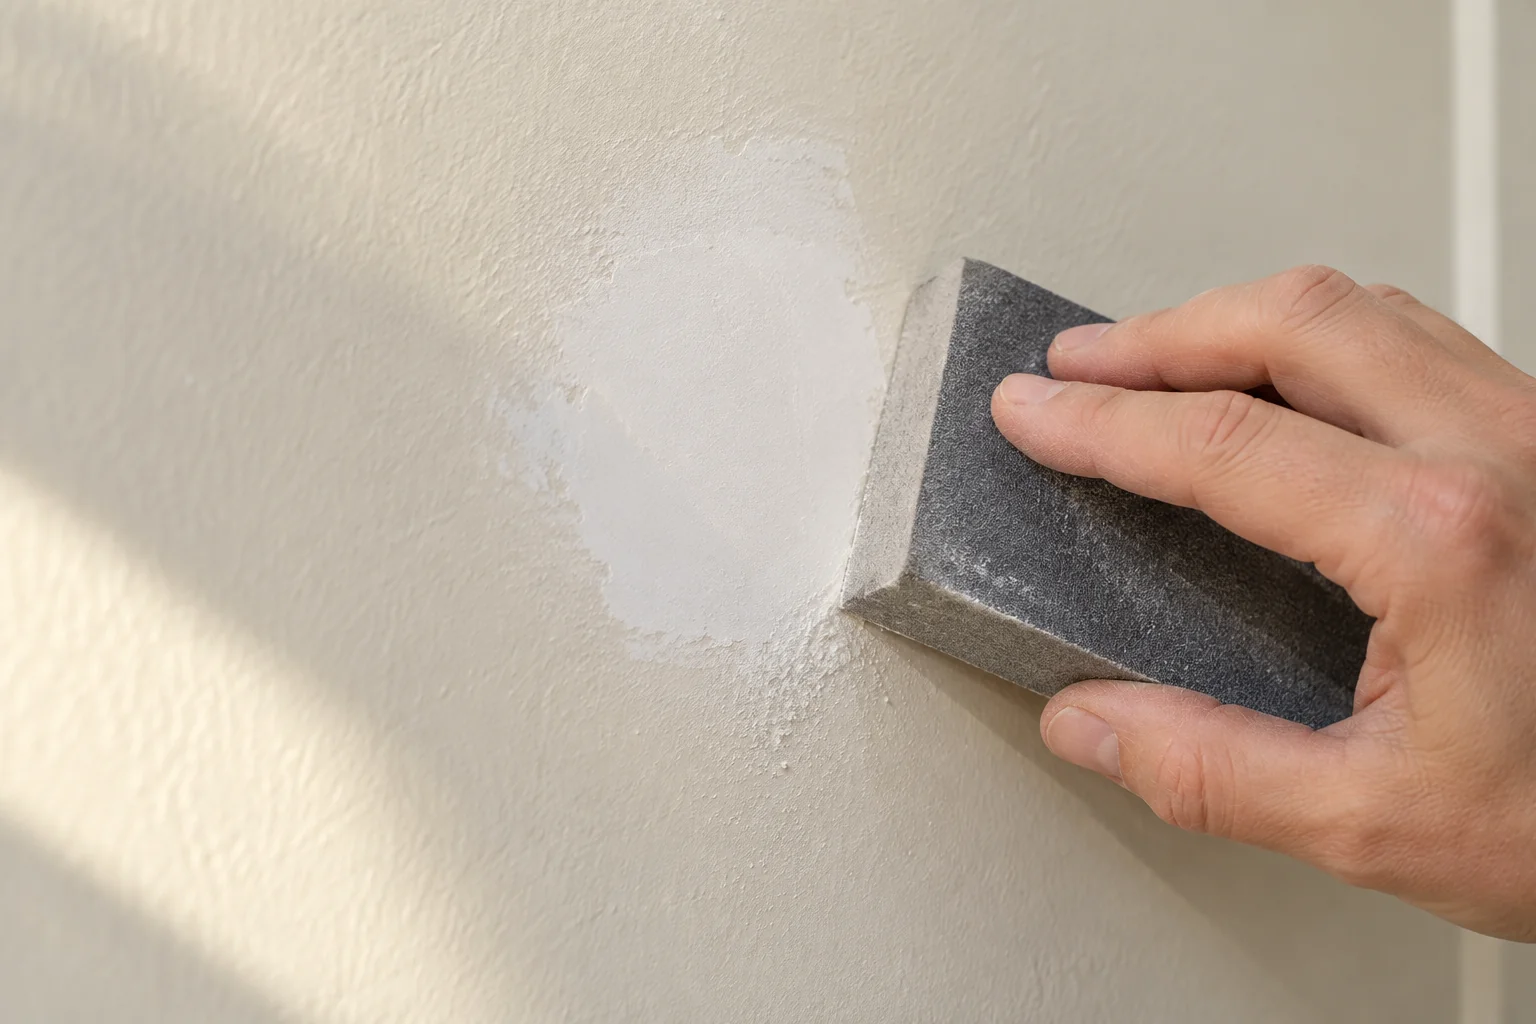
Use the abrasive specified for the filler and keep the sanding block flat; concentrate on the transition instead of repeatedly sanding the middle of the patch
If you expose fresh paper, reassess that area before painting rather than continuing to thin the surrounding surface
Remove the dust using a method compatible with the coating system, then inspect from the side again
Ready to continue The repair has no obvious ridge, loose dust or unfilled depression; side lighting helps separate a shape problem from a colour difference
Illustrative imageLevel the dried filler and its edge without sanding through the paper
Prepare the patch for painting
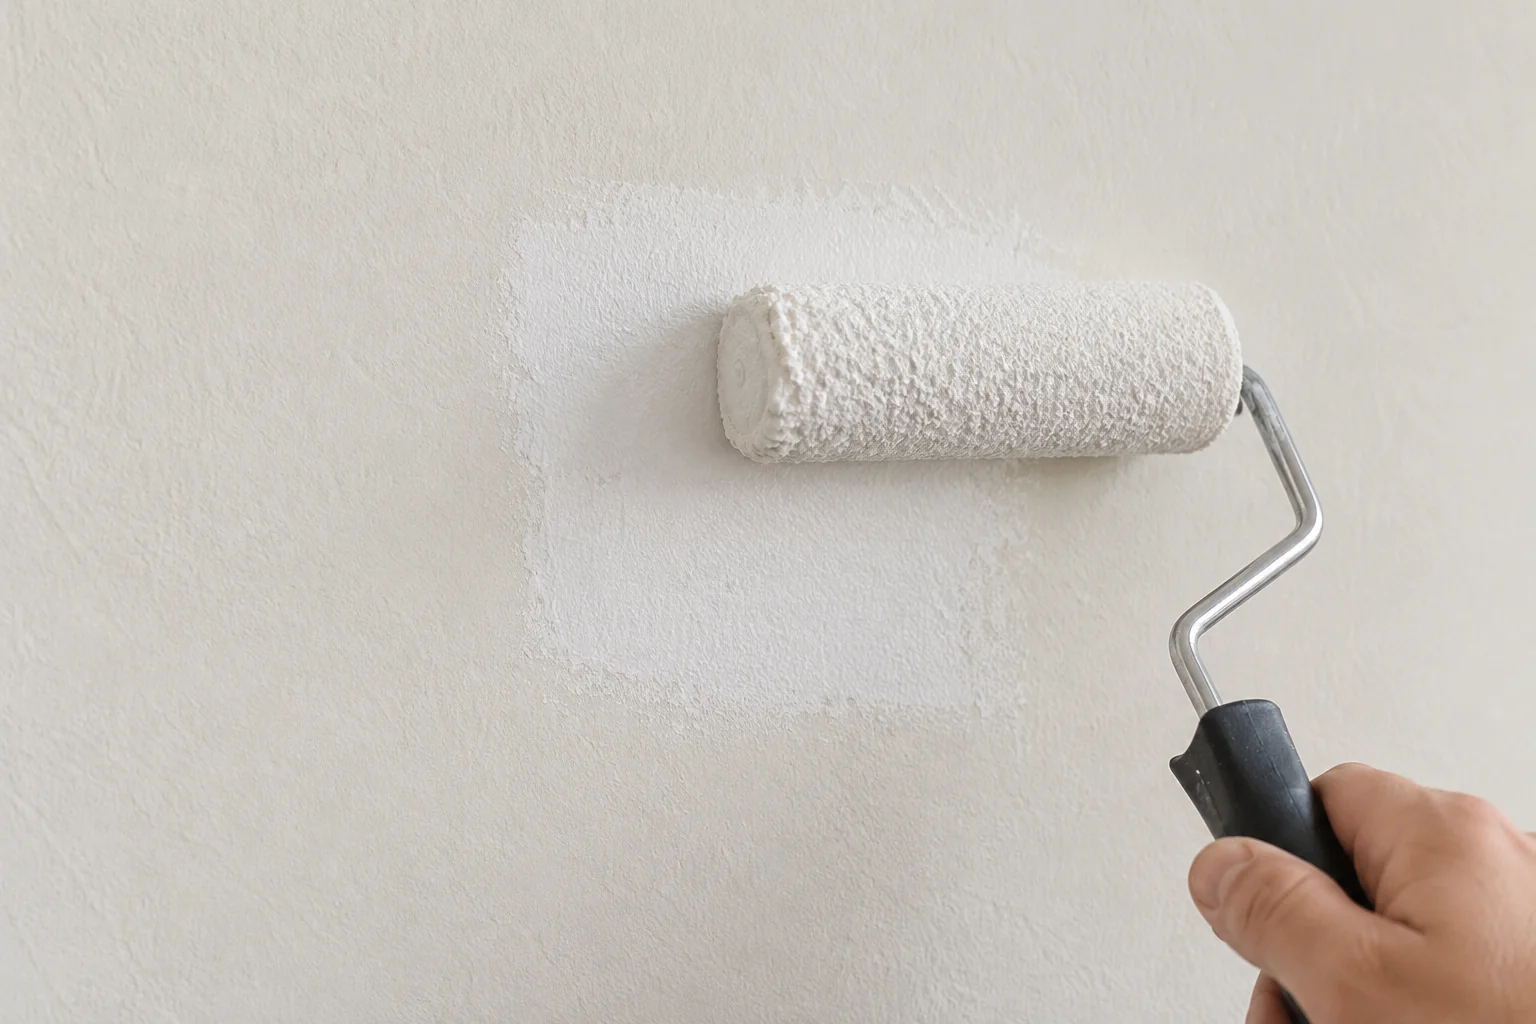
Use the primer or sealing step required over the completed repair; controlling the absorption of porous filler helps the topcoat behave consistently
Keep the application even and allow the specified recoat interval before applying the wall paint
Ready to continue The prepared patch is dry enough to receive the chosen topcoat and there are no bubbles or loose edges beneath it
Illustrative imageUse the priming or sealing step required by the repair and paint system
Worked example: a small patch with torn brown paper
For a hypothetical 5 × 8 cm tape mark with exposed brown paper and a shallow hollow, stabilise the paper before applying wet filler
Use this sequence: firm edge → approved paper sealer → required drying → thin filler → drying and levelling → specified primer or sealer → matching paint
Drying depends on the products, layer thickness and room conditions, not the patch dimensions
If the mark exposes firm plaster instead, use a plaster-compatible system on a clean, dry and sound surface, as described in Zinsser’s plaster guidance
Match colour, sheen and texture
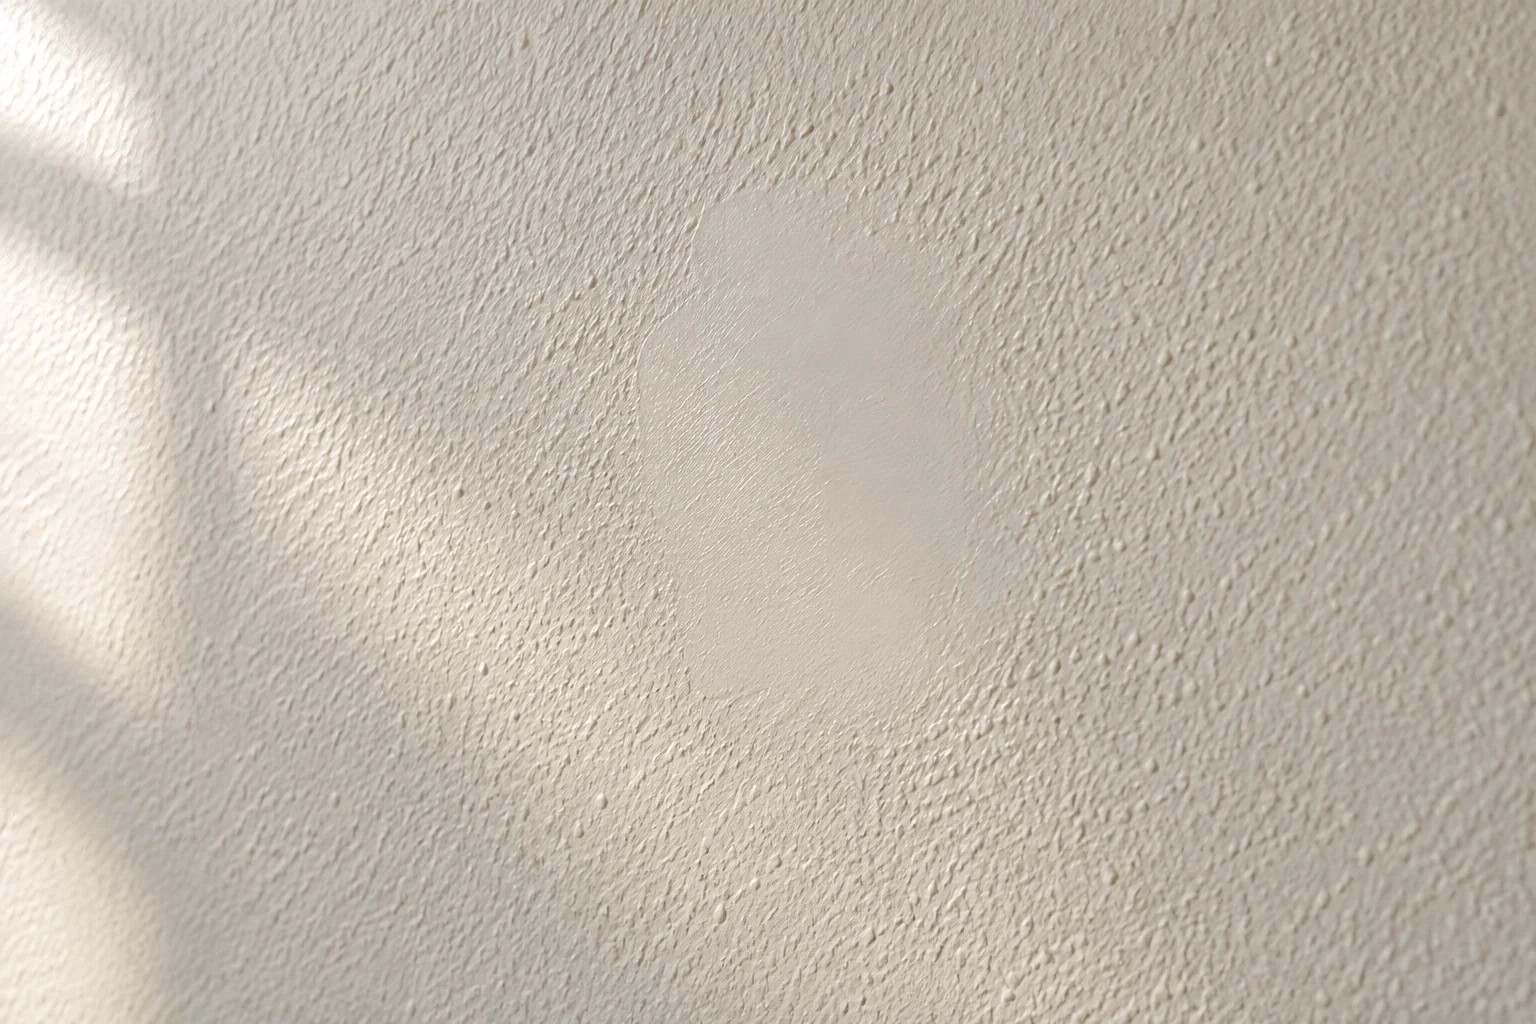
Illustrative imageA smoother patch can remain visible even when its colour is close to the surrounding paint
A flat repair can still show because the paint is a different colour, reflects light differently or has a different roller texture
Start with the original paint if it is still usable, mix it thoroughly and identify its product name and sheen; a colour code alone does not specify the whole finish
Benjamin Moore’s touch-up guidance recommends matching the applicator as well as the colour and sheen, and using a small amount of paint to blend the repair
Let the coat dry before judging it in daylight and the room’s normal lighting; repeatedly covering a wet-looking mismatch can leave an increasingly obvious textured spot
If a fully dry touch-up remains visible despite a sound repair and matched materials, repainting between natural boundaries, such as corner to corner, may give a more consistent finish
If the repair still shows
What you notice
Check before adding paint
Next decision
A ridge around the patch
The repair’s shape in side light
Correct the transition using the repair system, then prepare it for coating again
A hollow in the middle
Whether the filler shrank or the area was underfilled
Add a permitted repair layer rather than trying to level it with paint
Bubbles after filling
Loose facing paper or unsound material under the repair
Let it dry, remove failed material and reassess sealing before rebuilding
A flat patch with different sheen
Primer coverage, paint sheen and application texture
Resolve the coating difference before extending the touch-up area
Paint keeps peeling beyond the repair
Wider adhesion failure, dampness or an unstable substrate
Investigate the cause before repeating a local patch
Can I paint directly over the tape mark?
Only if the surface is already sound, level and prepared for that paint; a new coat will not rebuild missing material or secure loose paper
How do I know the filler is ready to sand?
Use its stated drying criteria; for example, DAP’s DRYDex patch kit uses a pink-to-white indicator, but that cue does not apply to unrelated white fillers
Reduce the chance of tape pulling off more paint
Choose tape approved for the surface and the age of the coating, then observe its application and removal limits
When paint starts lifting along the tape edge, 3M’s removal guidance advises scoring the paint film at that boundary before continuing; avoid cutting deeply into the wall
Check the particular tape’s removal instructions rather than assuming every product must come off while paint is wet